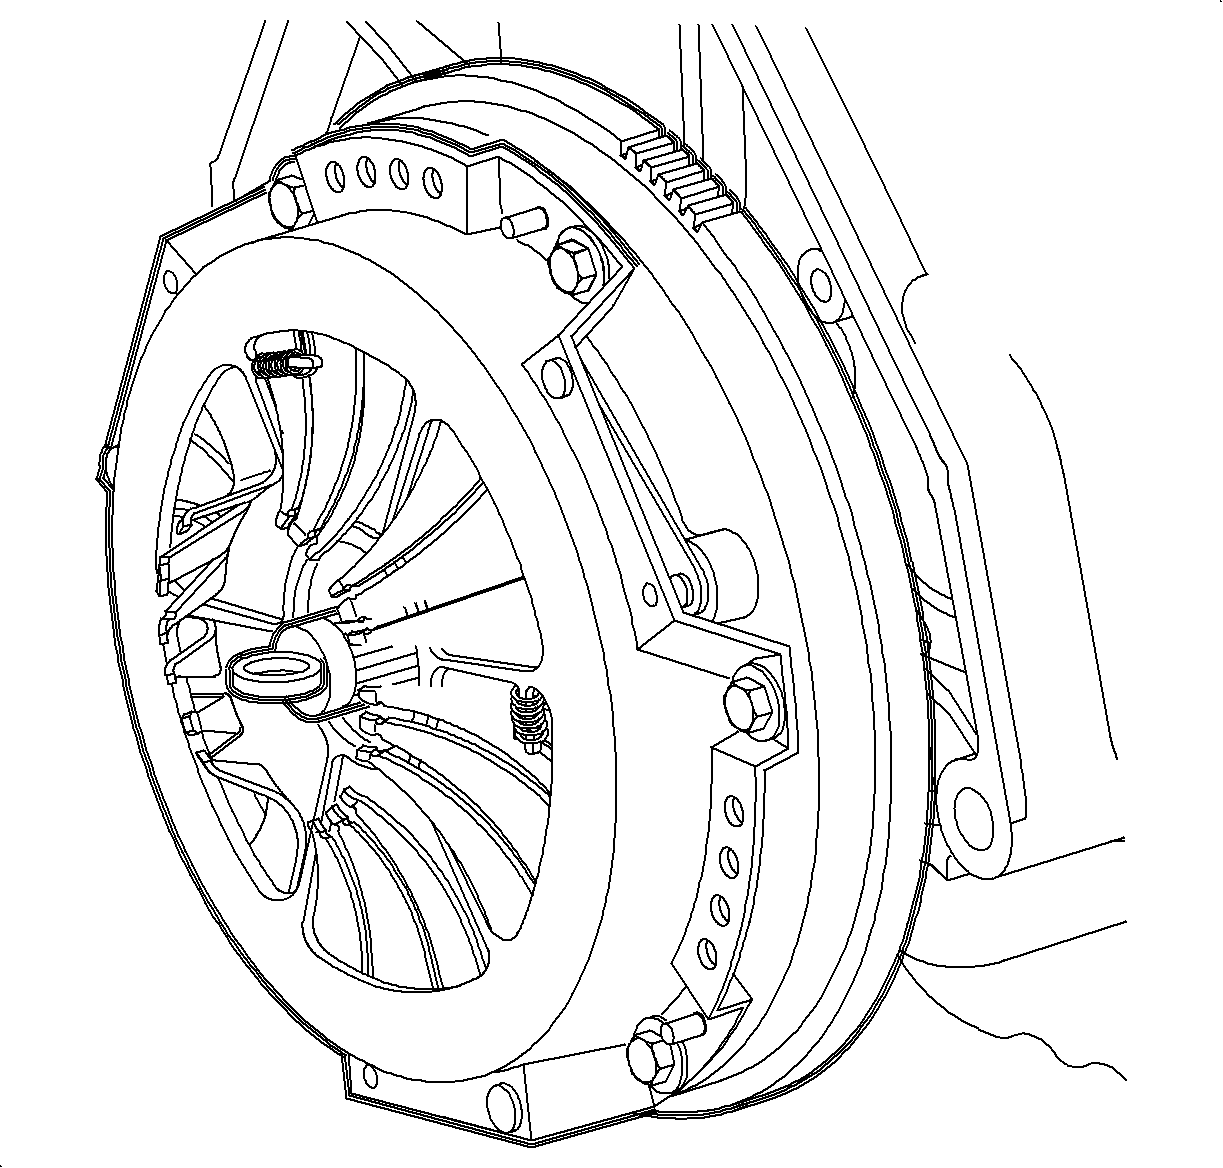
- Place clutch cover on a flat surface with clutch plate fingers facing
up. Using two screwdrivers, push counter-clockwise on two adjuster ring tabs to prevent
the adjuster ring tabs from suddenly moving forward. At the same time, using a press,
depress the clutch plate fingers until the adjuster ring tabs begin to move freely.
- Compress the springs by pushing the adjuster ring tabs counter-clockwise. The
clutch is fully adjusted when the compressed spring length is between 15 mm
- 20 mm (0.59 in - 0.79 in).

- While holding the adjuster ring tabs in this position, remove the pressure on
the clutch plate fingers.
- Remove the clutch cover from the press and install onto the vehicle.
Important
When tightening the clutch housing cover assembly bolts, do not tighten any
one bolt more than half a turn at a time or the clutch housing cover assembly may
warp.
- Tighten the clutch housing cover assembly bolts using a progressive crisscross
pattern to prevent warping of the cover stamping.
TightenTighten the clutch housing cover-to-flywheel bolts to 25 N·m (18 lb ft)
- Remove the clutch alignment tool from the clutch disc.
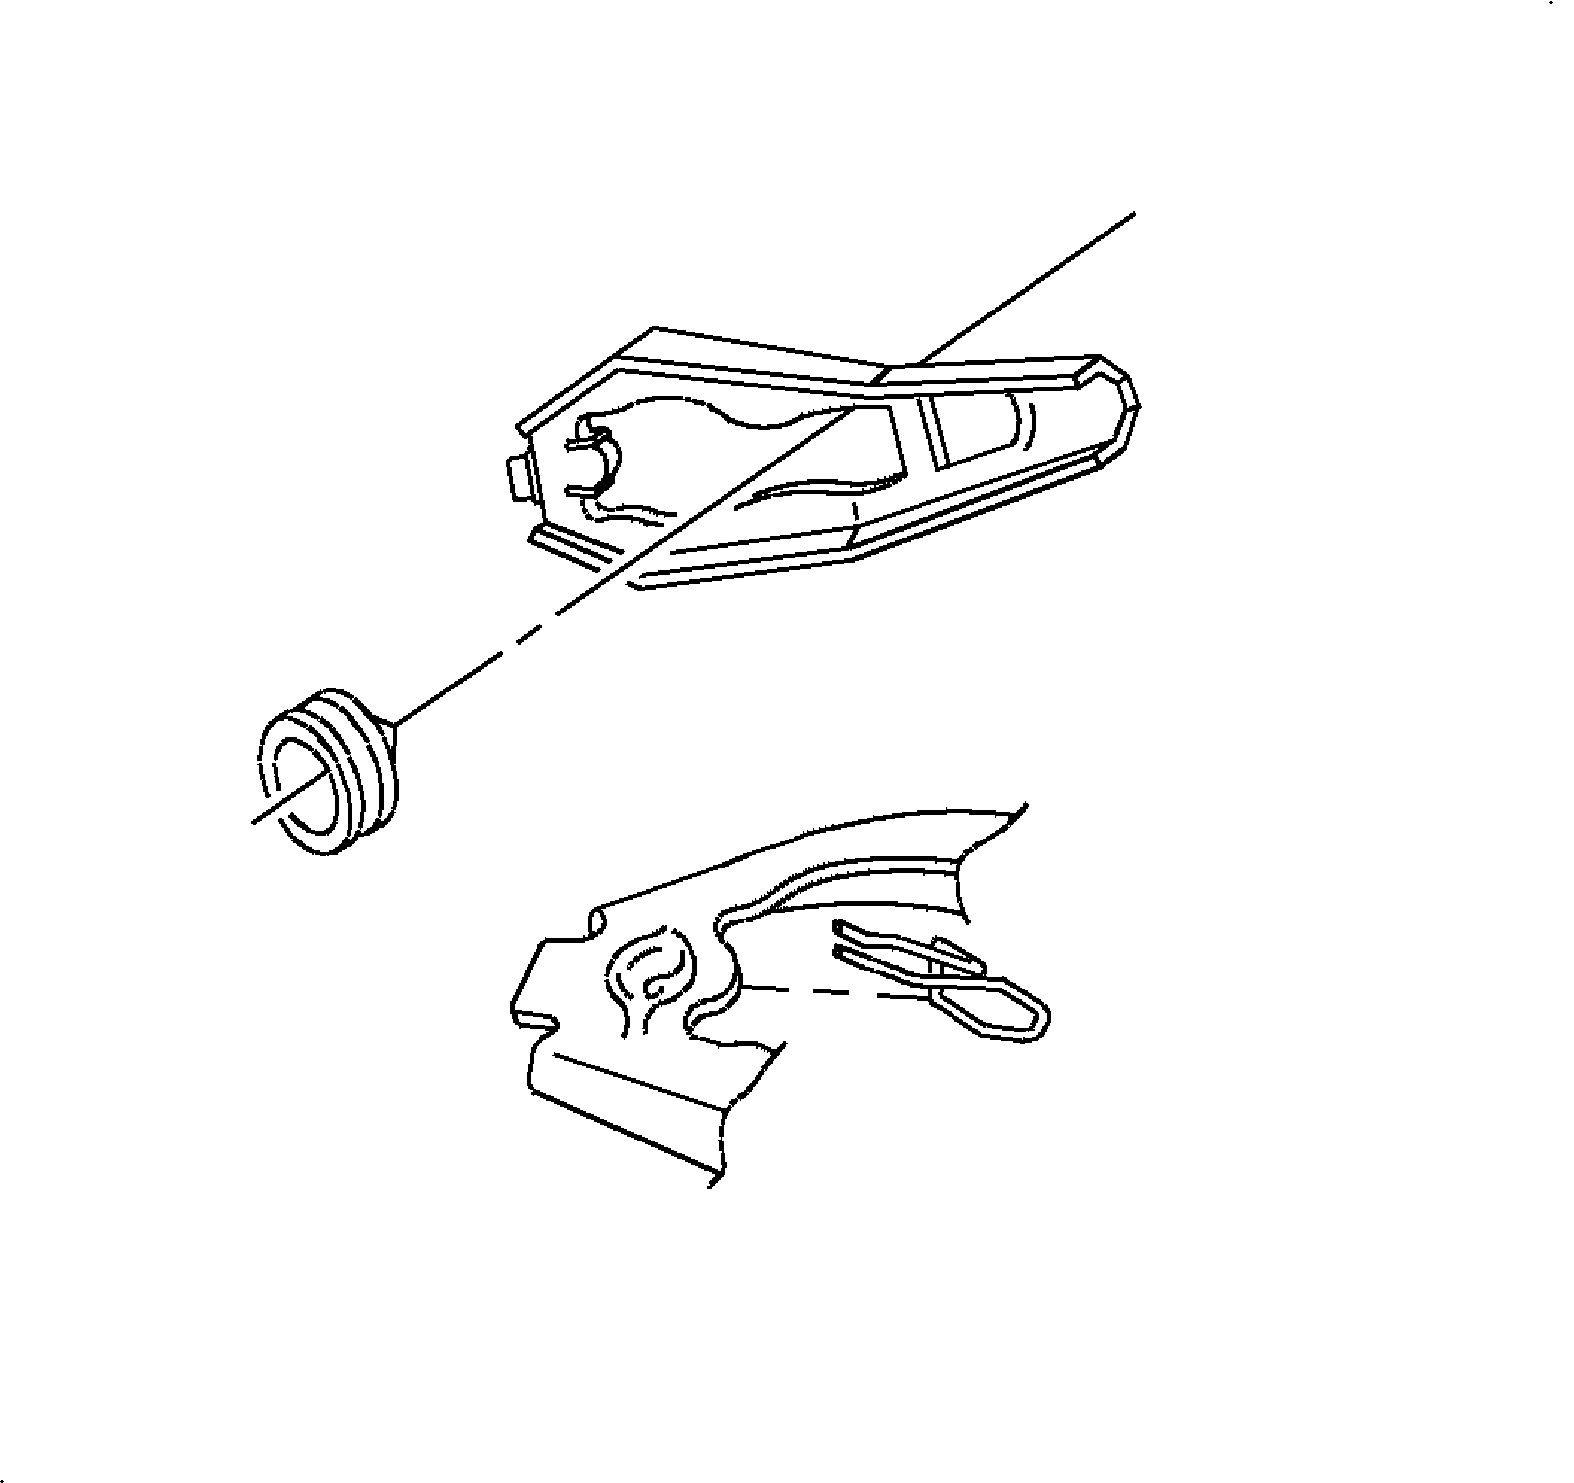
- Install the clutch fork stabilizer and the ball
stud if removed.
TightenTighten the clutch fork ball stud to 24 N·m (18 lb ft).
- Install the fork retainer to the clutch fork.
- Install the release fork and the bearing to the transaxle by snapping the fork
onto the ball stud.
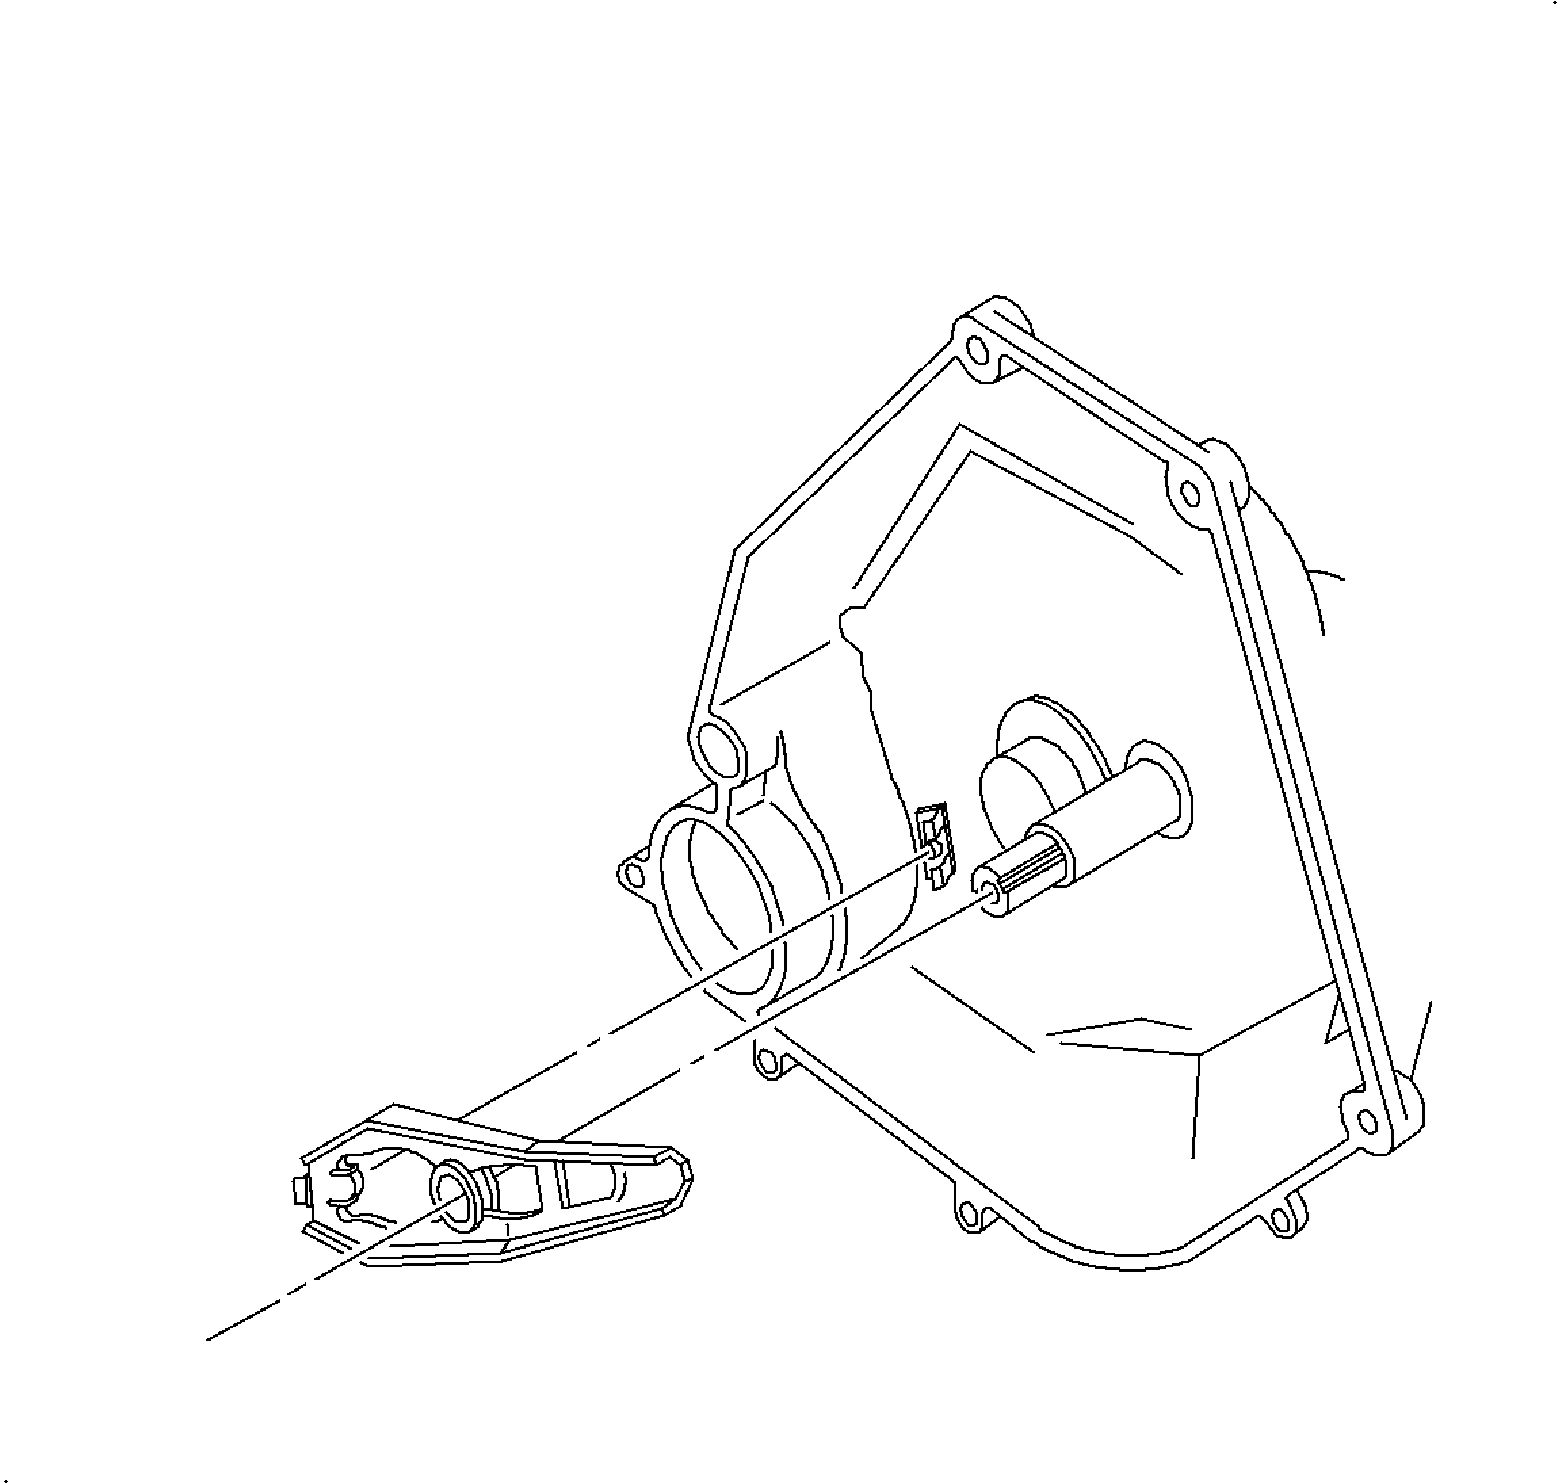
- Lube the fork pivot
point with the clutch spline lubricant P/N 21005995 or equivalent and install
the release bearing to the release fork.
Important
Excessive amounts of lubricant on the input shaft splines can contaminate the
clutch disc and cause clutch shudder.
- Lightly lube the input shaft splines with clutch spline lubricant P/N 21005995
or equivalent.
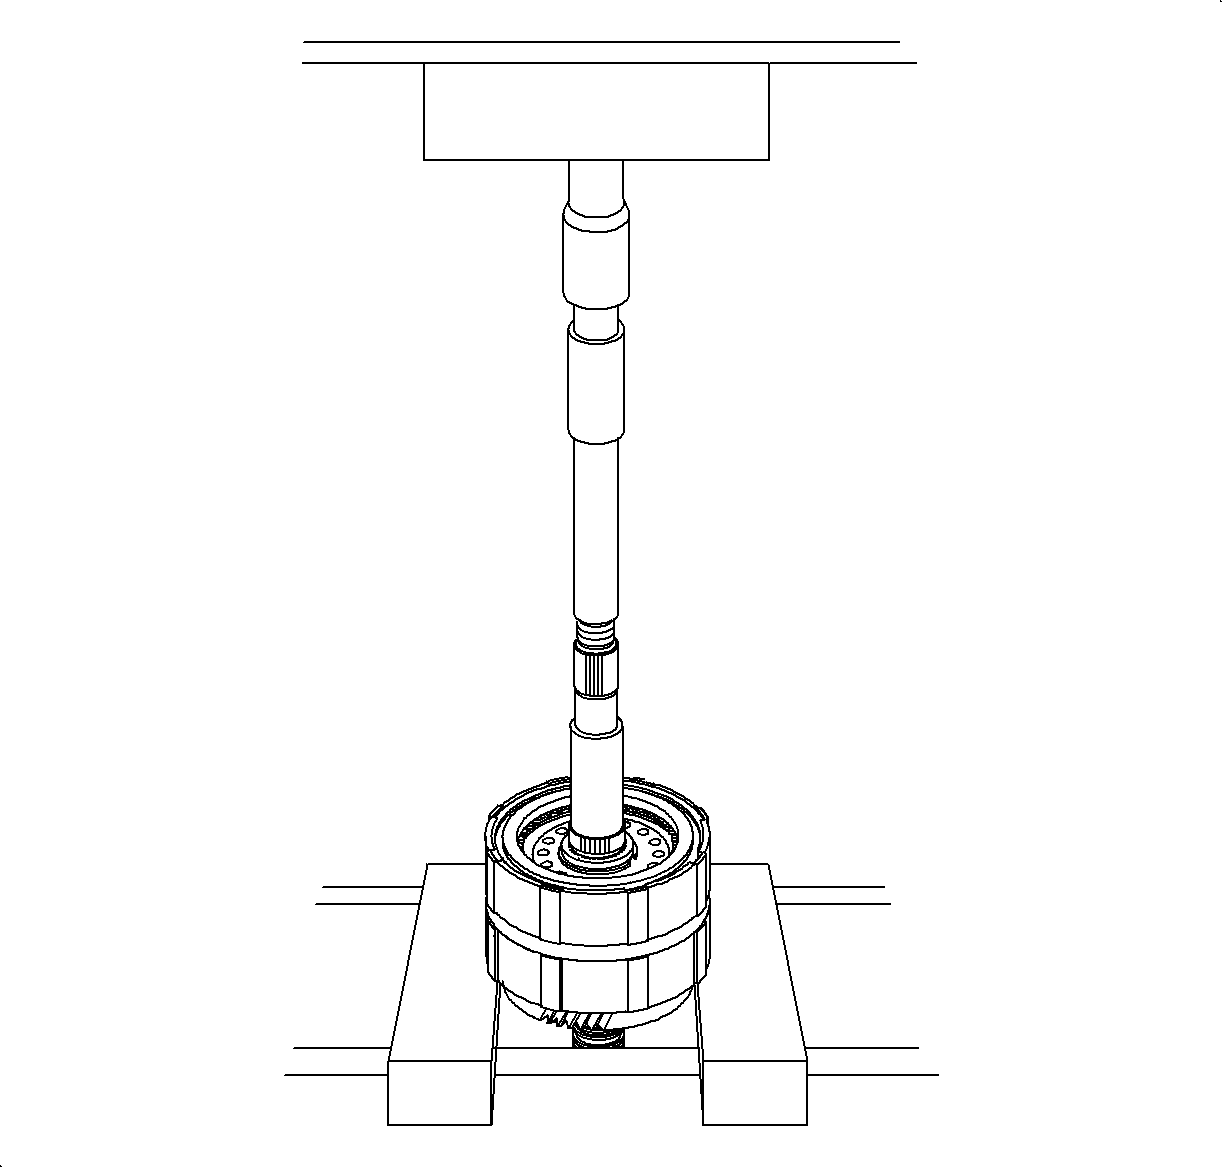
- Install the transaxle.