

Be careful not to damage the VIN plate when
removing or replacing the upper trim panel.Important
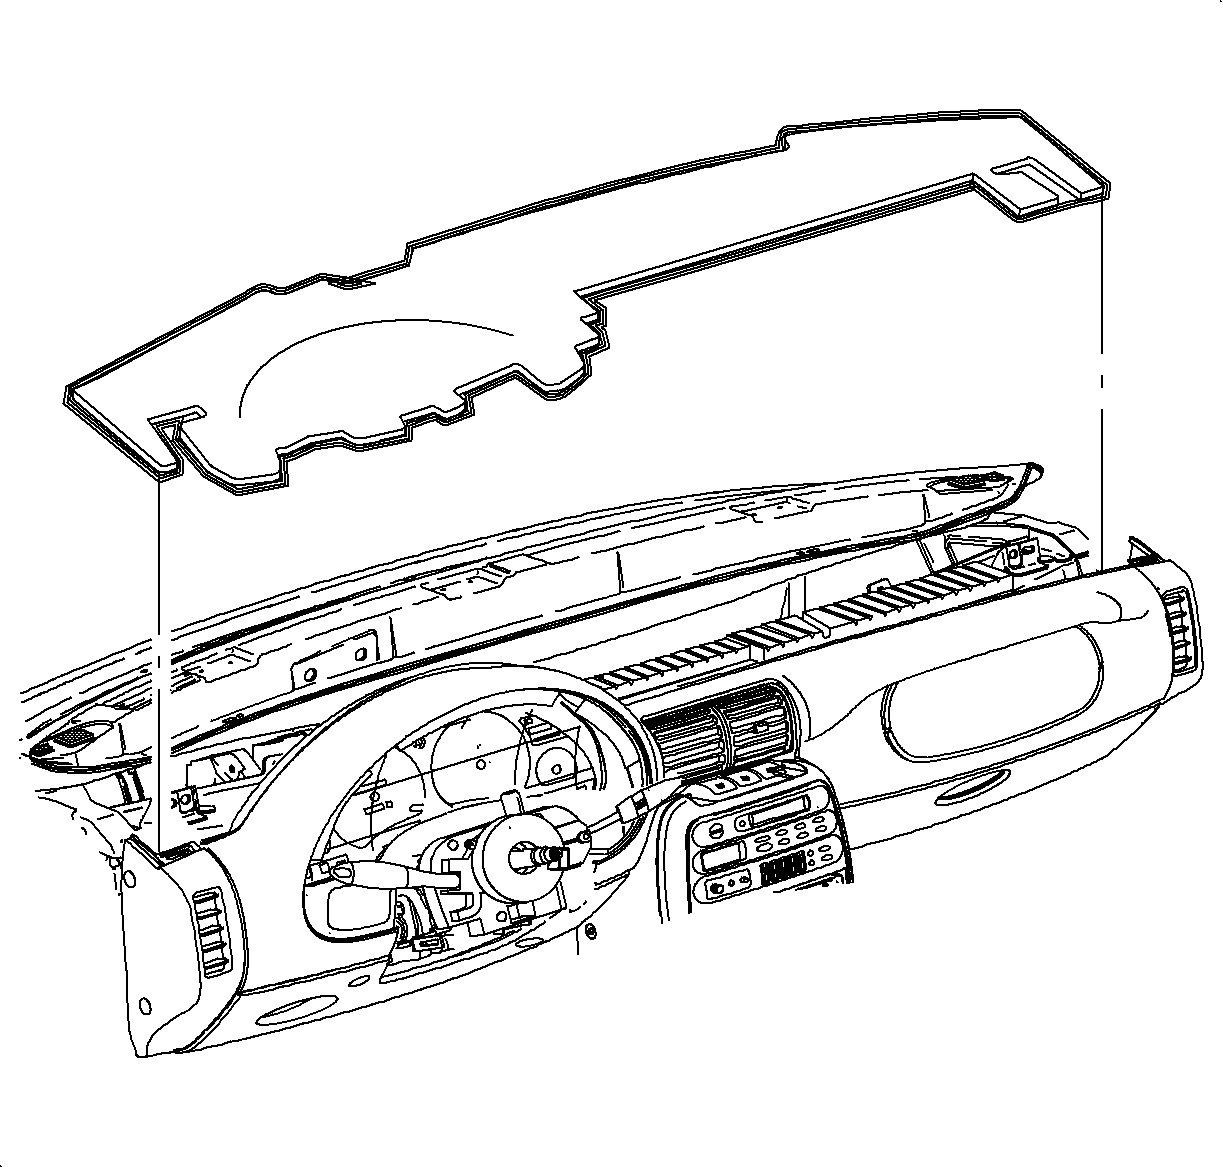
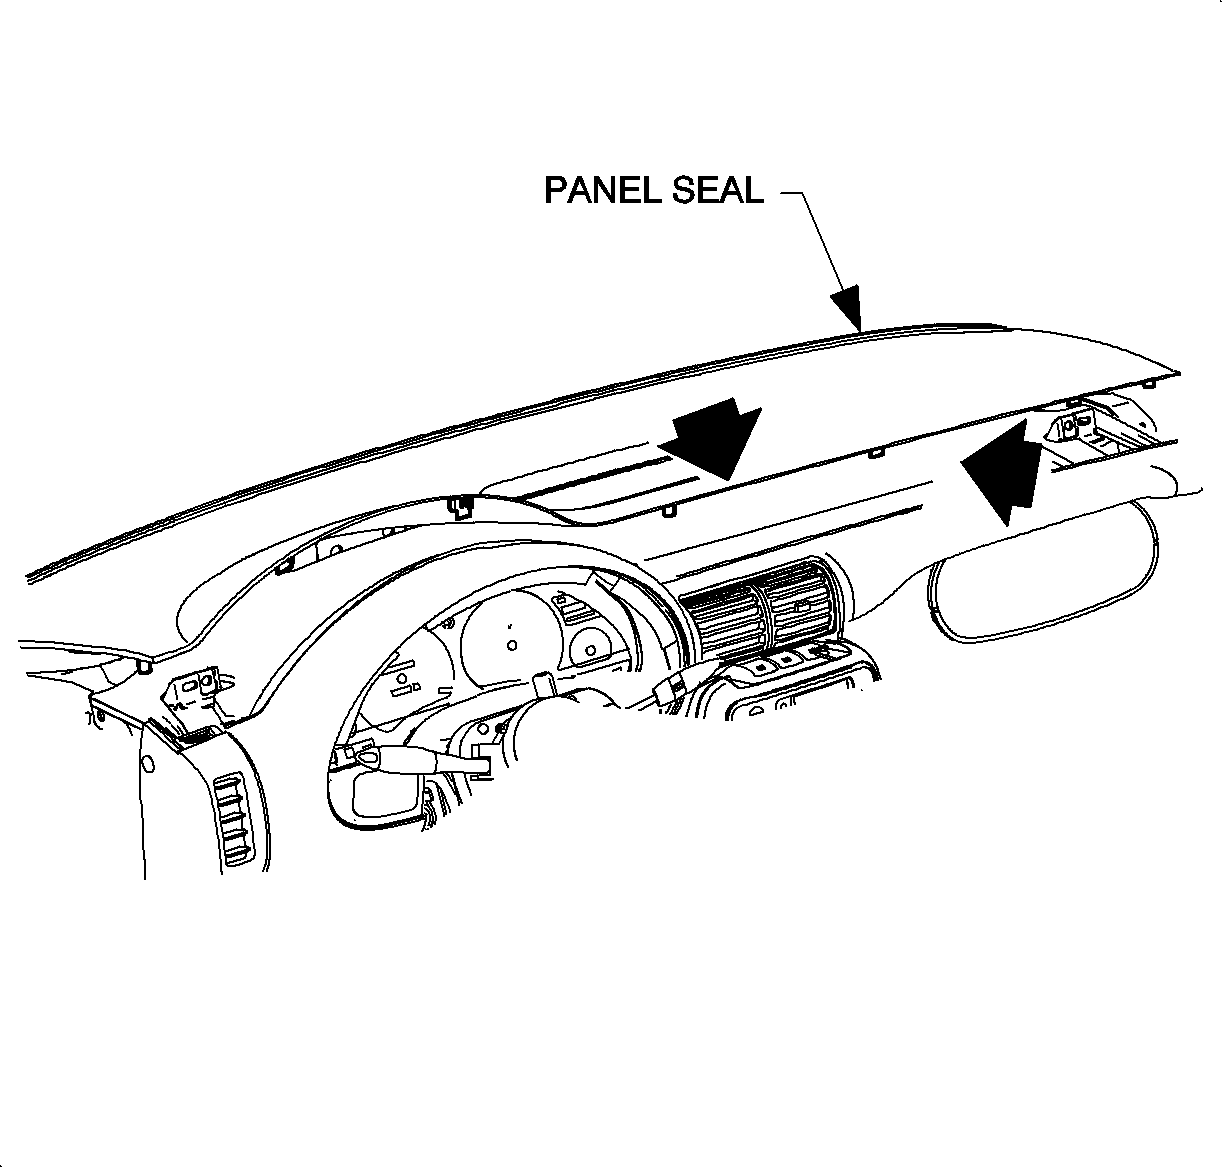
Be careful, when removing the upper trim
panel, not to damage the upper trim panel seal.Important


LHD illustrations are shown; RHD illustrations
are similar.Important


Be careful not to damage the VIN plate when
removing or replacing the upper trim panel.Important
Be careful, when removing the upper trim
panel, not to damage the upper trim panel seal.Important


Make sure to tuck in all the flaps.Important
Be sure the upper trim panel seal is correctly
seated on the forward edge before installing the upper trim panel.Important
Be careful not to damage the VIN plate when
removing or replacing the upper trim panel.Important


Refer to Fastener Notice in Cautions and Notices.
Tighten the screw caps to 2.3 N·m (20 lb in).