
Caution
Always wear heavy gloves and safety glasses when handling glass to minimize
the risk of injury.
Notice
Place protective covers on body to prevent paint damage.
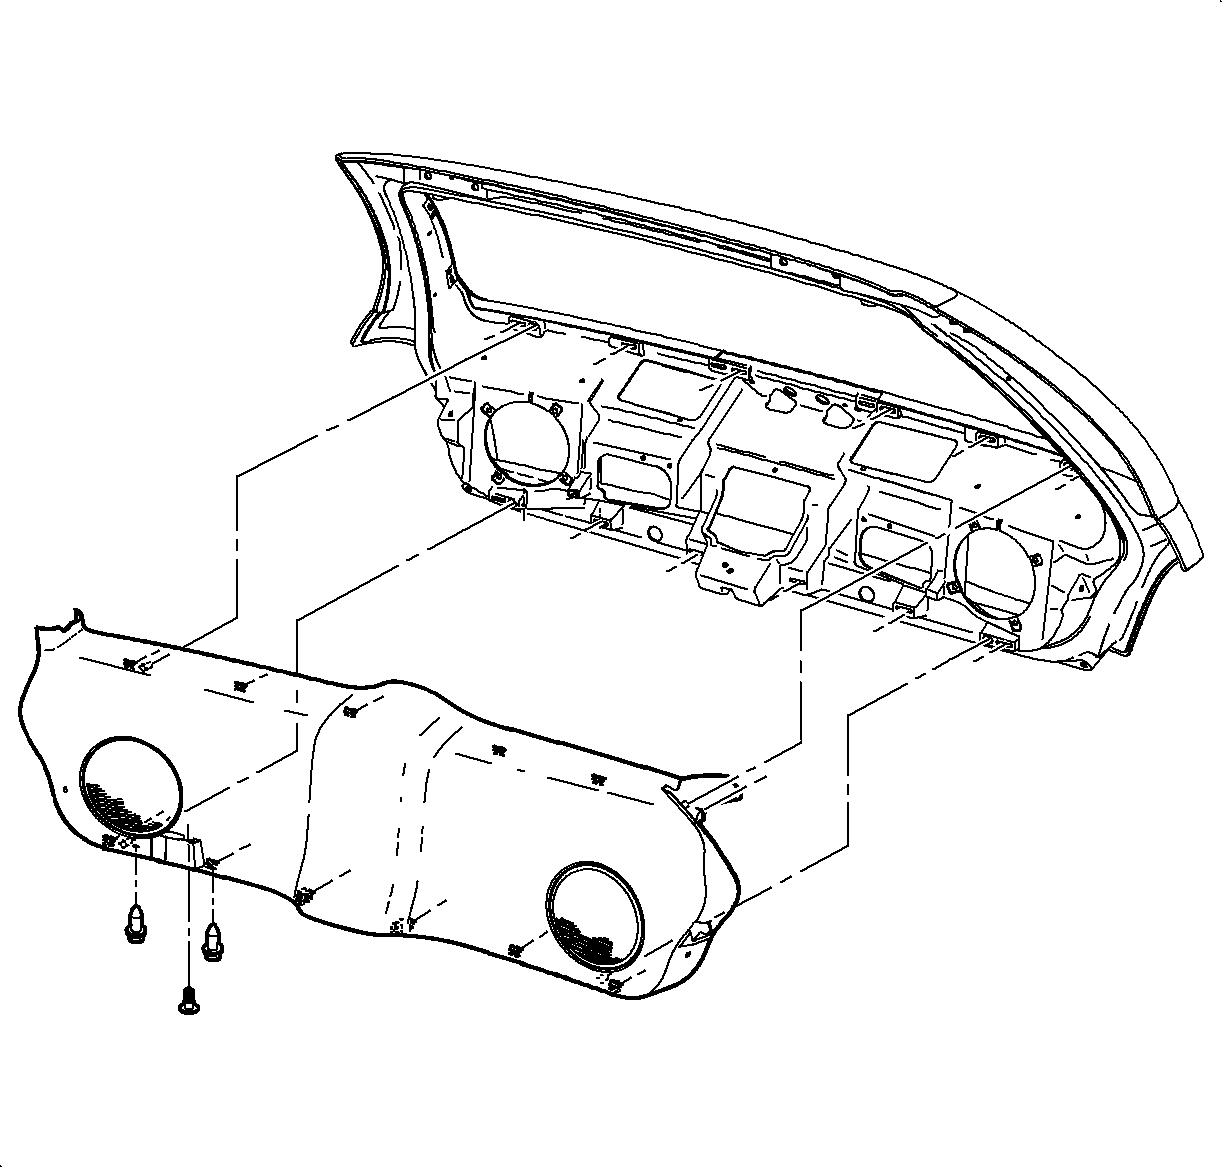
- Remove the liftgate inner lower panel assembly. Refer to
Liftgate Panel Assembly - Inner Lower
in Interior Trim.
- Remove the fasteners from the center high-mount stop lamp housing and
disconnect the wire connector.
- Remove the electrical connectors from the bus bars, rear window defogger.
Position the electrical connectors so not to damage the wiring/connectors when using
the urethane power removal tool.
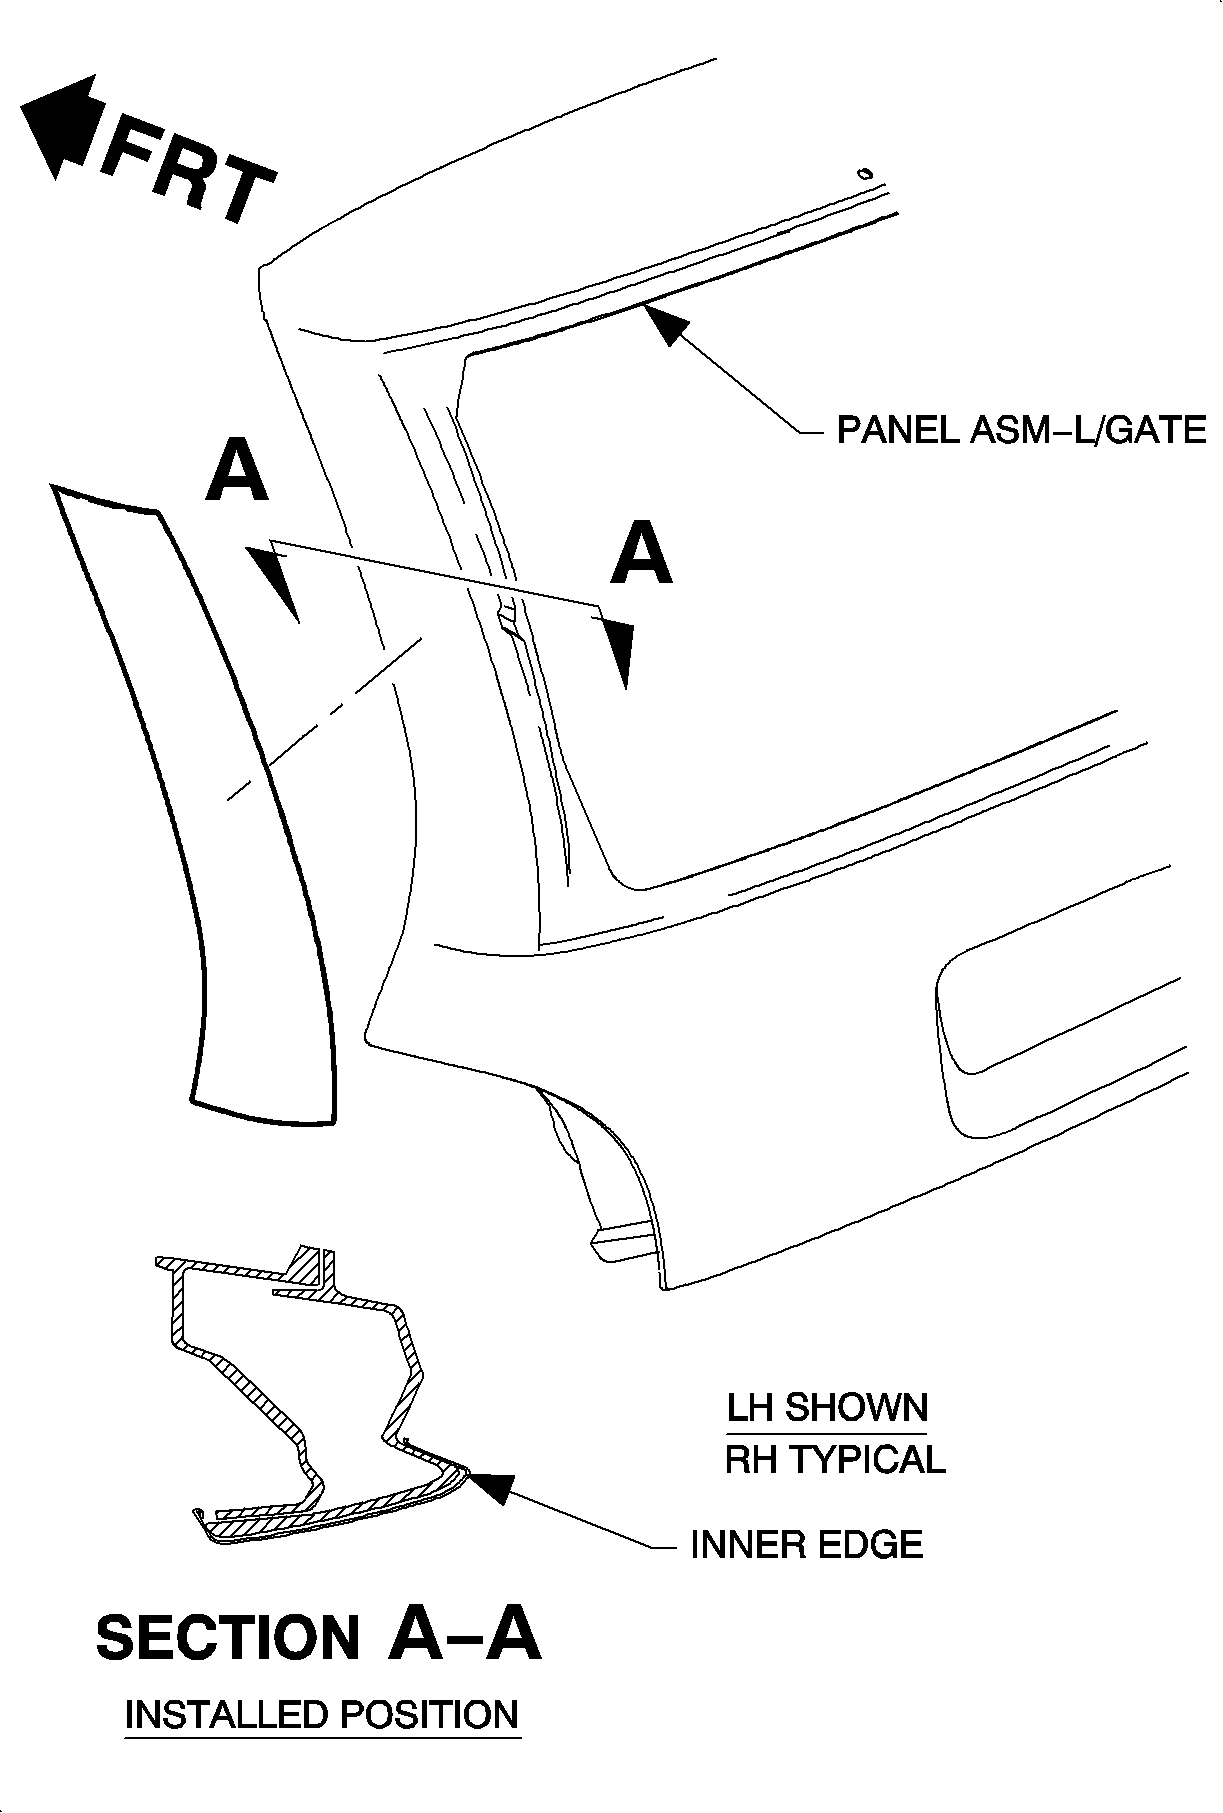
- Remove the liftgate applique. Refer to
Liftgate Applique Replacement
in Body Rear End .
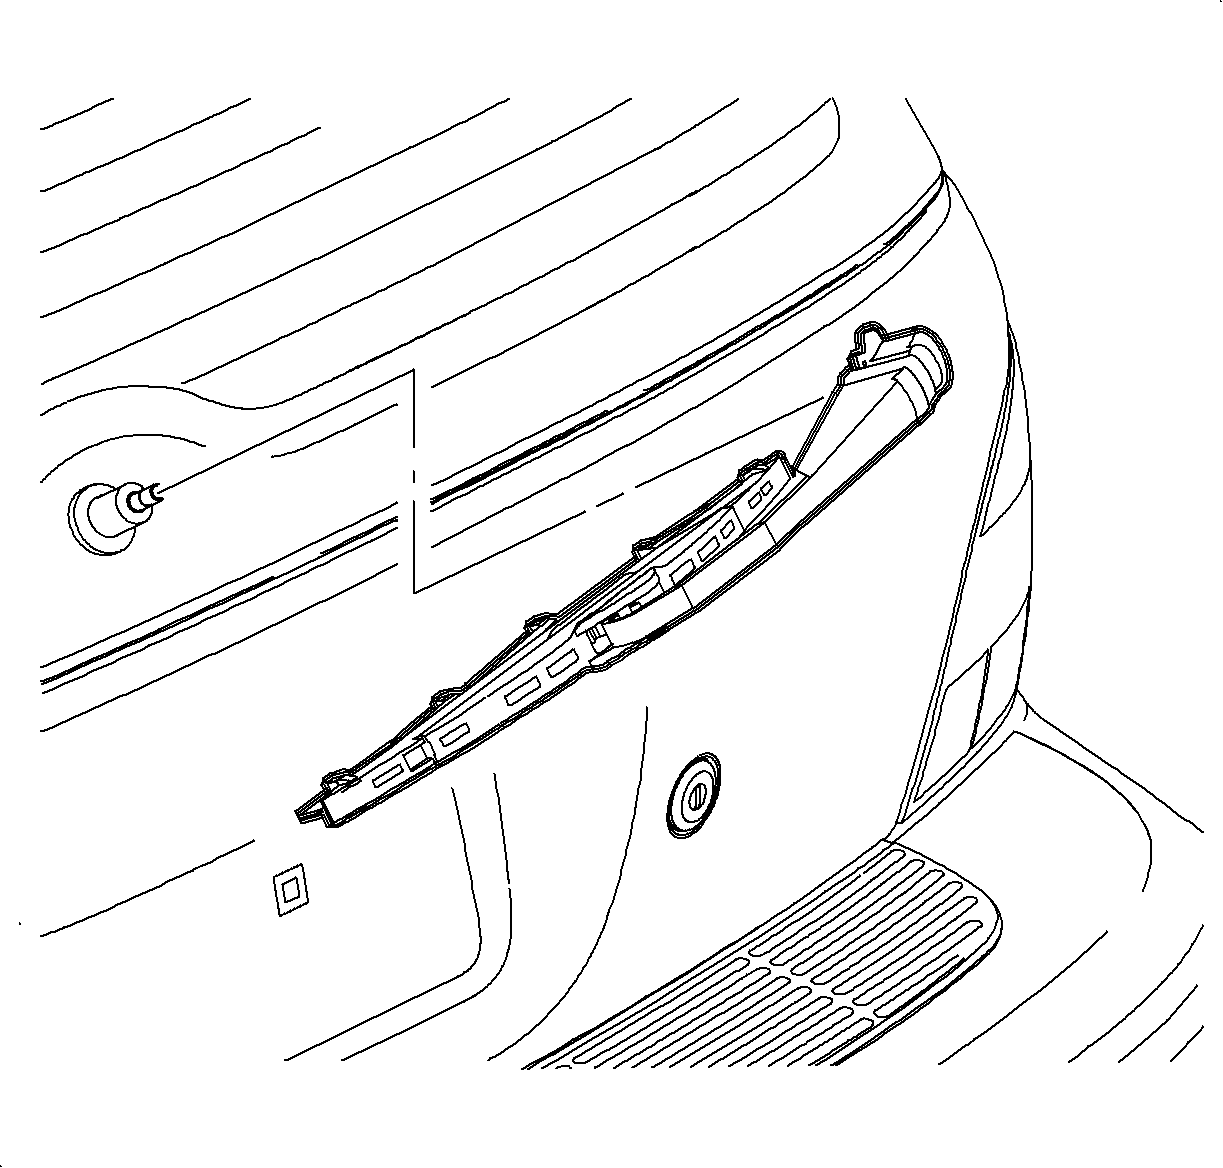
- Remove the rear
wiper arm. Refer to
Wiper Arm Replacement - Rear
in Wipers/Washer Systems.
Caution
When using power tools that may create smoke when cutting urethane sealant,
work should be done in a well ventilated area and/or with a NIOSH/MSHA Approved air
supplied respirator to prevent possible harmful exposure.
When the urethane adhesive is heated enough to give off smoke, high levels of
methylene diisocyanate (MDI) may be present.
Unprotected exposure to methylene diisocyanate (MDI) may result in severe, chronic,
debilitating respiratory problems.
- Preparation for the liftgate window installation.
- If the liftgate window assembly is to be reused:
- Apply two 152 mm (6 in) pieces of duct tape to the top and
bottom of the glass to prevent it from falling out when the urethane adhesive is
cut.
- Entering from within the liftgate, cut the urethane around the glass using
a power glass removal tool.
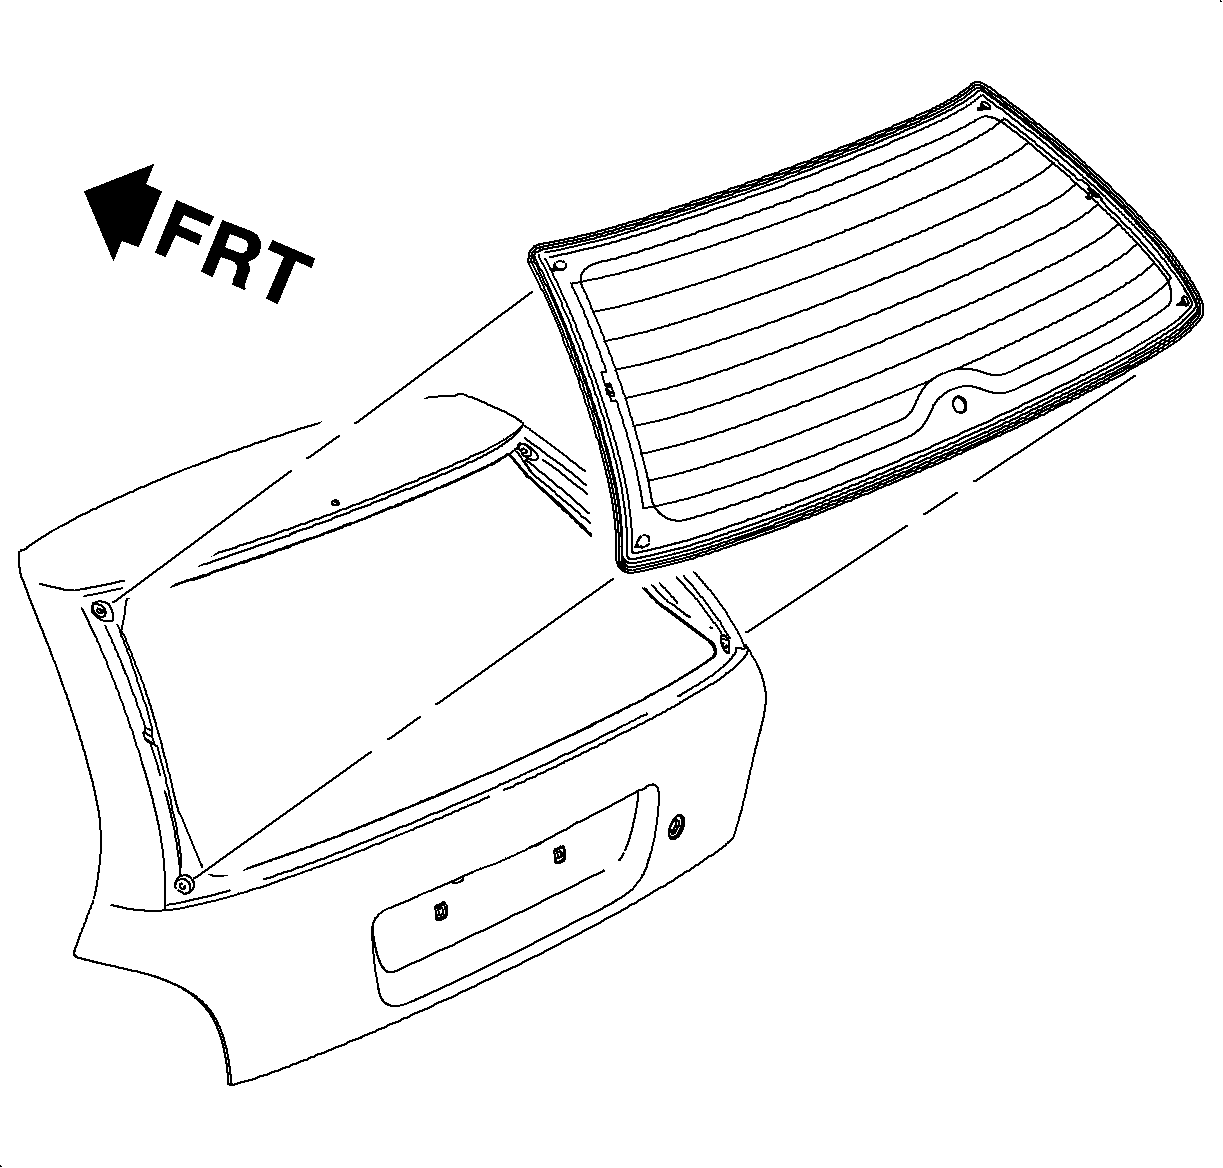
- Remove the liftgate window assembly.
-
If the liftgate window assembly is damaged and must be replaced:
- From outside of the vehicle, trim away encapsulation around the perimeter
of glass using a sharp utility knife.
- Using the
J 24402-A
or equivalent, cut the urethane around the perimeter of the glass. Keep the blade
of the knife as close to the edge of the glass as possible.
- Apply two 152 mm (6 in) pieces of duct tape to the top and
bottom of the glass to prevent it from falling out when the urethane adhesive is
cut.
- From inside the liftgate, use a sharp utility knife to cut the remaining
urethane at the glass corners and the area below the wiper motorshaft.
- Remove the liftgate window assembly.
Notice
To prevent corrosion, paint damage around the window opening by the power glass
removal tool must be covered with pinchweld primer. Do not prime over
existing urethane. Follow manufacturers recommendations for drying time.
Notice
To avoid damage to the outer edge of the glass, be careful not to scratch the
glass when removing urethane with a razor blade.
Notice
Loose urethane and/or rough surfaces may cause sealing problems during installation.
For cars with a sunroof, it is important to install the fasteners to the new
roof assembly before the roof is installed in place.
- Preparation for window installation.
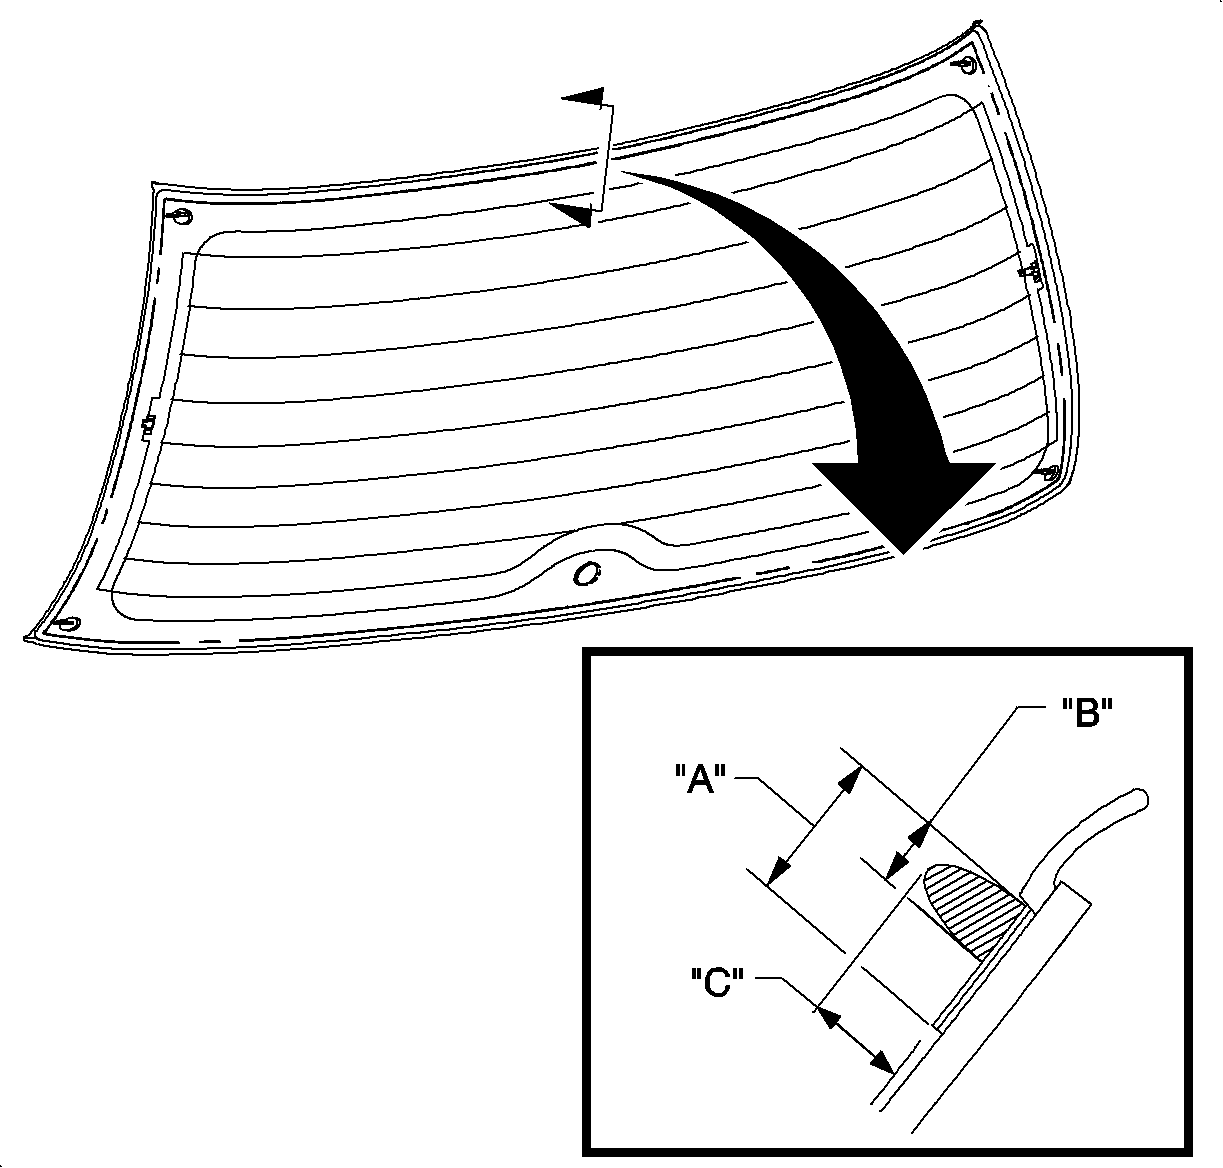
- Prime the window opening area.
- Shake the glass primer, Black #2 or equivalent, well before applying.
Important
The primer area has a minimum width diameter of 18 mm (0.71 in)
in area (A).
Important
Use the line along the top of the liftgate window assembly below the liftgate
window assembly upper molding as a guide when applying the primer.
- With a new dauber apply the glass prep primer, Black #2 or equivalent,
around the entire perimeter over Clear #1 or equivalent.
- Allow the primer to dry 5 minutes before applying the urethane.
- Apply a smooth, continuous bead of adhesive directly to the old urethane
adhesive in the glass opening or to the glass. Apply according to the following
dimensions:
Bead Dimension
- Minimum Width: Dimension (B) 8 mm (0.32 in).
- Minimum Height: Dimension (C) 13 mm (0.51 in).
Notice
Until the new urethane has cured, air pressure from a closing door may cause
the glass to move. To prevent this, lower the opposite side door window
a minimum of 76 mm (3 in) before closing the door.
Important
The vehicle must remain at normal room temperature for 6 hours to complete
proper cure of the adhesive. Refer to the manufacturer's recommendation.
- With the aid of a helper, align the window assembly onto the wiper module shaft.
Press the glass firmly around the perimeter of the wiper module shaft and glass
to wet out and set the adhesive. Use care to avoid excessive squeeze out which would
cause an appearance problem. Use tape from the glass to the liftgate to hold in
position until the urethane adhesive is cured.
- Watertest the vehicle at once using a soft spray. Use warm or hot water
if available. Do not direct a hard stream of water at fresh adhesive material. Water
applied on top of urethane adhesive, either during watertest or part of a separate
operation, will speed up the cure of urethane.
- Inspect for leaks from inside the vehicle. Paddle in extra adhesive at
leak points using a tongue depressor or a similar flat flexible tool.
- Install the wiper arm. Refer to
Wiper Arm Replacement
in Wipers/Washer Systems.
- Connect the electrical connectors to the bus bars.
- Install the center high-mount stop lamp.
- Install the liftgate inner lower panel assembly. Refer to
Liftgate Panel Assembly - Inner Lower
in Interior Trim.