DTCs P0201, P0202, P0204, P0443, P0449, P1691, P1693 with an Extended Cranking Time and/or Start then Stall #98-T-02 - (Jan 2, 2003)
DTCs P0201, P0202, P0203, P0204, P0443, P0449, P1691, P1693 with an Extended
Cranking Time and/or Start then Stall -- Replace the Ignition Start Switch1998 Saturns built up to and including VIN WZ174921
Condition:
Vehicle may have an extended cranking time and/or start then stall during cold
ambient temperatures. Diagnostic trouble codes DTCs P0201, P0202, P0203, P0204, P0443,
P0449, P1691, P1693 may set while the engine is being started. The condition is more
likely to occur as the ambient temperature drops below 0°C (32°F).
Cause:
Ignition voltage on circuit 3C, from the ignition and start switch, may
drop out momentarily when the engine is first started. Loss of voltage on this circuit
for a certain duration will cause the above DTCs to be recorded in the PCM malfunction
history. When the PCM detects a loss of voltage during start-up, the proper fuel delivery
cannot be maintained, which could lead to the conditions mentioned.
Correction:
Refer to the malfunction history records to verify that the DTCs were stored
during engine start-up. If DTCs were caused by the ignition and start switch dropout,
the Eng. On Time will generally be less than 2 seconds. If verified, refer
to the following procedure in this bulletin to replace the ignition and start switch.
If the Eng. On Time is greater than 2 seconds, refer to the 1998 Powertrain
Controls Service Manual for diagnostic procedures.
If the vehicle condition is not related to the condition described in this bulletin
and/or if additional DTCs have set, they must also be diagnosed and repaired before
returning the vehicle to the customer. Refer to the appropriate service manual for
diagnostic procedures.
Procedure:
Caution
When you are performing service on or near the SIR components or the SIR wiring,
you must disable the SIR System. Use the following procedure to temporarily disable
the SIR System. Failure to follow the correct procedure could cause air bag deployment,
personal injury, or unnecessary SIR System repairs.
Caution
The inflatable restraint sensing and diagnostic module maintains a reserve energy
supply. When the vehicle power is insufficient to cause deployment of the air bags,
the reserve energy supply provides the deployment power. Deployment power is available
for as much as 10 minutes after disconnecting the vehicle power by any of the
following methods:
- You turn OFF the ignition switch.
- You remove the fuse that provides power to the inflatable restraint sensing
and diagnostic module.
- You disconnect the vehicle battery from the vehicle electrical system.
Performing the following procedures prevents deploying of the air bags from
the reserve energy supply power.
- Turn the steering wheel so that the vehicle's wheels are pointing straight
ahead.
- Turn the ignition key to the lock position and remove the key.


- Remove the AIR BAG fuse from the I/P junction
block.
Important
With the AIR BAG fuse removed and the ignition switch ON, the AIR BAG warning
lamp will be ON. This is normal operation and does not indicate a SIR system malfunction.
- Remove the connector position assurance (CPA) device and disconnect the yellow
2-way connector located near the base of the steering column.

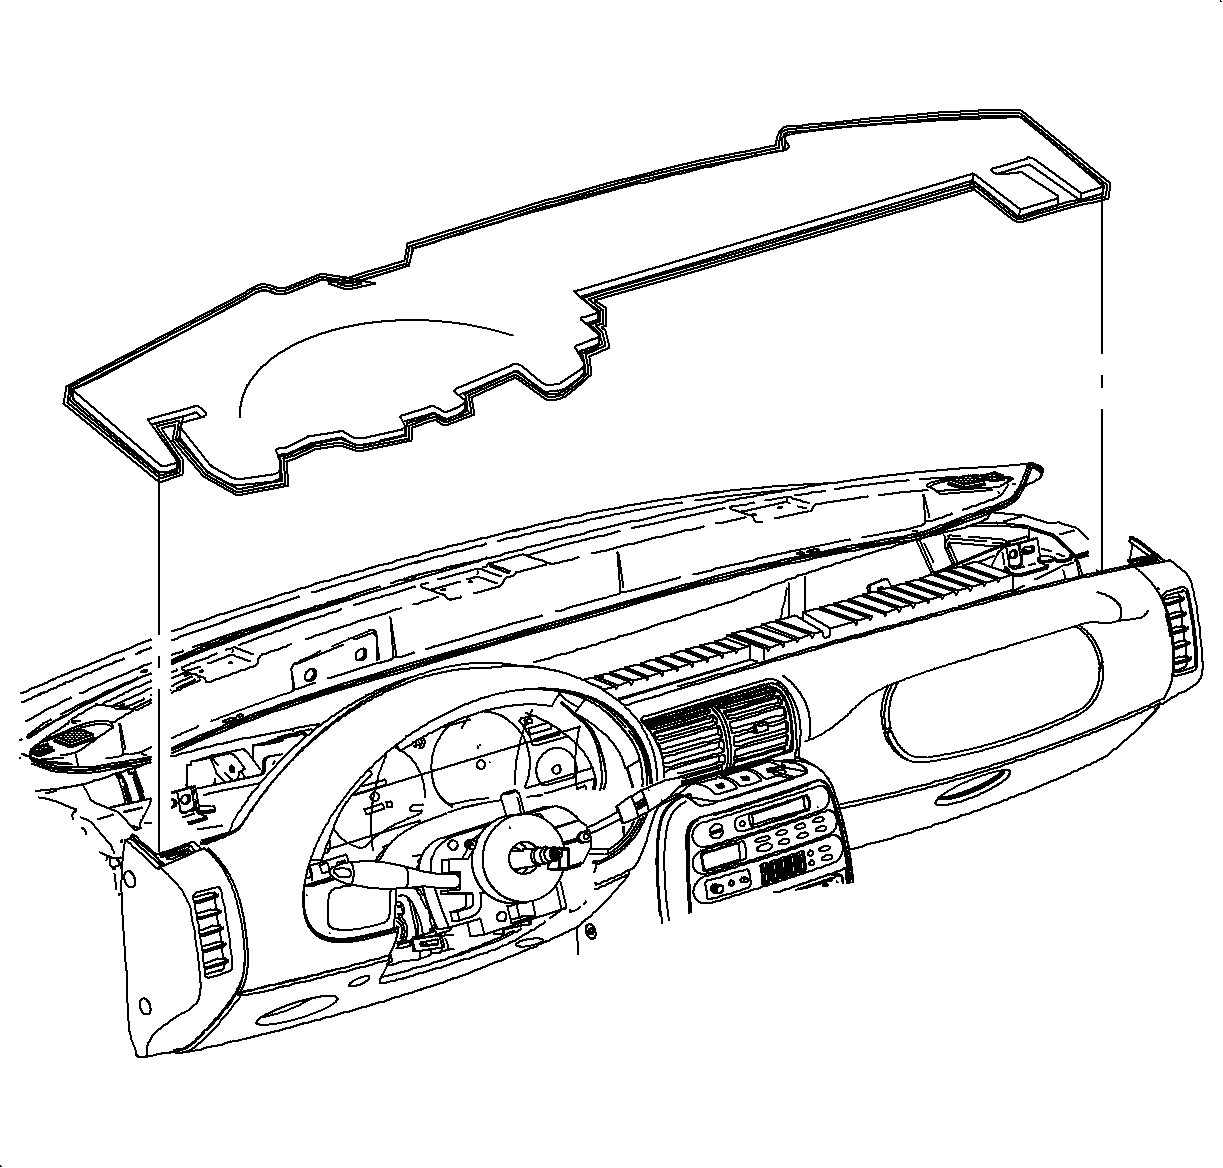
- Remove the upper trim panel screw caps by carefully
prying with a small flat-head screwdriver.
- Remove the upper trim panel screws.

- Lift the upper trim panel at the clip locations
on the rear edge to disengage the clips.
- Disengage the forward edge of the upper trim panel by lifting upward at
each outer corner, then pull rearward.
Important
Be careful not to damage the VIN plate when removing the upper trim panel.
Be careful when removing the upper trim panel, not to damage the upper trim
panel seal.
- Remove the upper trim panel.
- Remove the upper trim panel insulator.
- Remove the connector position assurance (CPA)
device and disconnect the yellow two-way connector located on the pigtail from the
passenger inflator module.
- Remove the 2 screws holding the data link connector
(DLC) to the filler
- Remove the 5 steering column filler panel screws.
- Remove the hood release cable from the lever
by releasing the cable housing, then rotating the cable downward and out.
- Remove the steering column filler panel.

- Remove the 2 upper-to-lower steering column shroud
screws and 3 lower steering column screws
- Remove the upper steering column shroud.
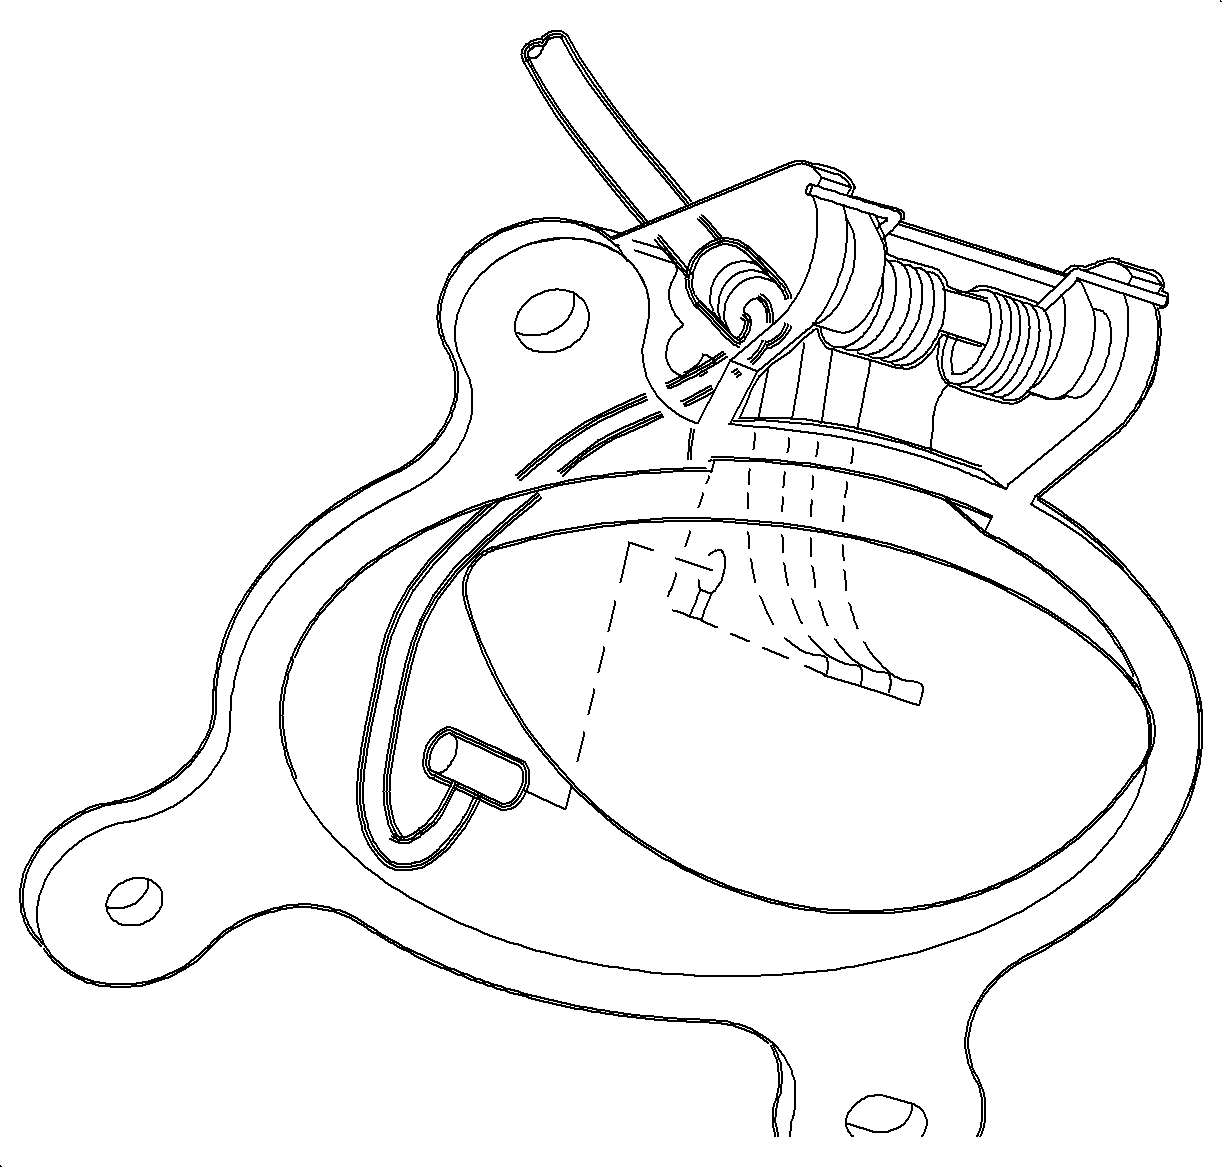
- Insert the ignition key into the ignition lock
cylinder and rotate the ignition key to ACC position
- Depress the square locking button on the top of the ignition lock cylinder
module and slide the ignition lock cylinder assembly from the ignition lock cylinder.
- With the ignition lock cylinder removed, remove the lower steering column
shroud.
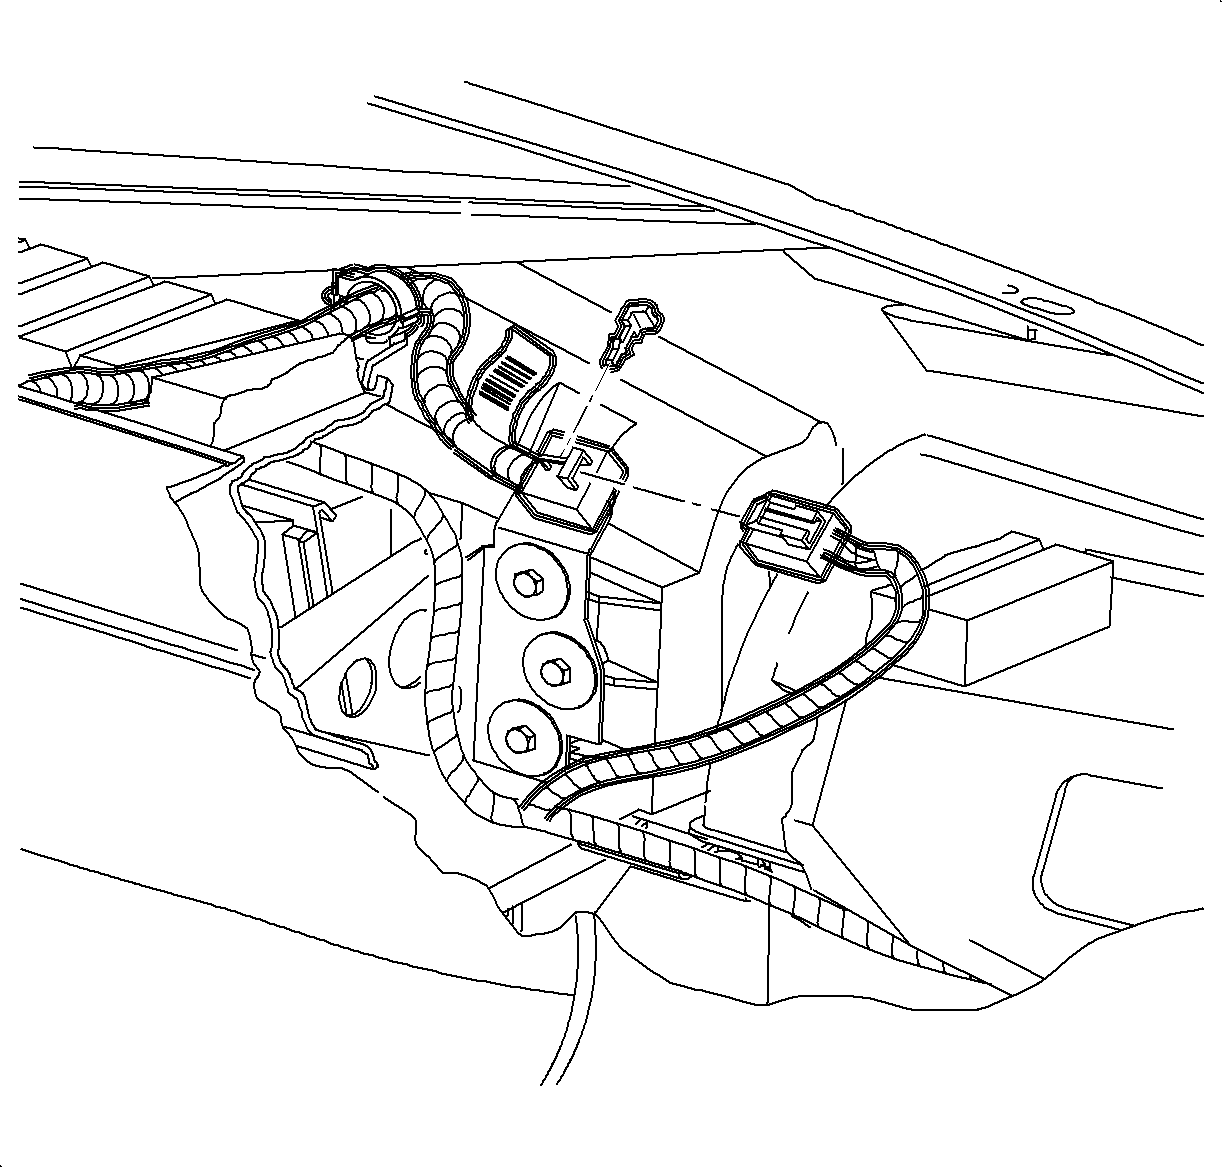
- Disconnect the ignition and start switch electrical connector.

- Remove the 2 screws holding the ignition module
assembly, and remove the ignition and start switch.
- Position the new ignition and start switch, P/N 21024682, to the
ignition module assembly, install the 2 screws and tighten.
TightenTighten the two screws to 2-3 N·m (18-27 lb in).
- Connect the electrical connector to the ignition and start the switch.
- Position the upper and lower steering column shrouds to the steering column
and install 2 upper-to-lower steering column shroud screws and 3 lower steering column
shroud-to-steering column screws.
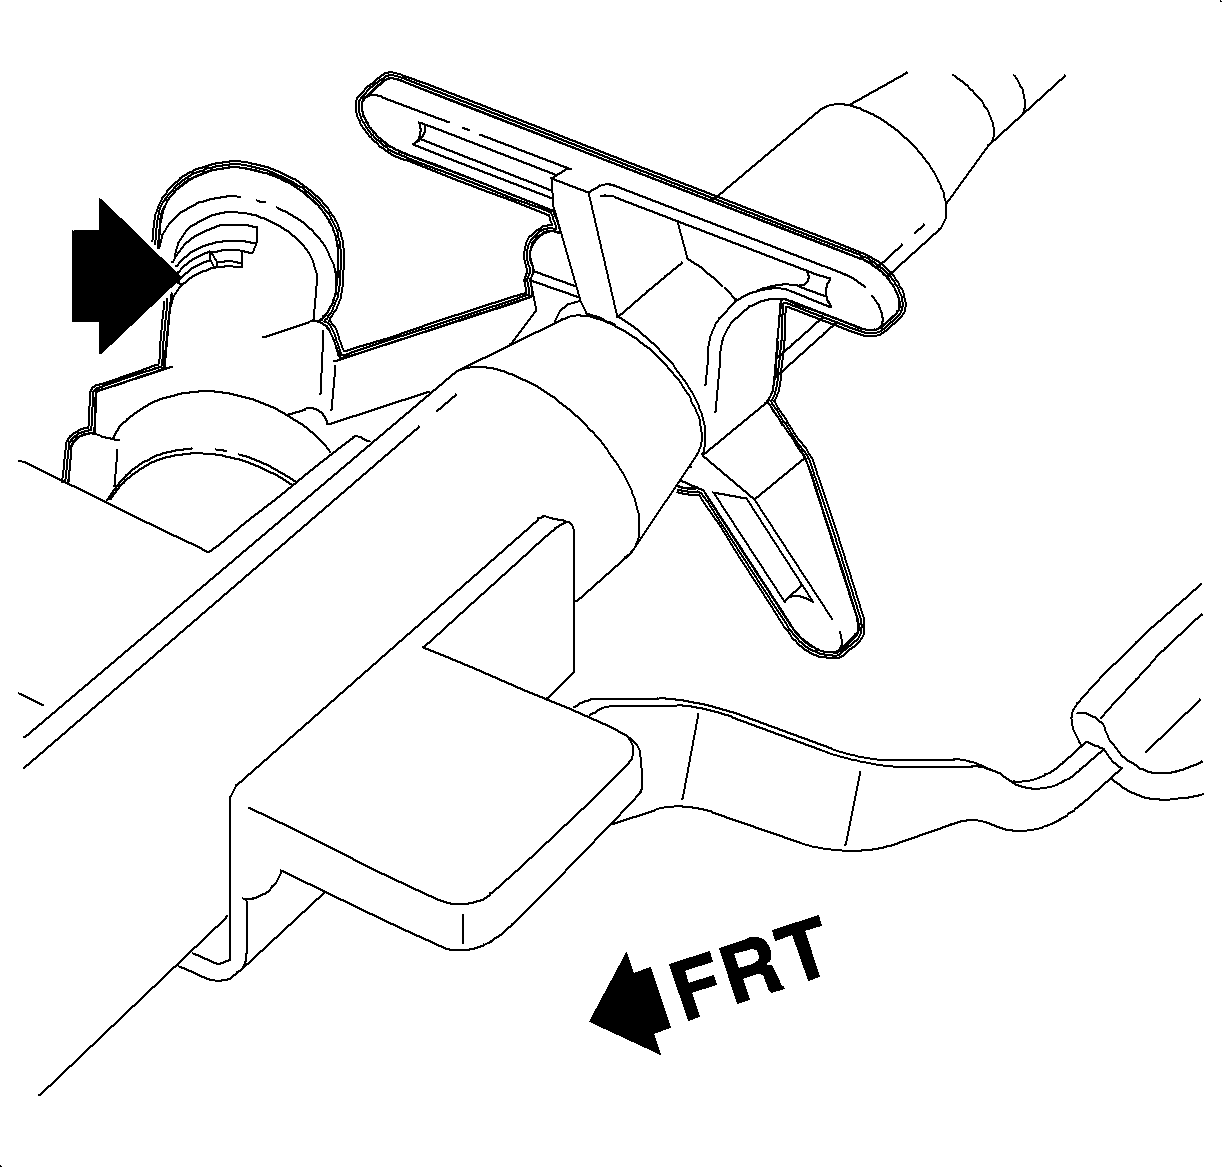
- Install the ignition lock cylinder into the ignition module.
- Route the hood release cable through the I/P,
then install the hood release cable to the lever.
- Install the steering column filler panel and data link connector (DLC).
- Install the and tighten 5 screws.
TightenTighten the 5 screws to 2.2 N·m (20 lb in).
- Turn the ignition switch to the LOCK position
and remove the key.
- Connect the yellow 2-way SIR connector at the base of the steering column
and install the connector position assurance (CPA) device to the connector.
- Install the upper trim panel insulator.
Important
- Make sure to tuck in all flaps.
- Be sure the upper trim panel seal is correctly seated on the forward edge
before installing the upper trim panel.
- Be careful not to damage the VIN plate when replacing the upper trim panel.
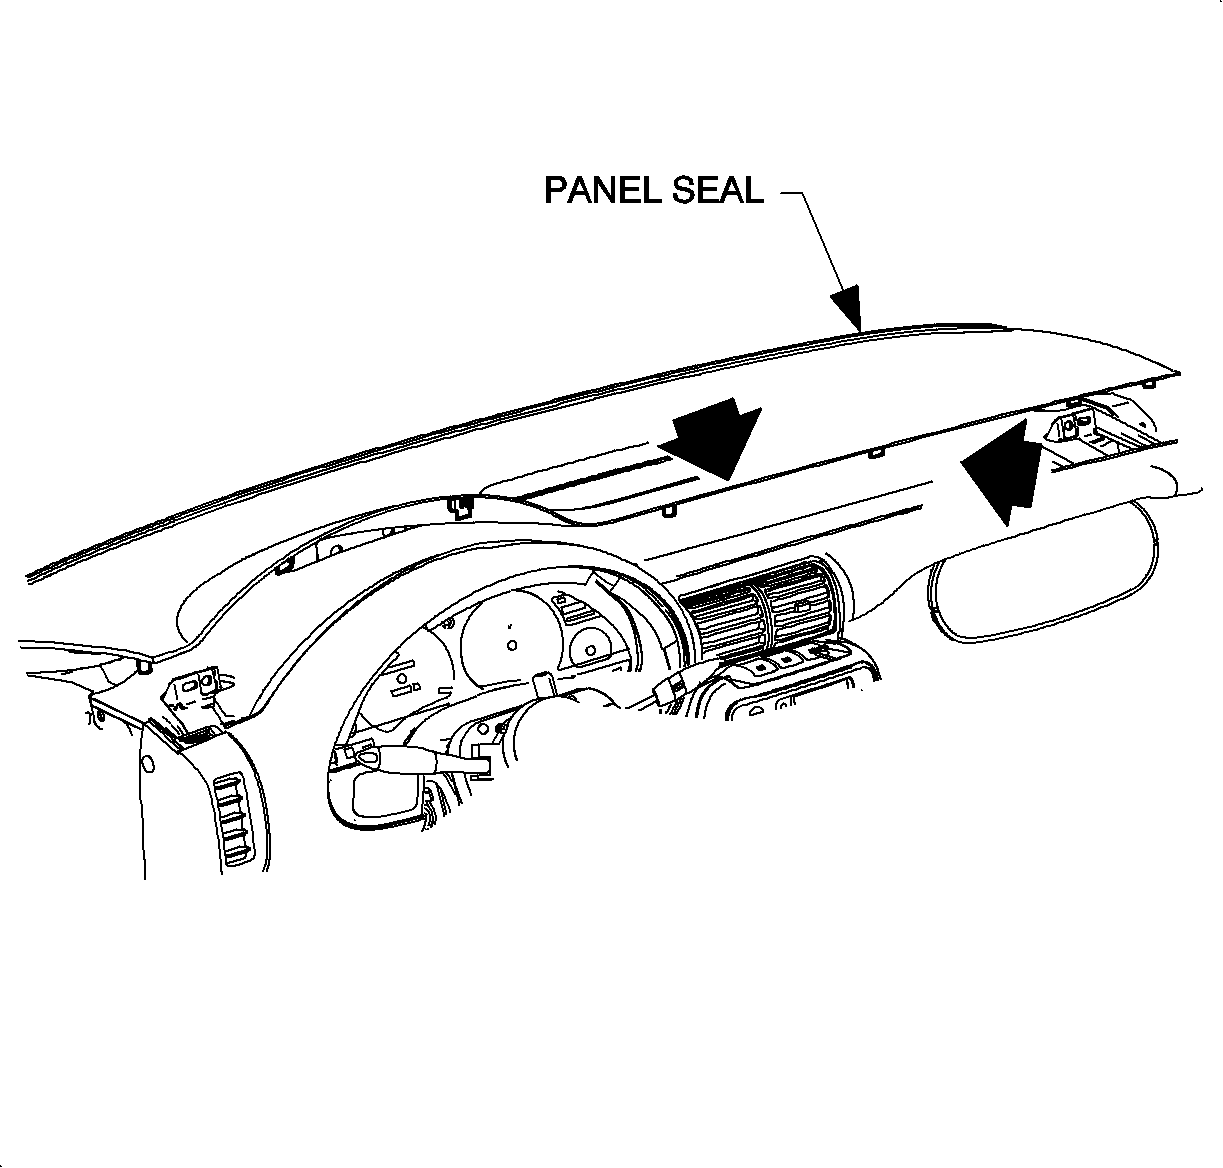
- Lower the panel, making sure the upper trim panel alignment
tabs interlock with the windshield garnish slots.
- Push down at the clip locations to secure.
- Press down firmly at the forward corners to fully engage the retainers.
- Install and tighten the screws.
- Install the screw caps.
TightenTighten the screw caps to 2.3 N·m 20 lb in).
- Install the AIR BAG fuse to the junction block.
- Turn the ignition switch to the run position and verify that the AIR BAG
warning lamp flashes 7 times and then turns OFF. If it does not operate as described,
perform the SIR Diagnostic System Check in the 1998 SIR Service Manual.
Parts Requirement:
Part Number
| Description
|
21024682
| Switch Asm -- Ign & Start
|
Claim Information:
| To receive credit for this repair during the warranty coverage period, submit
a claim through the Saturn Dealer System as Follows:
|
--
| Case Type
| Description
| Labor Operation Code
| Time
|
--
| VW
| Ignition Switch Replace
| N2320
| 1.2 hrs
|
GM bulletins are intended for use by professional technicians,
NOT a "do-it-yourselfer". They are written to inform these
technicians of conditions that may occur on some vehicles, or to
provide information that could assist in the proper service of a
vehicle. Properly trained technicians have the equipment,
tools, safety instructions, and know-how to do a job properly and
safely. If a condition is described, DO NOT assume that the
bulletin applies to your vehicle, or that your vehicle will have
that condition. See your GM dealer for information on whether
your vehicle may benefit from the information.
|

|
WE SUPPORT VOLUNTARY TECHNICIAN CERTIFICATION
|
© Copyright General Motors Corporation.
All Rights Reserved.