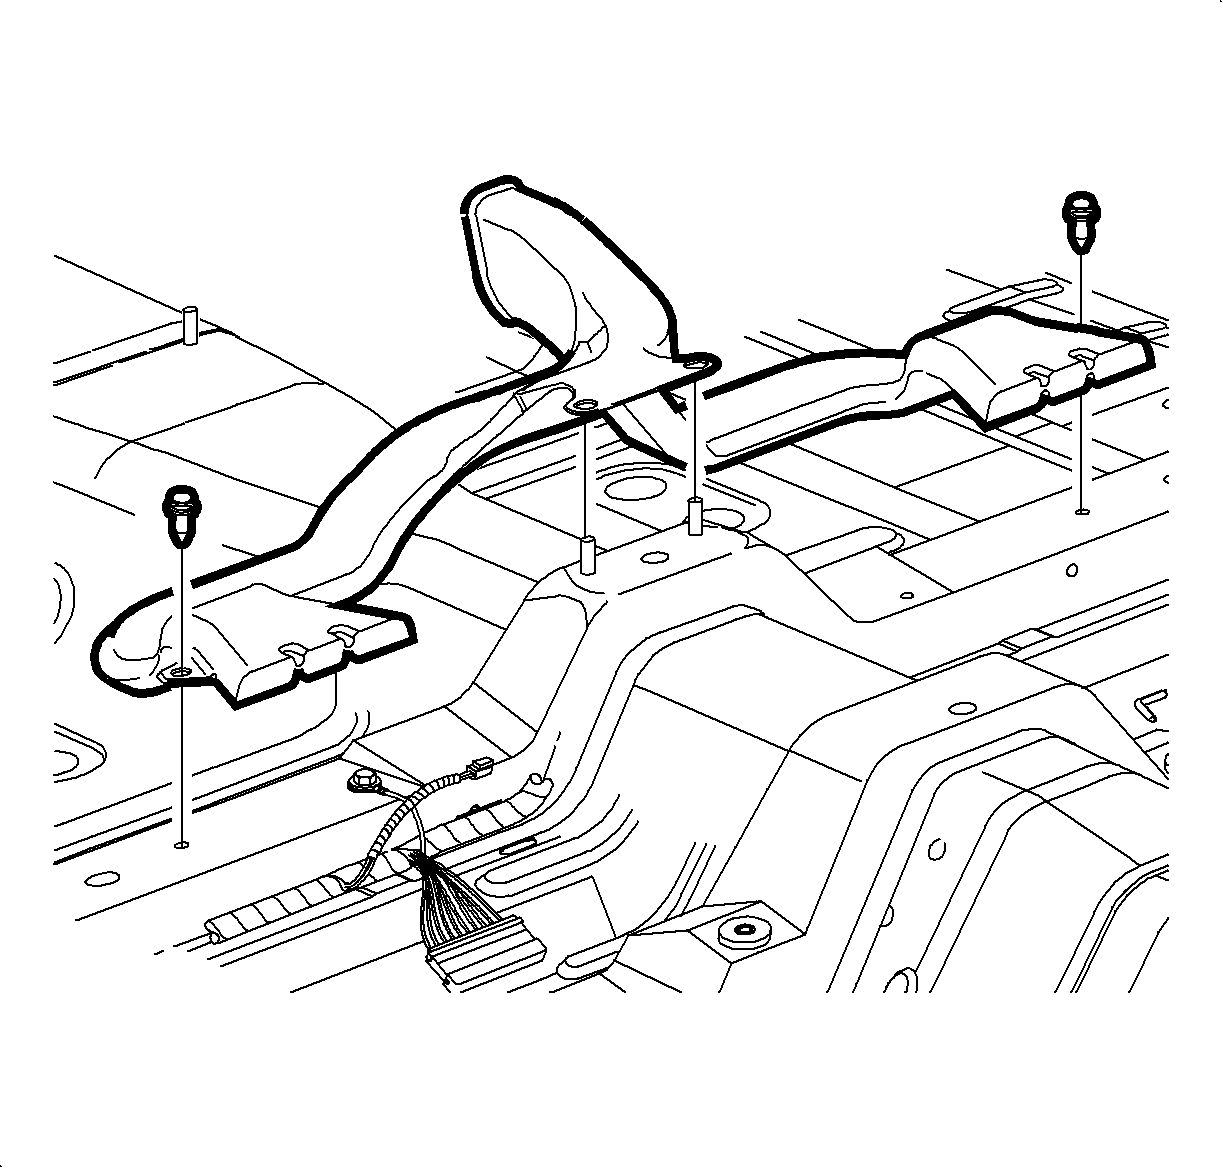

- Install the rear floor heater duct in position under the carpet.
- Install the rear floor heater duct on the rear shifter studs.
Notice
Refer to Fastener Notice in Cautions and Notices.
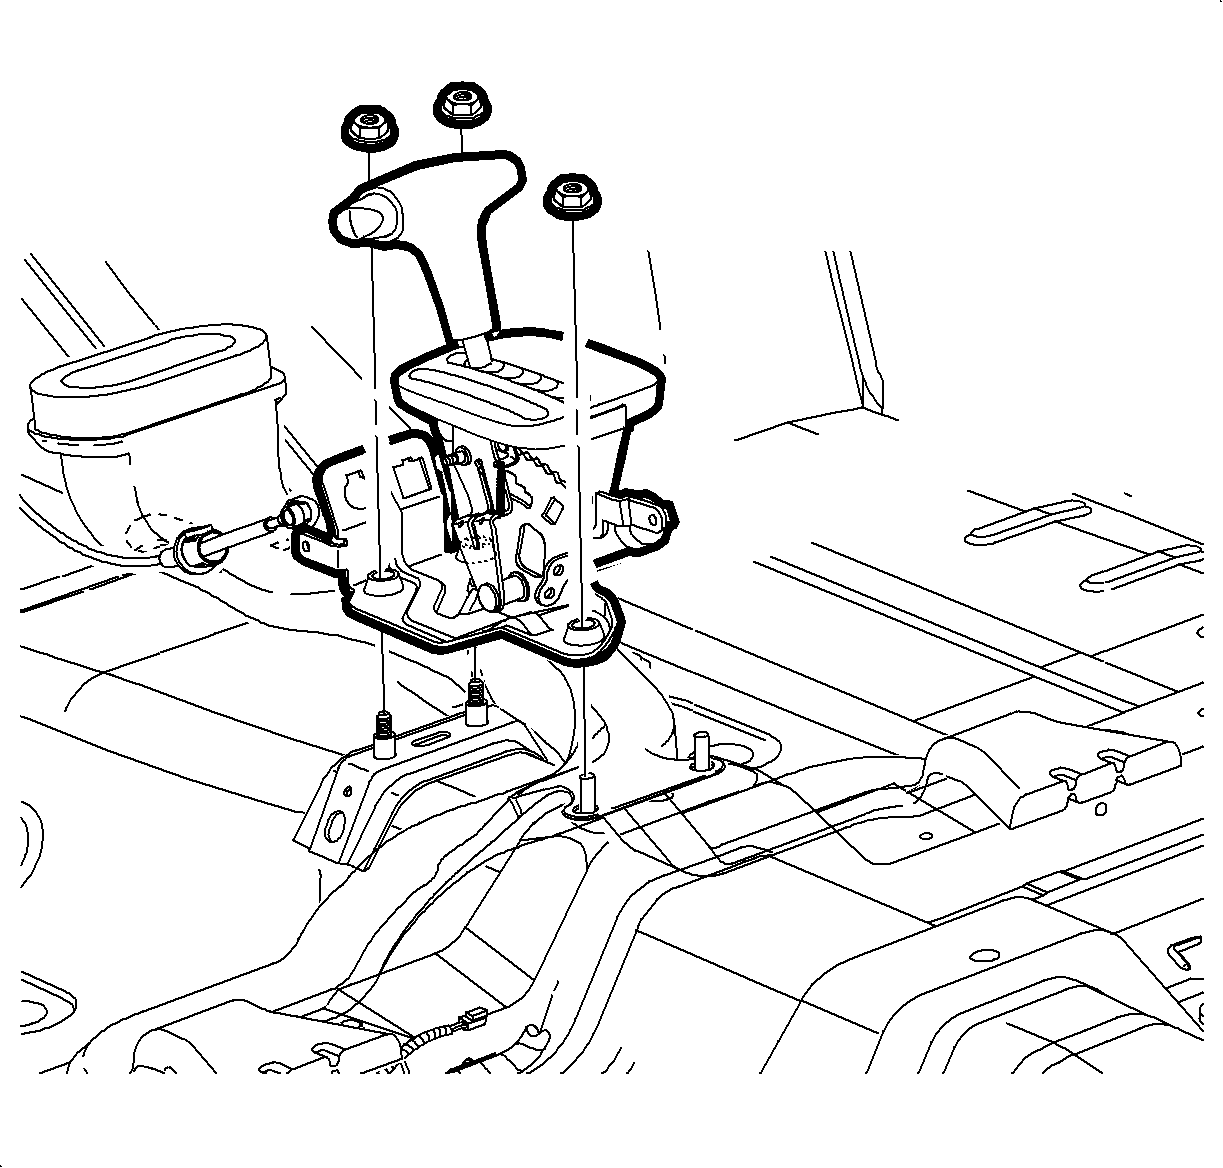
- Install the shifter nuts.
TightenTighten the shifter nuts to 25 N·m (18 lb ft).
- Install the push nuts on the rear floor heater duct.
Important
The pawl must be locked into the third windows on both seat adjuster tracks
for proper installation. Handle the seat assembly with extreme care to prevent damage
to the seat mounting surface.
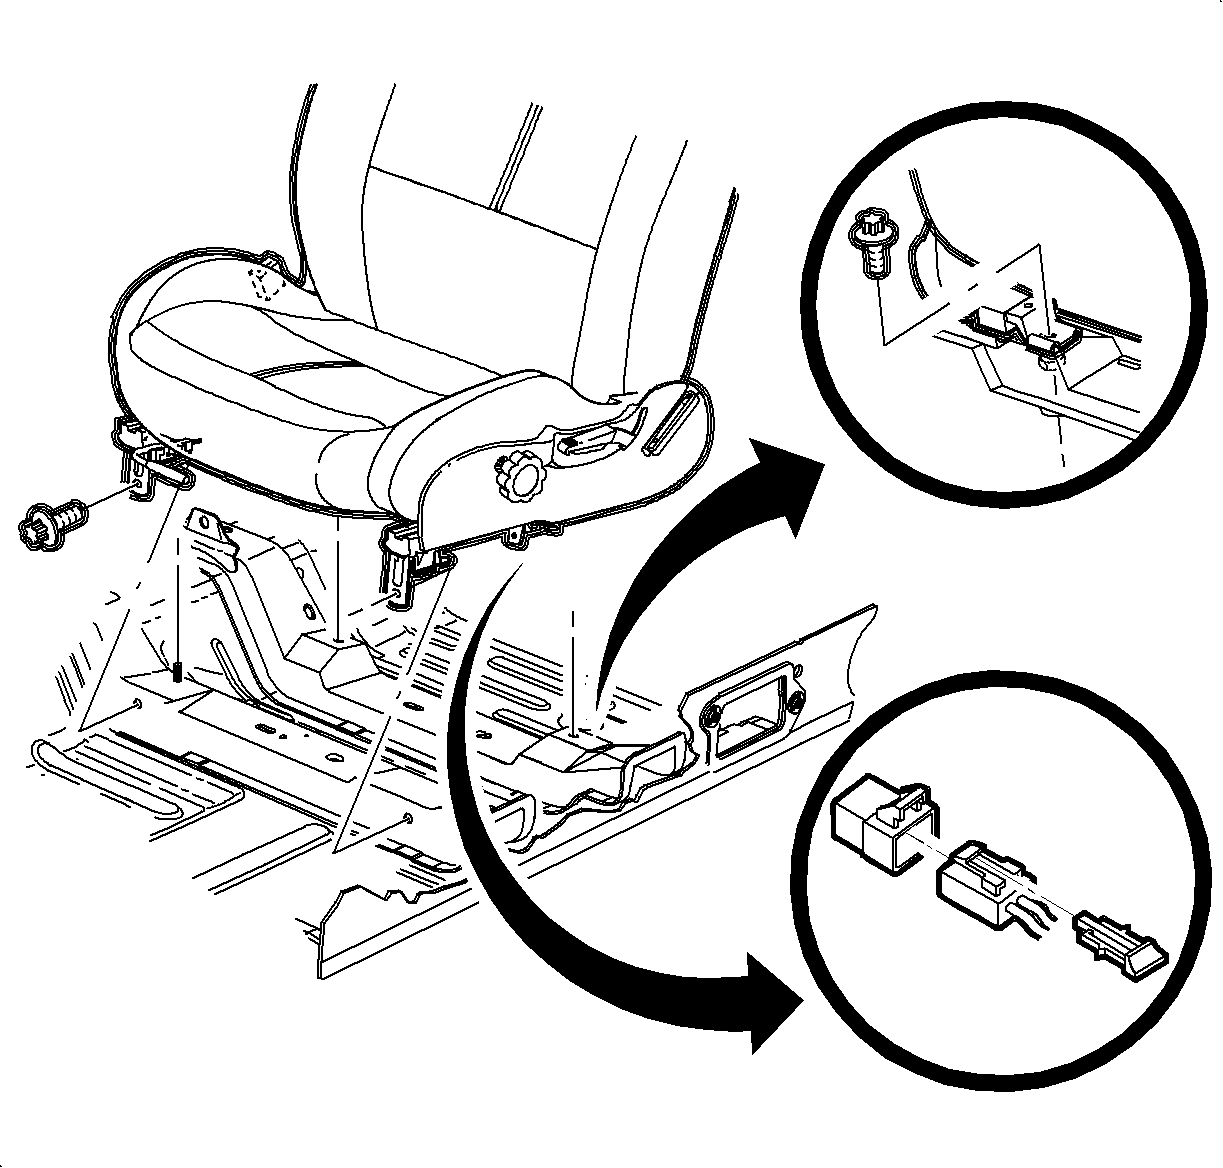
- Install the seat:
- Activate the seat adjuster assemblies by releasing the adjuster lever.
- Position the seat cushion assembly forward to allow the pawls attached
to the seat track to lock in the third windows on both of the seat adjuster tracks.
- Carefully place the seat in the vehicle.
- Position the seat to the vehicle, tilt the seat backwards and connect
the seat mount buckle unit wiring harness.
- Apply Loctite®
242 Threadlocker P/N 21485277 or equivalent to the 4 seat bolts. Install
the following 3 seat bolts in the following order:
- Rear inboard
- Rear outboard
- Front outboard
TightenTighten the seat bolts to 35 N·m (26 lb ft).
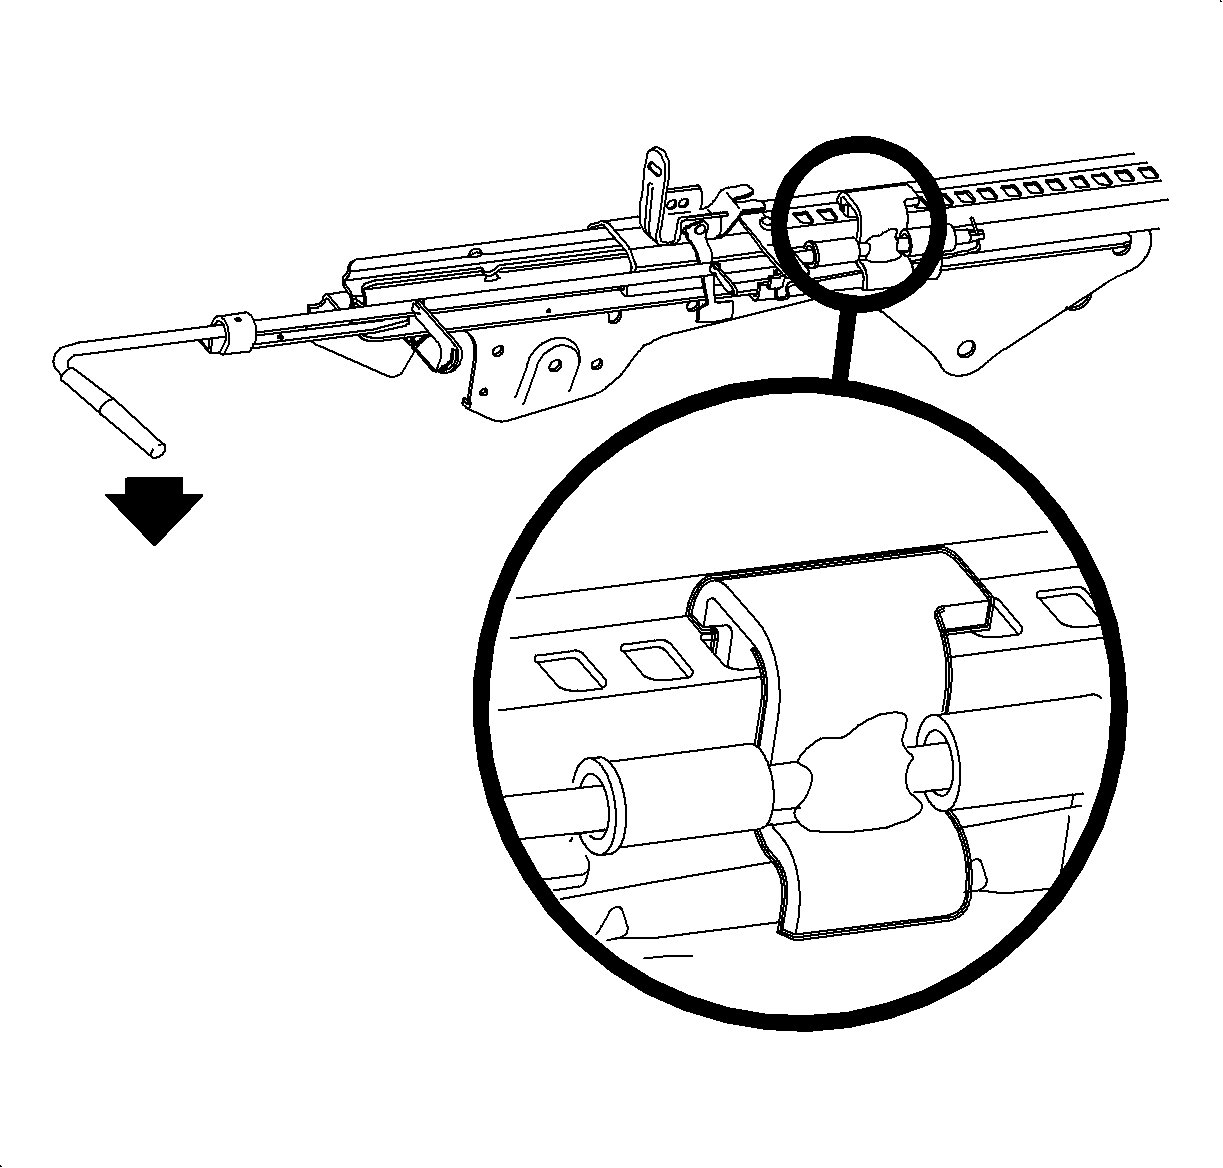
- Move the seat assembly to the full rearward position by activating the
seat adjuster lever.
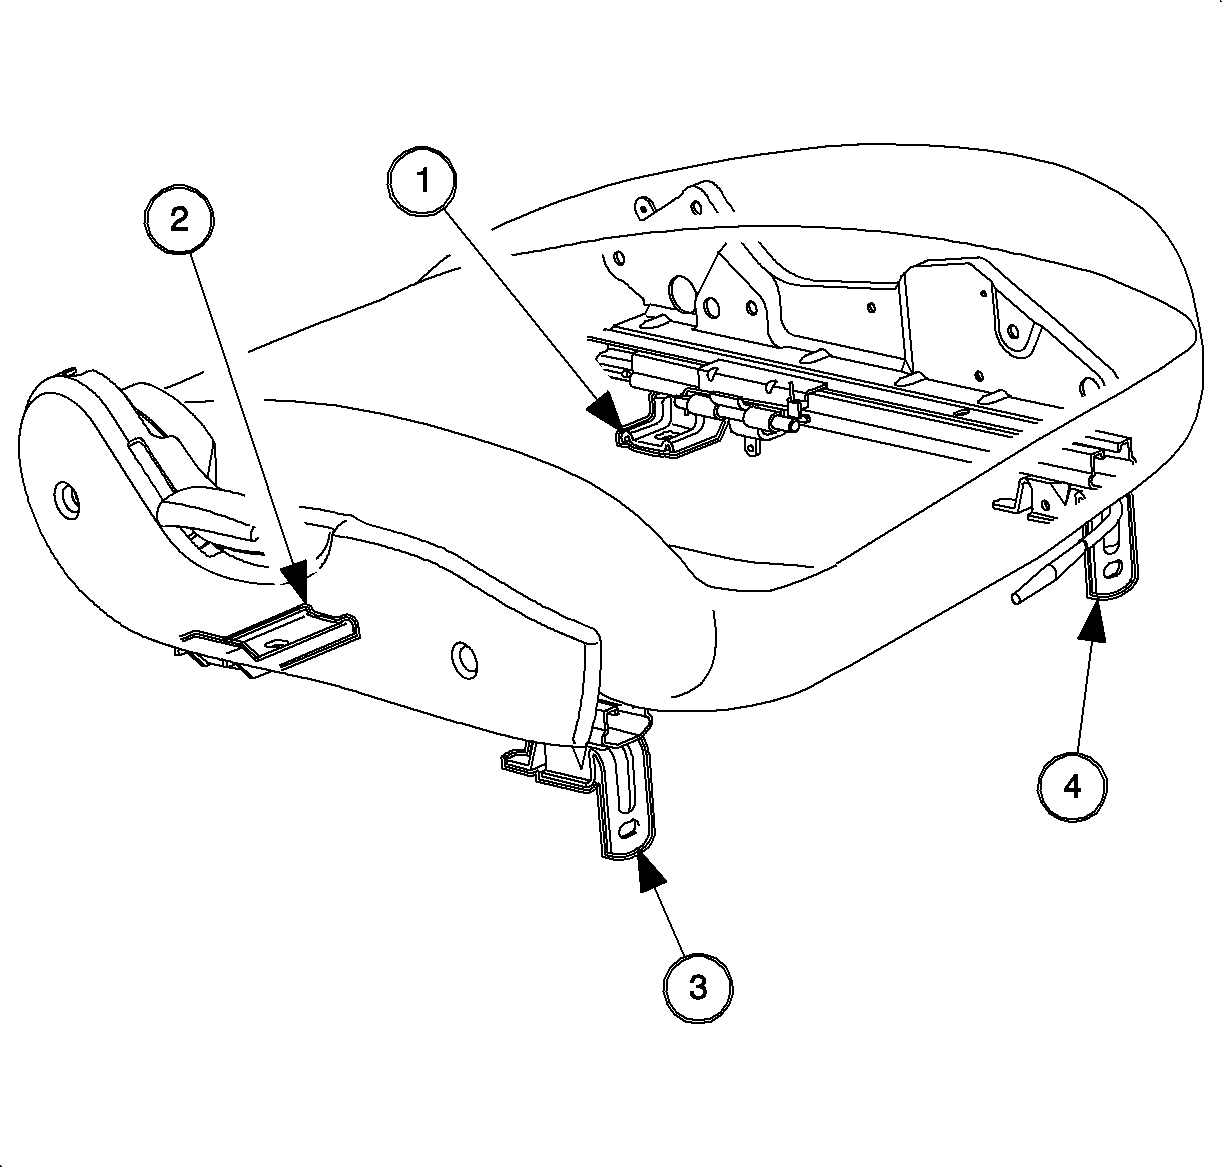
- Install the front inboard seat bolt (4) .
TightenTighten the front inboard seat bolt to 35 N·m (26 lb ft).
- Sit in the seat. Buckle and unbuckle the seat belt to ensure proper operation.
- Activate the adjuster lever and move the seat to various positions along
the seat tracks to ensure proper operation. The seat should lock at each desired position.
- Install the console. Refer to
Console Replacement
.
- Enable the SIR system. Refer to
Disabling the SIR System
in SIR.