Document ID# 867822
1998 Saturn SL2/SC2/SW2
 

Condenser Replacement

Removal Procedure

    Object Number: 873194  Size: SH
    Click here for detailed picture of above image.

    Important

    Verifying the purity of the refrigerant with a refrigerant purity identifier before recovery is recommended.

  1. Recover the refrigerant using an approved refrigerant recovery system.
  2. Remove the left front headlamp assembly to gain access to the fitting.
  3. Remove the compressor discharge hose from the condenser inlet.
  4. Caution

    To avoid any vehicle damage, serious personal injury or death when major components are removed from the vehicle and the vehicle is supported by a hoist, support the vehicle with jack stands at the opposite end from which the components are being removed.


    Object Number: 860205  Size: SH
    Click here for detailed picture of above image.
  5. Raise the vehicle.
  6. Refer to Lifting and Jacking the Vehicle in General Information.
  7. Remove the lower splash shield.

  8. Object Number: 862437  Size: SH
    Click here for detailed picture of above image.
  9. Remove the receiver-dehydrator hose from the condenser outlet.

  10. Object Number: 862479  Size: SH
    Click here for detailed picture of above image.
  11. Remove the condenser bracket-to-radiator bolts.

  12. Object Number: 862483  Size: SH
    Click here for detailed picture of above image.
  13. Facing the vehicle, pull the condenser back slightly to release it from the mounting pads. Carefully slide the condenser straight down.
Installation Procedure

    Object Number: 862336  Size: SH
    Click here for detailed picture of above image.
  1. Carefully slide the condenser up and install on the mounting pads.
  2. Notice

    Refer to Fastener Notice in Cautions and Notices.


    Object Number: 862479  Size: SH
    Click here for detailed picture of above image.
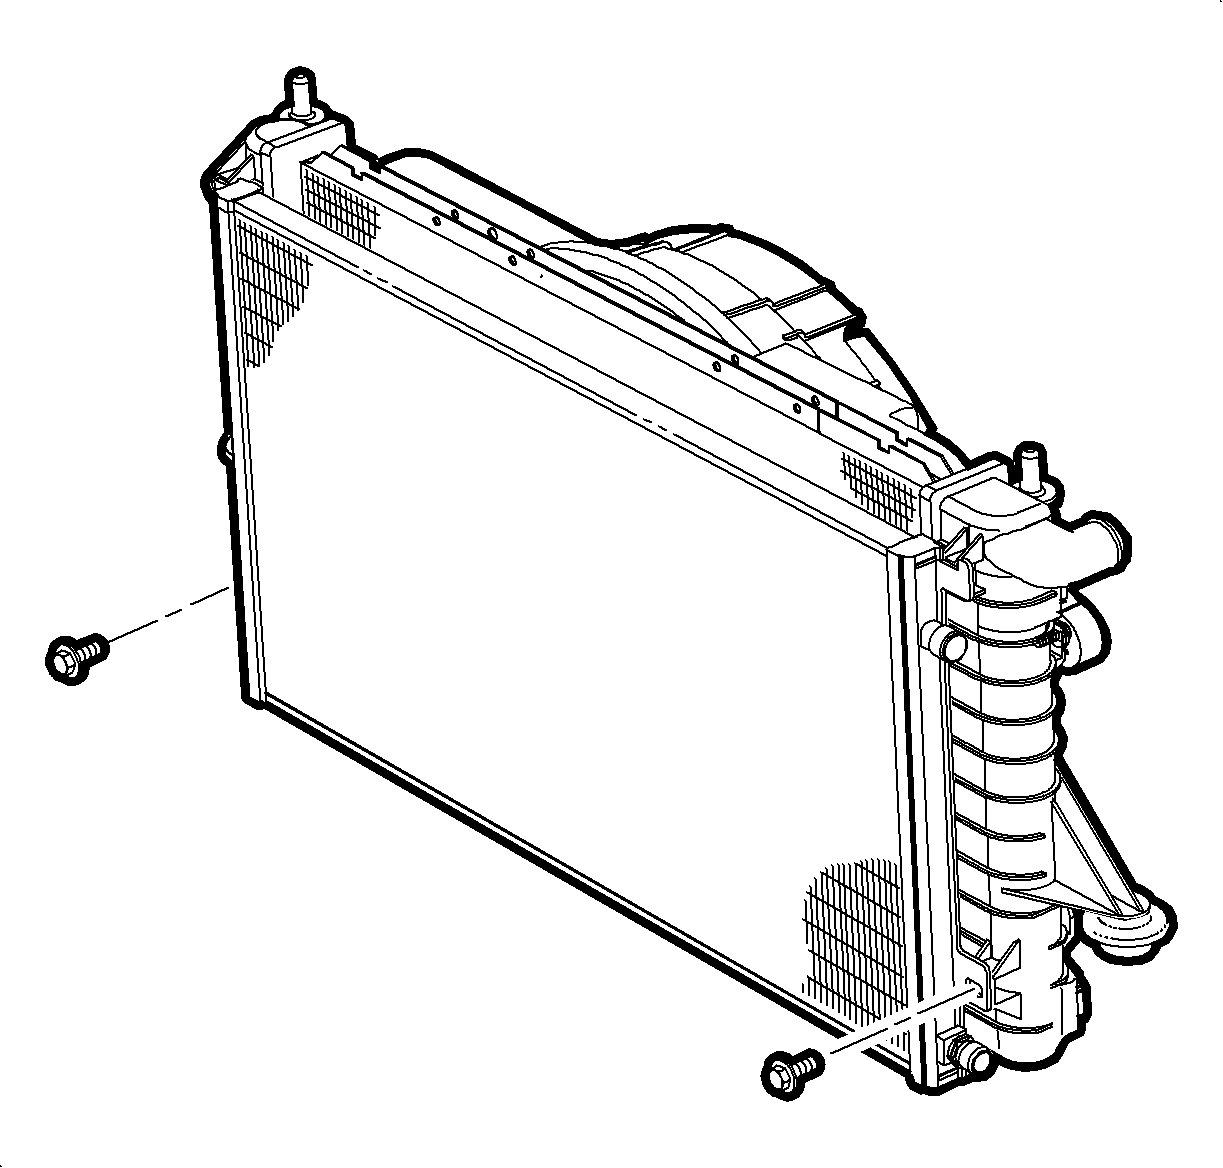
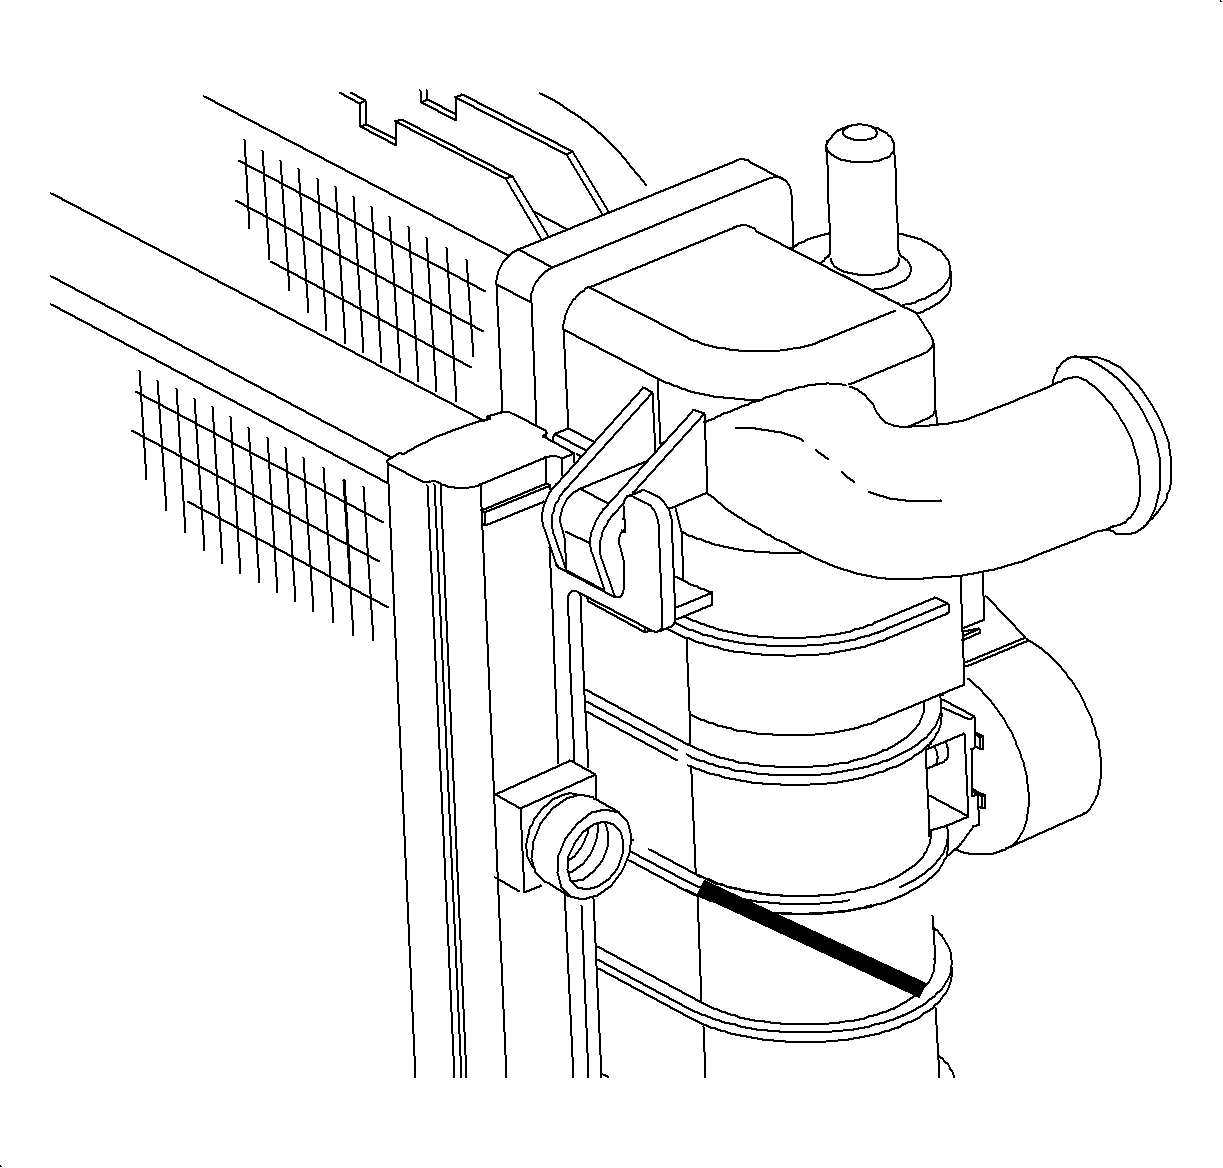
  3. Install the condenser bracket-to-radiator bolts.
  4. Tighten

    Tighten the condenser bracket-to-radiator bolts to 6 N·m (60 lb in).

    Notice

    Use only Polyalkylene Glycol Synthetic Refrigerant Oil (PAG) for internal circulation through the R-134a A/C system and only 525 viscosity mineral oil on fitting threads and O-rings. If lubricants other than those specified are used, compressor failure and/or fitting seizure may result.


    Object Number: 862437  Size: SH
    Click here for detailed picture of above image.
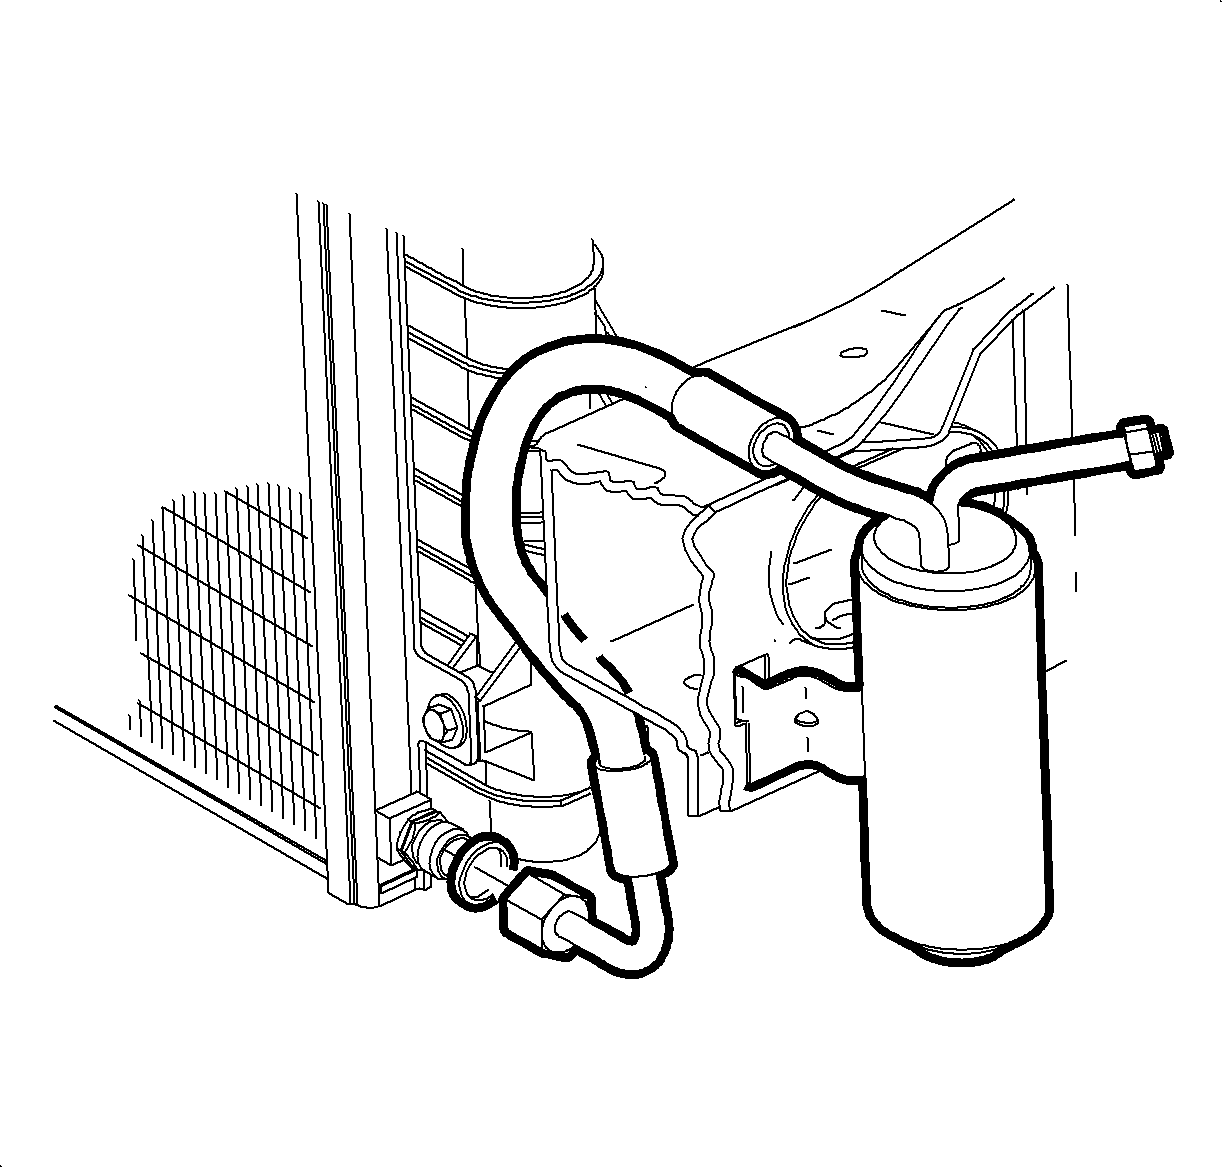
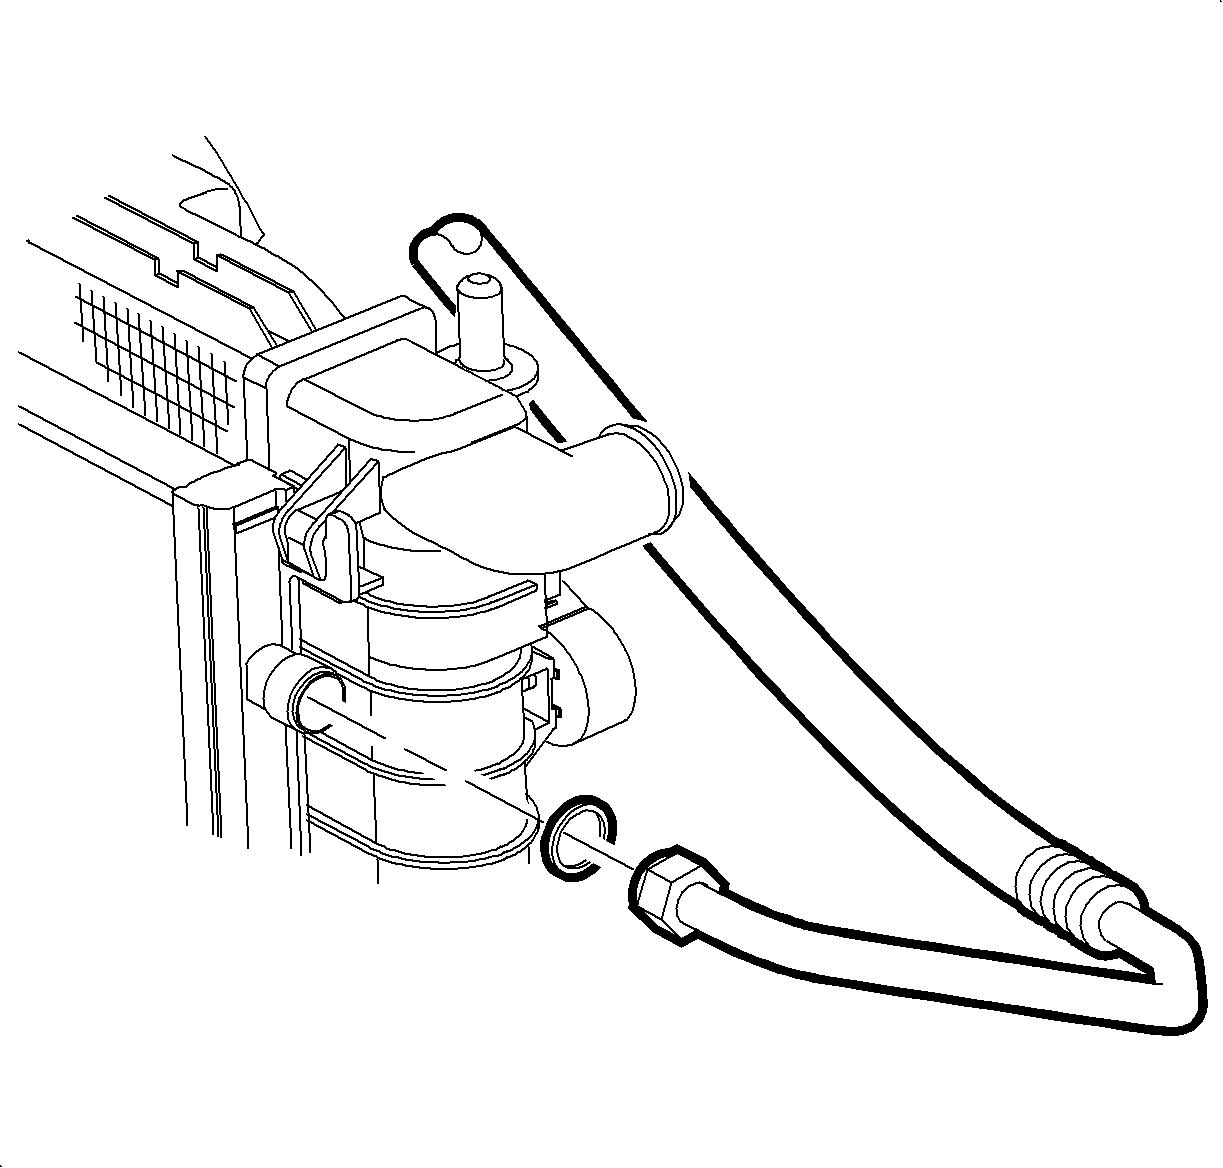
  5. Lubricate with R-12 Refrigerant mineral oil and install a new O-ring on the receiver-dehydrator hose.
  6. Important

    Make sure the receiver-dehydrator hose is parallel with the condenser after tightening the fitting. This will provide the hose clearance to the body and frame, avoiding potential damage to the hose.

  7. Install the receiver-dehydrator hose to the condenser outlet.
  8. Tighten

    Tighten the receiver-dehydrator hose-to-condenser outlet to 16.5 N·m (12 lb ft).


    Object Number: 860205  Size: SH
    Click here for detailed picture of above image.
  9. Install the lower splash shield.
  10. Lower the vehicle.
  11. Notice

    Use only Polyalkylene Glycol Synthetic Refrigerant Oil (PAG) for internal circulation through the R-134a A/C system and only 525 viscosity mineral oil on fitting threads and O-rings. If lubricants other than those specified are used, compressor failure and/or fitting seizure may result.


    Object Number: 873194  Size: SH
    Click here for detailed picture of above image.
  12. Lubricate with R-12 Refrigerant oil (mineral) and install a new O-ring on the compressor discharge hose.
  13. Important

    Make sure the discharge hose pipe is parallel to the line on the radiator end tank. This will prevent the discharge hose from contacting the suction hose and transaxle oil cooler lines, avoiding potential damage to the hoses.

  14. Install the compressor discharge hose to the condenser inlet.
  15. Tighten the fitting.
  16. Tighten

    Tighten the discharge hose-to-condenser inlet to 23.5 N·m (17 lb ft).

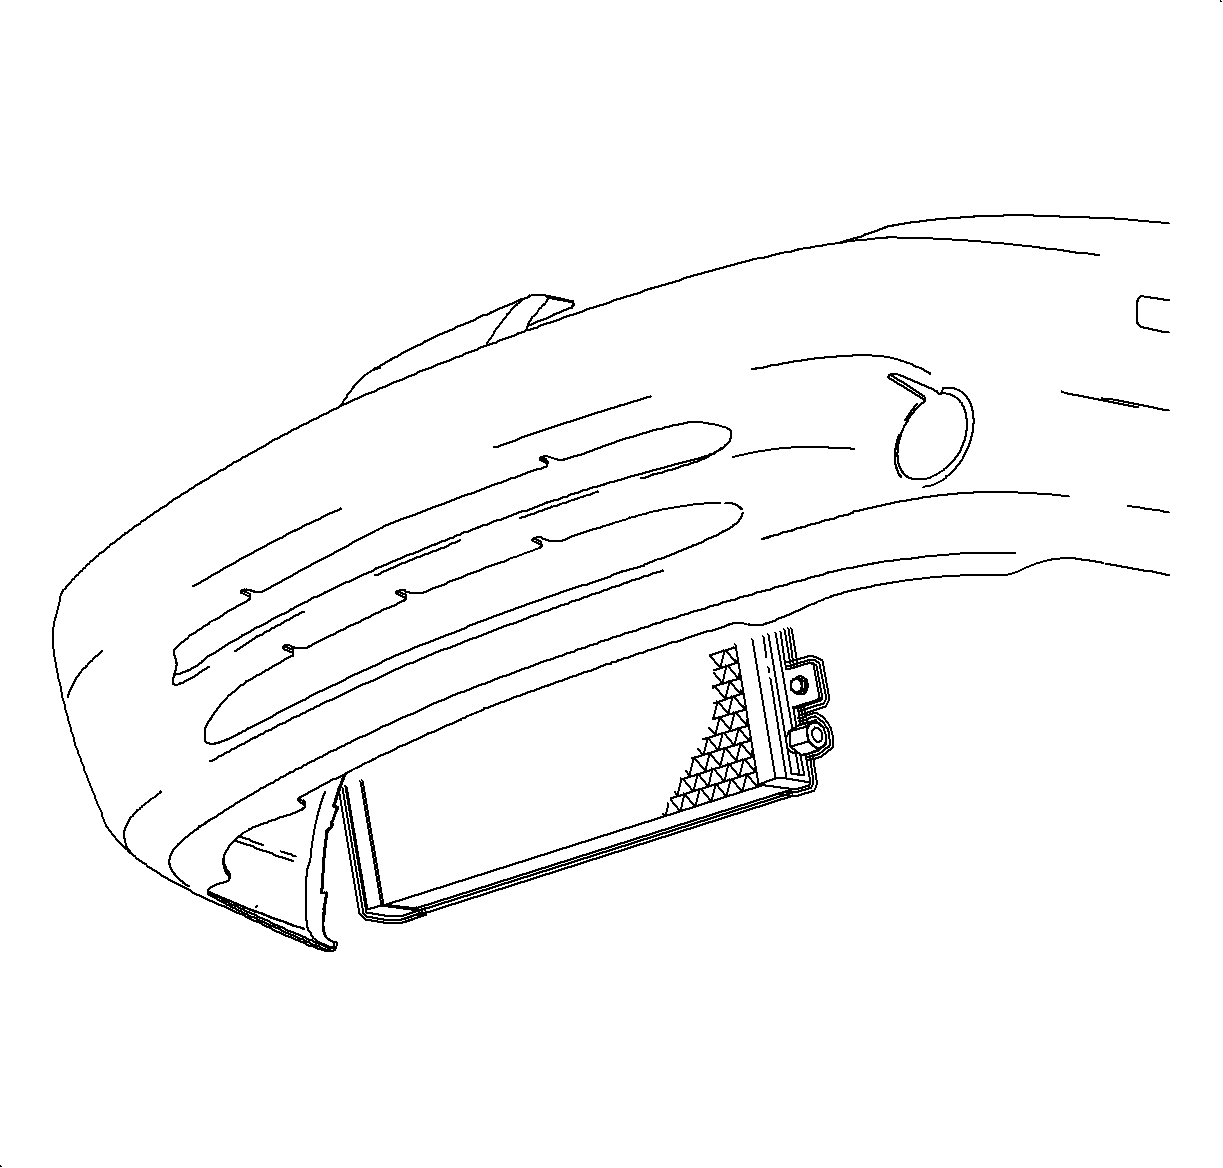
  17. Install the left front headlamp assembly.
  18. Evacuate, charge, and leak test the A/C system.

  Document ID# 867822
1998 Saturn SL2/SC2/SW2