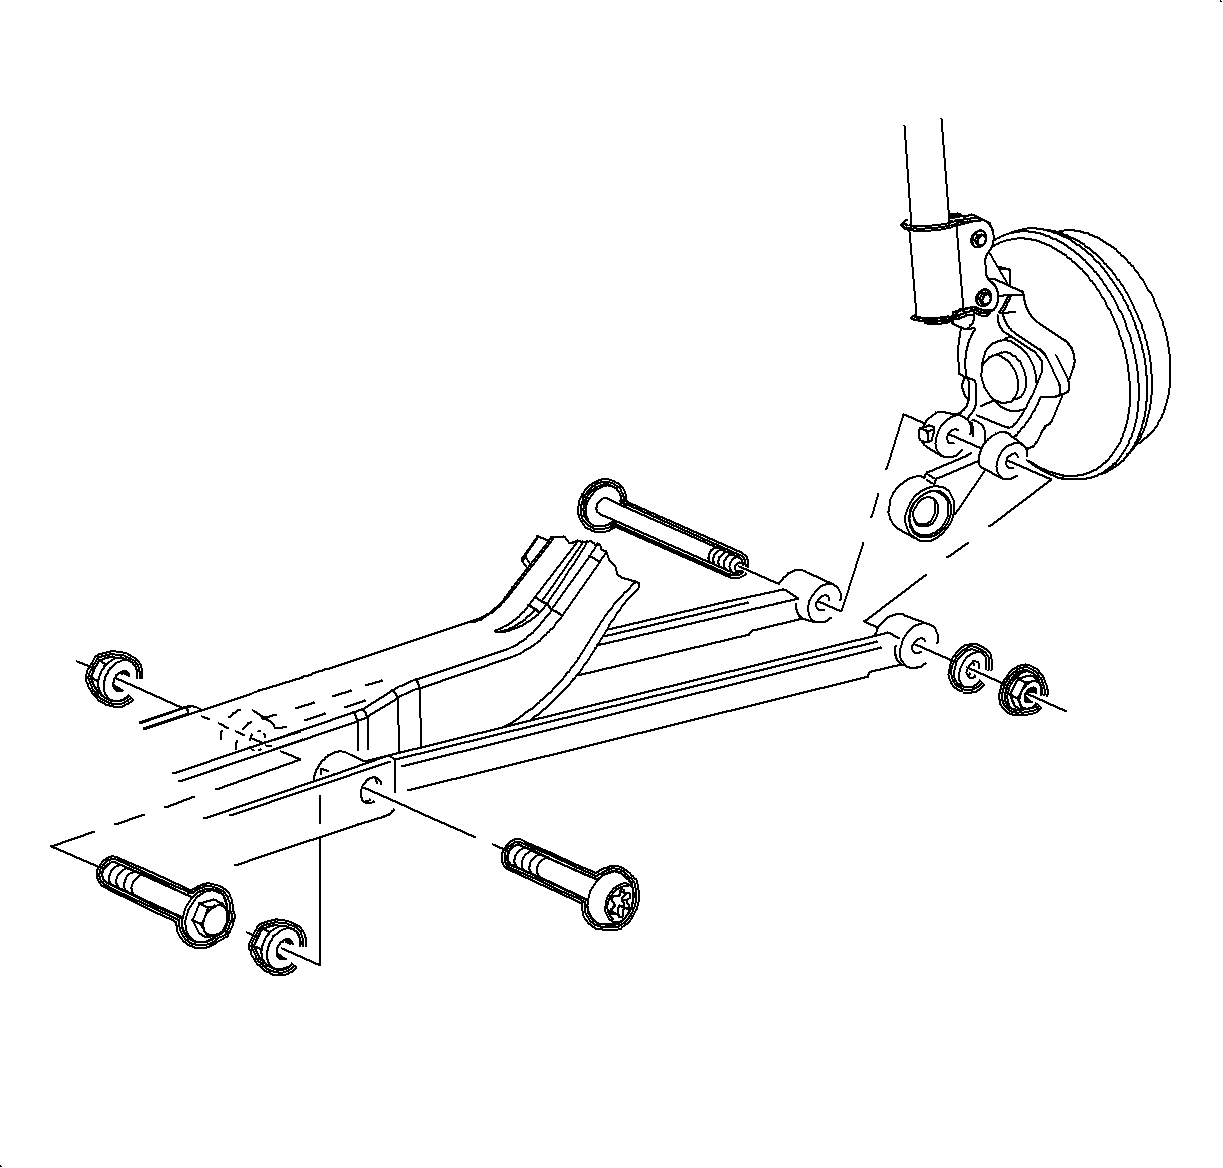
- Install the lateral link into the crossmember and the install fastener.
Important
If rear lateral link is being replaced, remove anti-rotation tab on fastener
nut. The tab is not required for service. Do not torque at this time.
- Install the lateral link into the knuckle. Install fastener.
Important
Do not torque at this time.
- Install the crossmember to the vehicle. Align the crossmember to the body using
a 3/8 in rod at the alignment hole and slot.
Notice
Refer to Fastener Notice in Cautions and Notices.
Important
New bolts of the correct size and at the correct location must be used.
- Install the 4 crossmember-to-body fasteners.
TightenTighten the crossmember-to-body fastener to 120 N·m (89 lb ft).

- Torque lateral link-to-crossmember
fastener. If front lateral link is being replaced, use
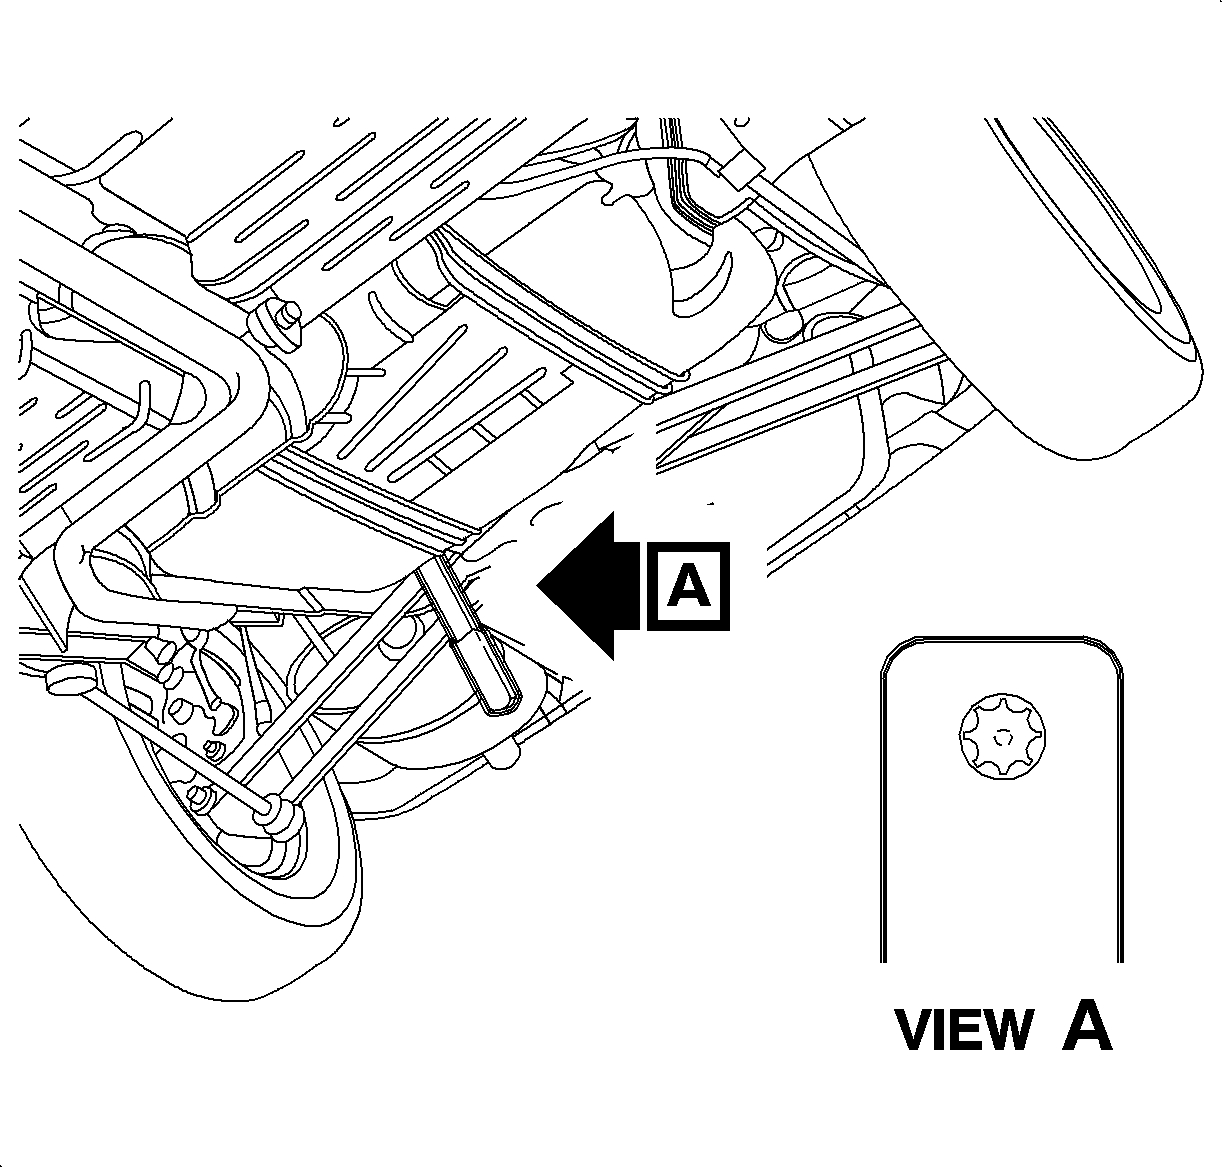
SA9411C
to prevent TORX bolt rotation while torquing the fastener.
TightenTighten the lateral link-to-crossmember fastener to 120 N·m (89 lb ft).
- Torque the lateral link-to-knuckle fastener.
TightenTighten the lateral link-to-knuckle fastener to 165 N·m (122 lb ft).
- Secure the rear brake pipes to the underbody with the plastic clip and
nut at the stud.
Notice
Before installing wheels, remove rust or corrosion from wheel mounting surfaces
and brake rotors/drums. Failure to do so can cause wheel nuts to loosen in service.
- Position the wheel onto the hub.
- Install the wheel nuts and tighten the wheel nuts in a crisscross pattern.
Repeat the tightening pattern to ensure the torque is correct.
TightenTighten the wheel nuts to 140 N·m (103 lb ft).
- Lower the vehicle from the hoist.
- Perform the vehicle alignment. Refer to
Wheel Alignment Specifications
in Wheel Alignment.