Front Fender Chips Paint of Fascia at Forward Tip (Install Front Fender Spacer Blocks and Repair Paint Damage #98-T-29 - (Dec 18, 2002)
Front Fender Chips Paint of Fascia at Forward Tip (Install Front
Fender Spacer Blocks and Repair Paint Damage.)1996 -- 1998 Saturn SL2 Sedans and SW2 Wagons.
Condition
Some customers may comment that paint appears to be chipped on the fascia, beneath
forward most tip of the front fender.
Cause
High ambient temperatures in combination with direct sunlight cause thermal
growth of fender and fascia, resulting in interference condition at the forward most
tip of the front fender. This causes the thermoplastic olefin (TPO) beneath the paint
to yield, giving an appearance of a paint chip. Some fenders may also have a clearcoat
drip at the forward tip, which increases and localizes the interference between the
fender and fascia.
Correction
Trim ribs from fascia and/or remove fender clearcoat drip (if present). Install
urethane spacer block inside forward tip of front fender using a the following procedure
and repair paint damage as necessary.
Procedures
- Remove front fascia. (Refer to " Front Fascia" removal procedure
in the "Front End" section of the "Body/Repair Service Manual.")
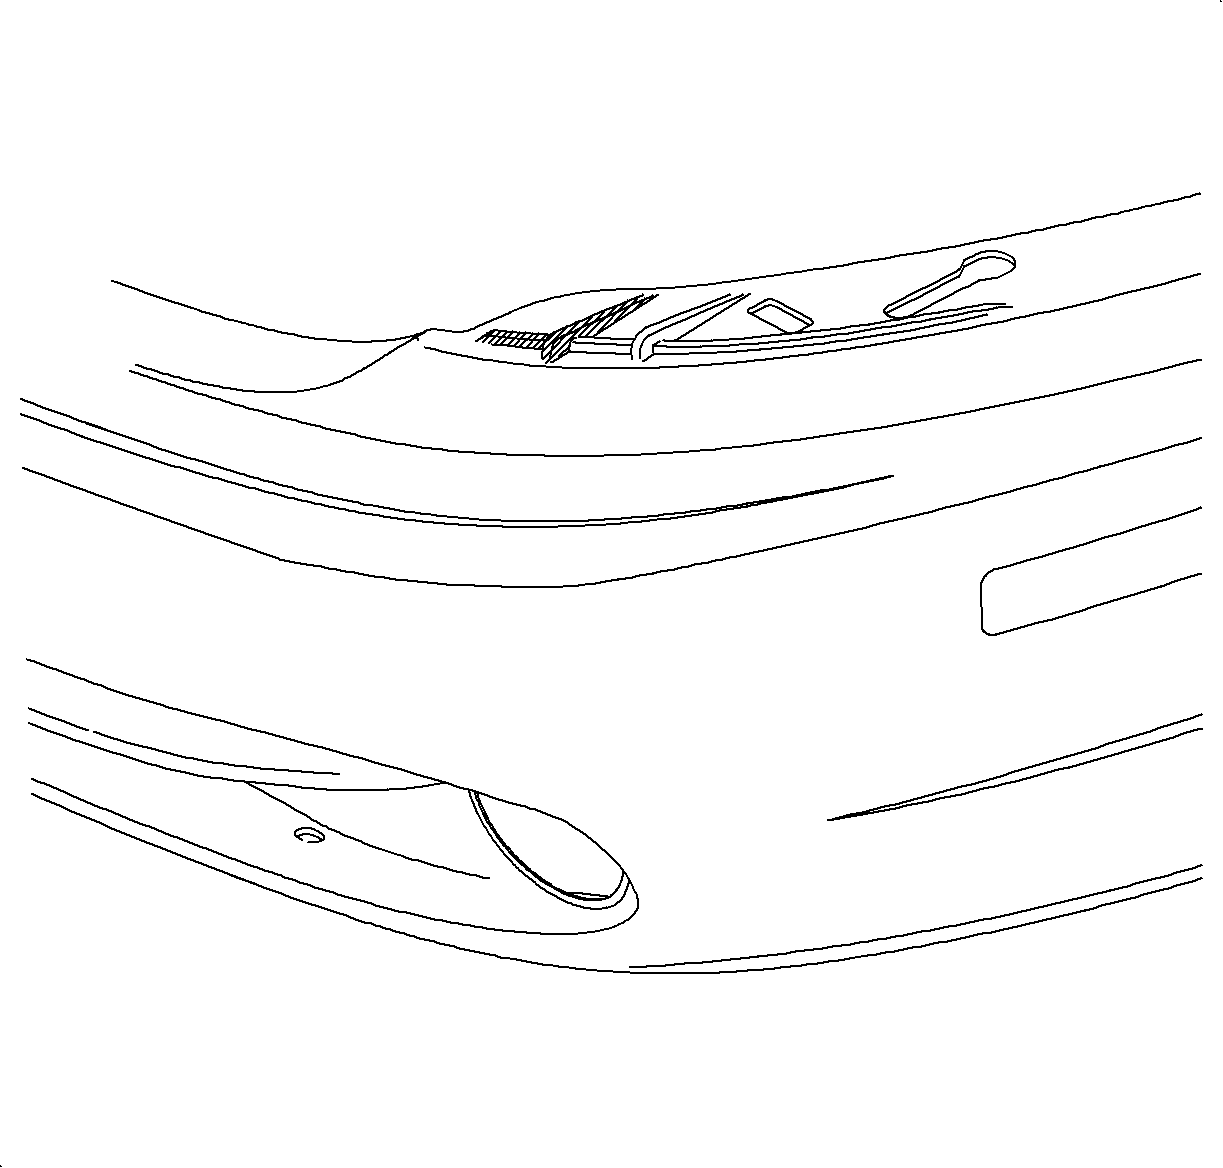
- Partial removal of the front fascia ribs is necessary.
Notice
To prevent gouging the fascia, lay a razor blade or feeler gauge along side
of the rib to be removed to provide a surface for the razor blade to ride on while
cutting the rib off.


- Use razor knife to remove shaded ribs in illustration.
Make areas flush with adjacent surfaces.
- Sand rib area flush with adjacent surface.
- Repair paint on fascia as necessary.
- Check from nose of fender for paint drip.
If paint drip is present at front nose of fender, remove paint drip using a
fine file or emery board. After removing paint trip, proceed to nest step.
If paint drip is not present at front nose of fender, proceed to next step.
Important
Installation of the spacer blocks on the Sedan/Wagon is different than described
in bulletin 97-T-35 for the coupe. Urethane spacer blocks are color coded.
Right side urethane spacer block is "brown" (P/N 21110251), left side
urethane spacer block is "black" (P/N 21110250)> This opposite of how
it has been described for the coupe. The stepped side of the urethane block is the
side that contacts the fascia.


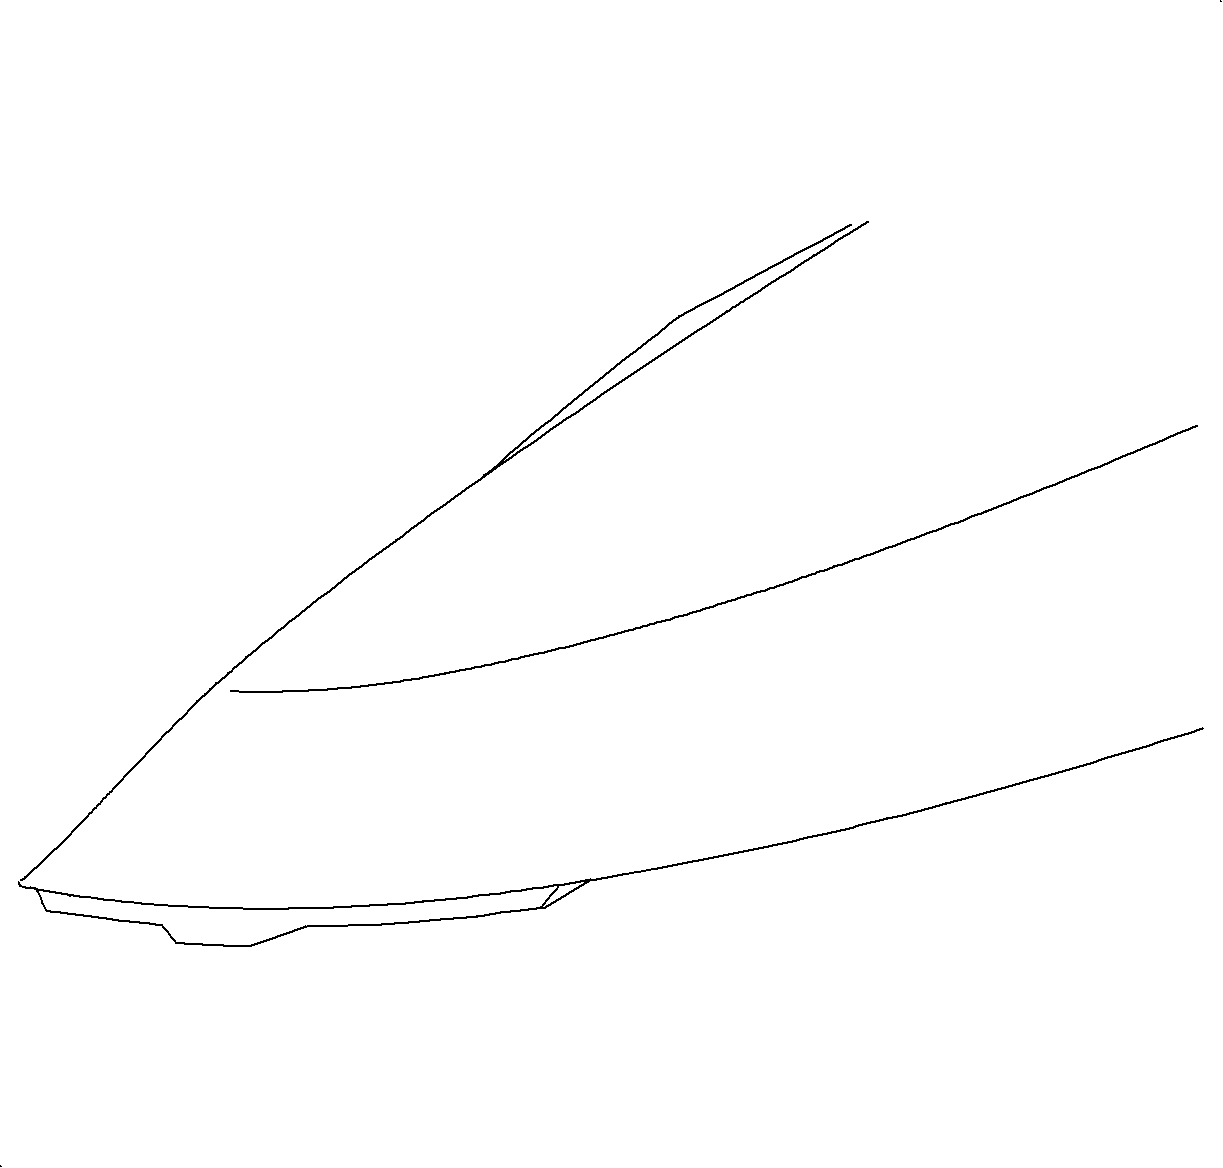
- Install urethane spacer blocks to the underside of
the front nose of the fender.
- Urethane spacers must be glued in place.
- Position urethane spacer block in the front nose of the fender and mark
the position where the forward step/portion of the block is 1.5 mm (1/16 in.) below
the lower outboard edge of the fender.
- Remove the urethane spacer block and apply Loctite ® Quick Tite Super
Glue Gel (P/N 21602, 2 gram tube), or equivalent adhesive designed for porous surfaces.
- Install the urethane spacer block into front nose of fender, aligning
the mark made in step 4b with edge of fender.
- If necessary, trim urethane spacer block using a fine file to adjust fender
to fascia gap.
- Install front fascia. (Refer to "Front Fascia" installation
procedure in the "Front End" section of the "Body Repair Service
Manual.")
Parts Requirement
21110250 Block -- Urethane Spacer (black -- left side)
|
21110251 Block -- Urethane Spacer (brown -- right side)
|
Claim Information
To receive credit for this repair during the warranty coverage period, submit
a claim through the Saturn Dealer System as follows:
Claim Information
| Case Type
| Description
| Labor Operation
| Time
|
To receive credit for this repair during the warranty coverage period, submit
a claim though the Saturn Dealer as follows
| VW
| Install Front Fender Spacer Blocks (Both Sides of Vehicle)
| T9742
| .8 hrs
|
| | Add:
| Color/Clear Coat One Piece
| | 1.4 hrs
|
| | | Material Allowance
| | AK
|
GM bulletins are intended for use by professional technicians,
NOT a "do-it-yourselfer". They are written to inform these
technicians of conditions that may occur on some vehicles, or to
provide information that could assist in the proper service of a
vehicle. Properly trained technicians have the equipment,
tools, safety instructions, and know-how to do a job properly and
safely. If a condition is described, DO NOT assume that the
bulletin applies to your vehicle, or that your vehicle will have
that condition. See your GM dealer for information on whether
your vehicle may benefit from the information.
|

|
WE SUPPORT VOLUNTARY TECHNICIAN CERTIFICATION
|
© Copyright General Motors Corporation.
All Rights Reserved.


