
- Assemble piston and connecting rod:
Important
It is standard practice to assemble the piston and connecting rod with bearing
tang slots in the rod directed toward the exhaust manifold side.
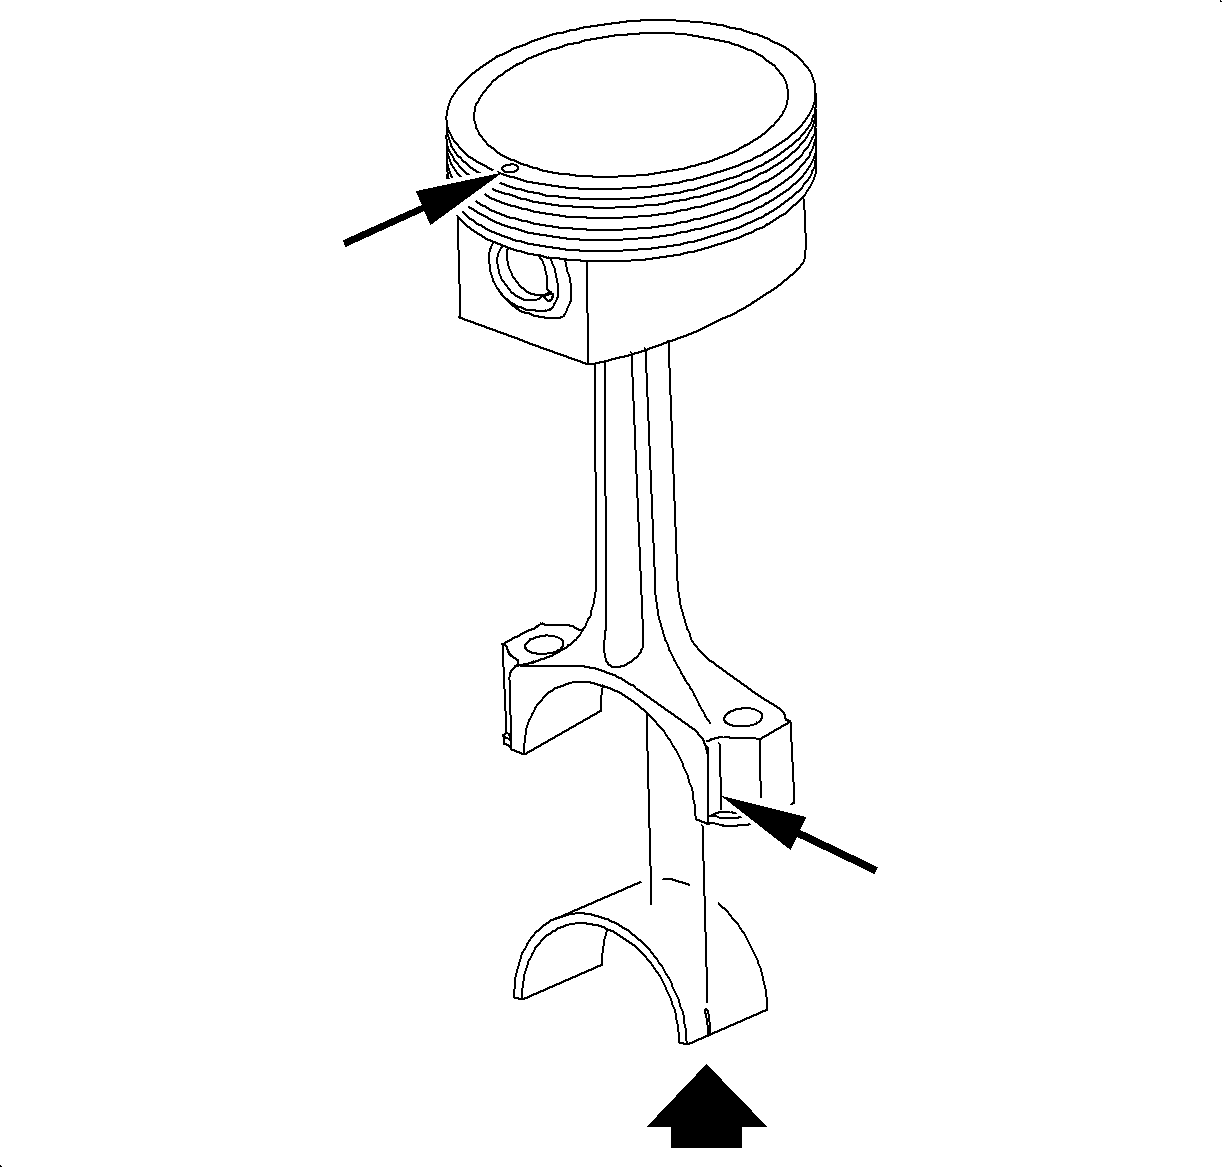
- Align the mark on top of the piston with the front of the engine. Assemble the
connecting rod to the piston with the bearing tang slots directed toward the exhaust
manifold side.
Notice
Carefully remove any burrs in the piston bore, next to the snap ring groove,
using an X-ACTO knife (or equivalent). This will prevent piston pin scoring
during removal.
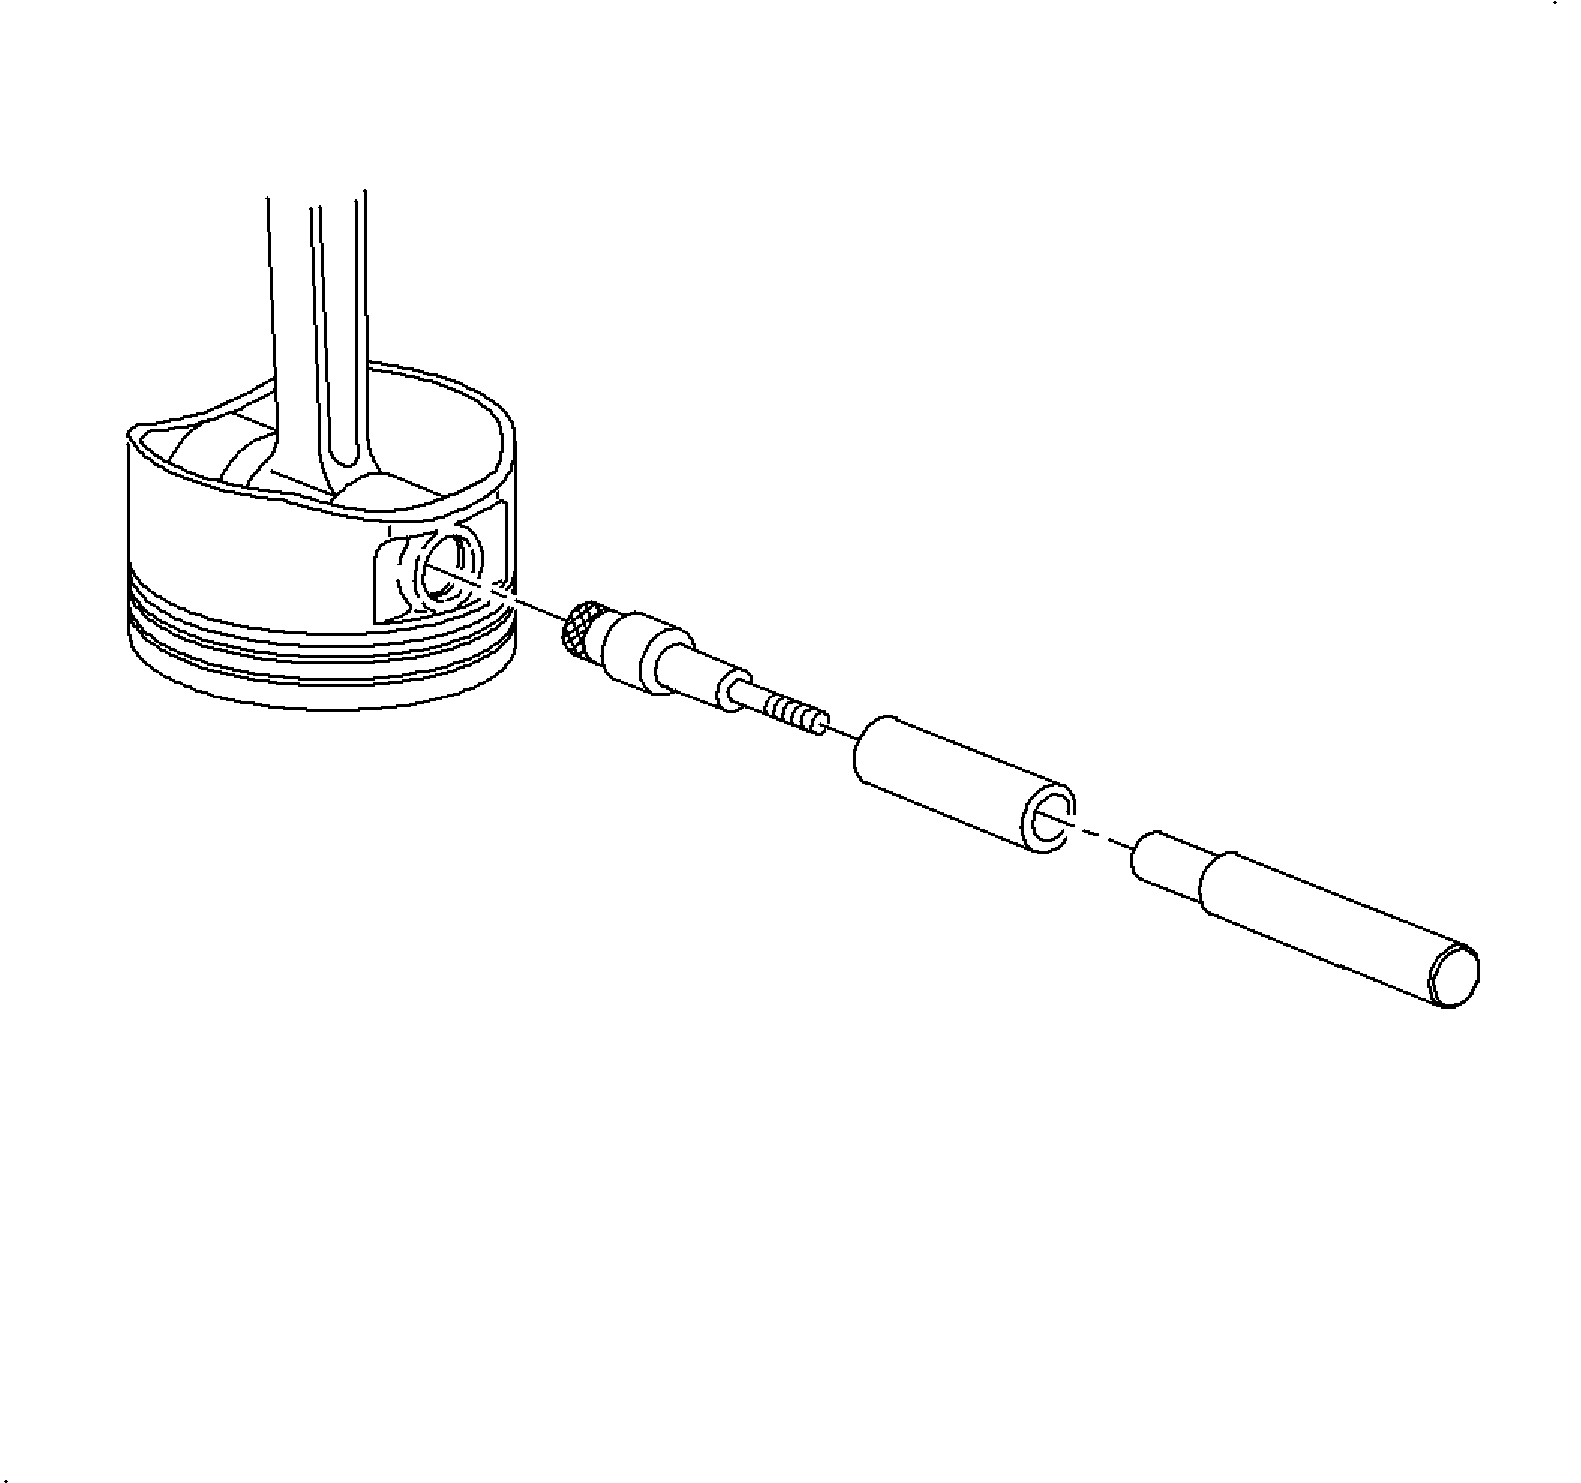
- Coat the piston pin with engine oil.
- Install the piston pin using the
SA9101E
.
- Check that the piston and connecting rod moves smoothly back and forth on the
piston pin.
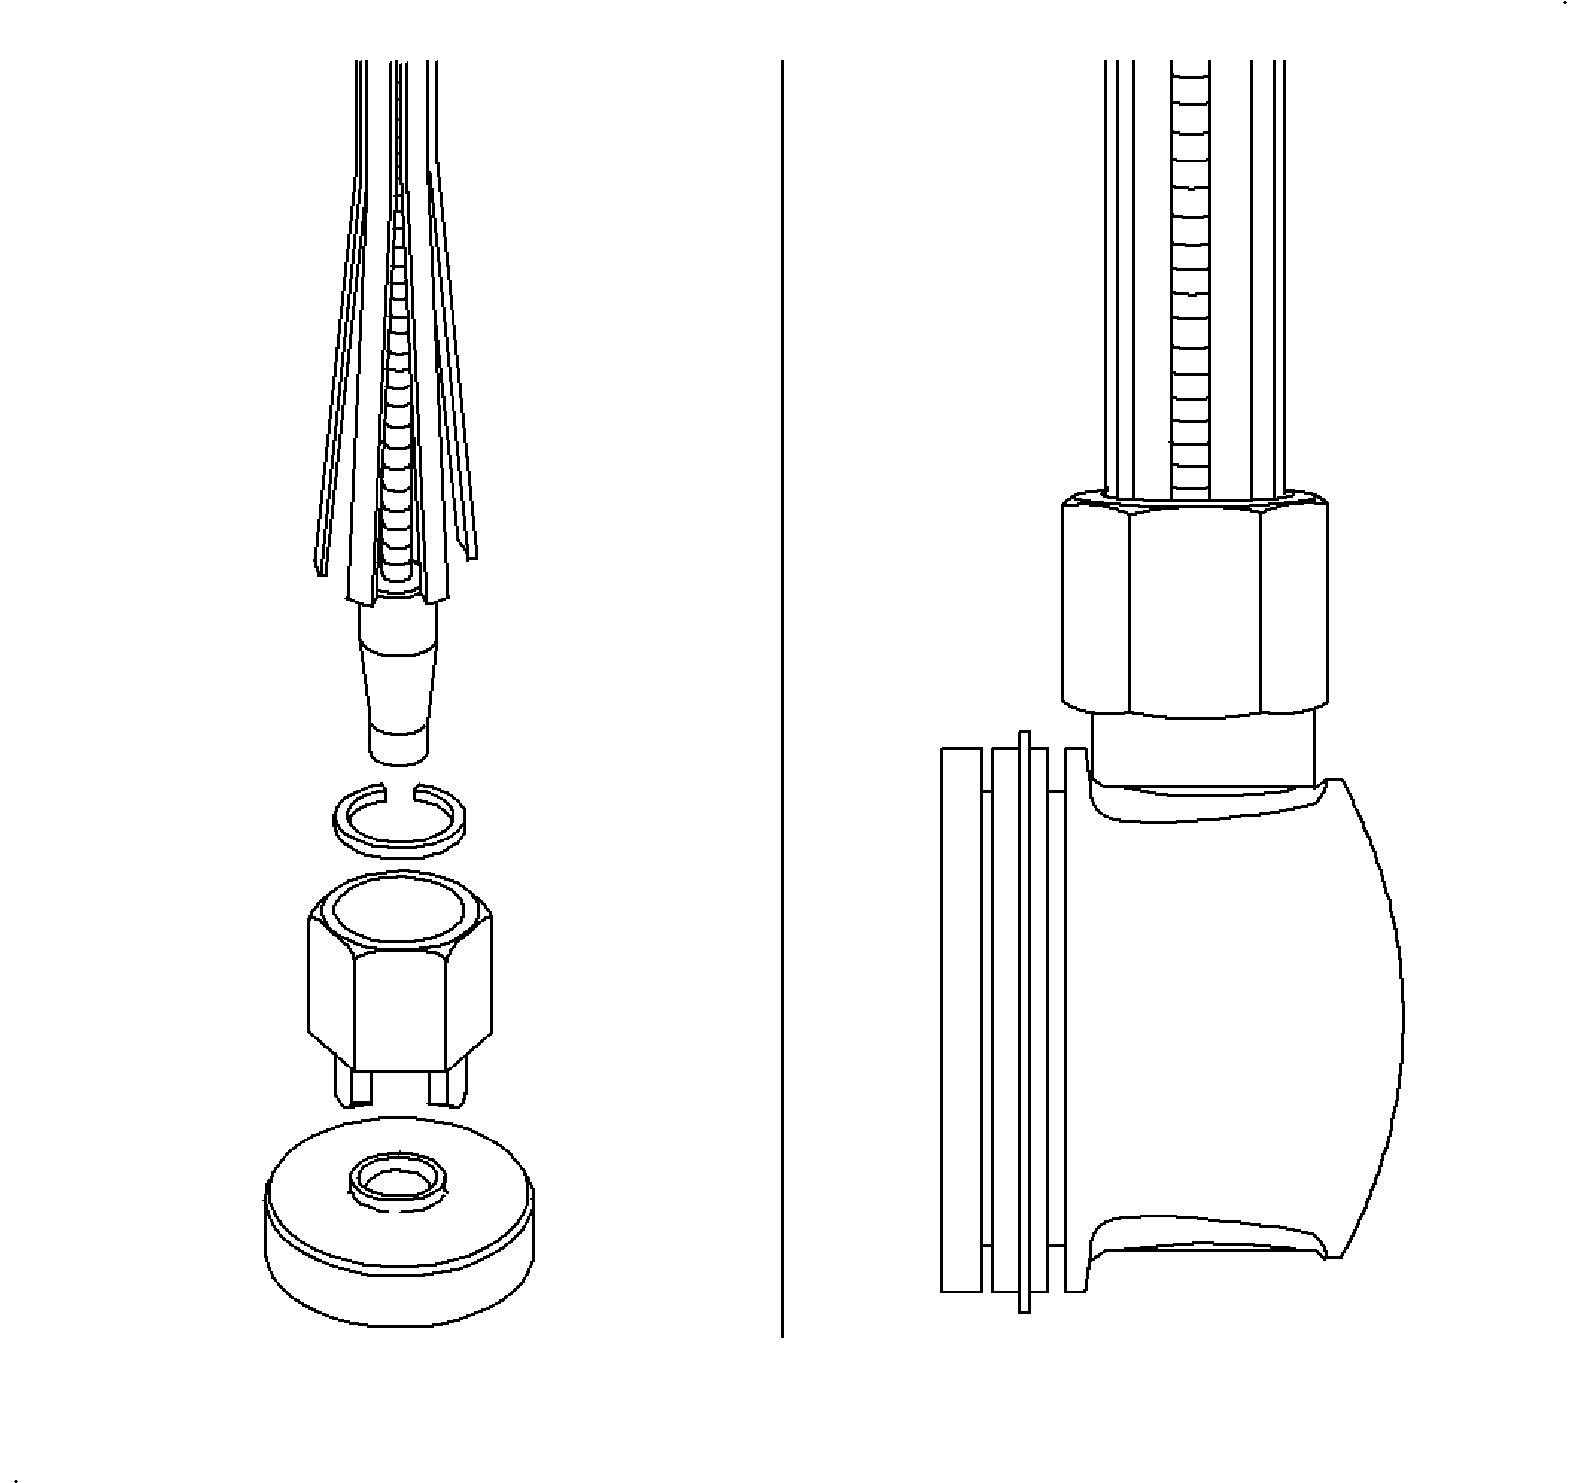
- Install the retainer in the
SA9101E
cone with the ring's open ends directed away from the tools slotted opening.
Set the cone on it's base and push the snap ring down through the cone until seated
with the driver.
Important
Snap ring cone
SA9101E
must
be used with 2000 and later model year pistons. This is the snap ring cone used in
1994 and earlier years.
- Lay the piston on a clean block of wood. Position the cone with snap ring and
driver over the piston pin hole with the cone's slotted opening facing toward the
top of the piston. Firmly push the driver downward until the retainer is seated in
the snap ring groove.
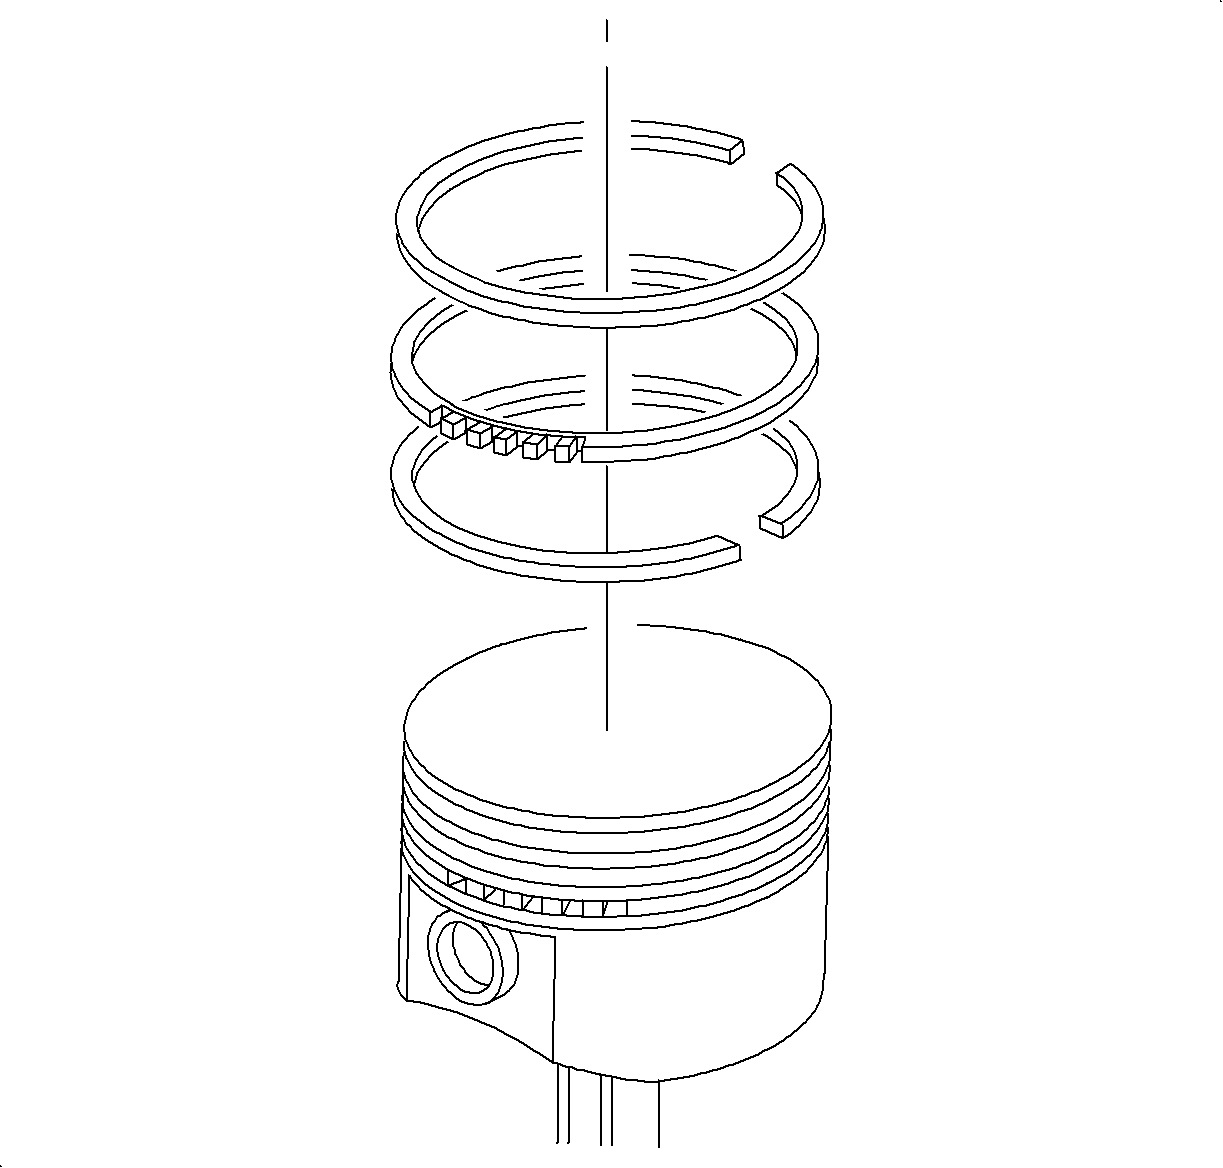
- Install the piston rings:
- Install the oil ring expander and 2 side rails by hand.
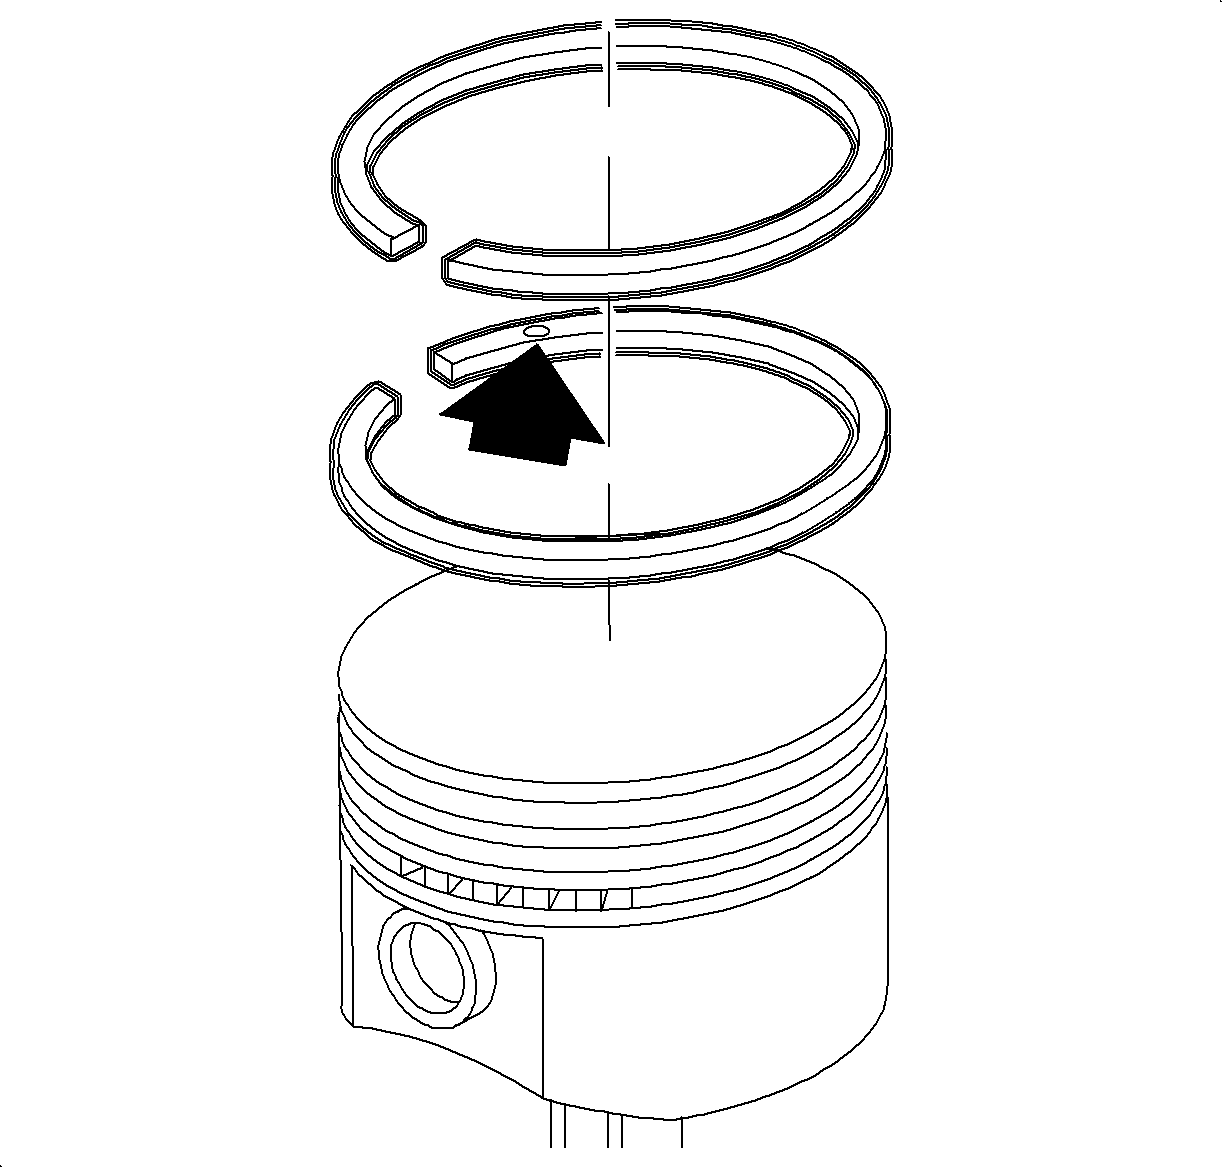
- Using a piston ring expander, install the two compression rings.
Important
The top ring is thinner than the second ring. The top ring is symmetrical and
can be installed with either side up. The second ring has a pip mark which must be
installed with the pip mark up.
- The second ring has a pip mark which must be installed with the pip mark up.
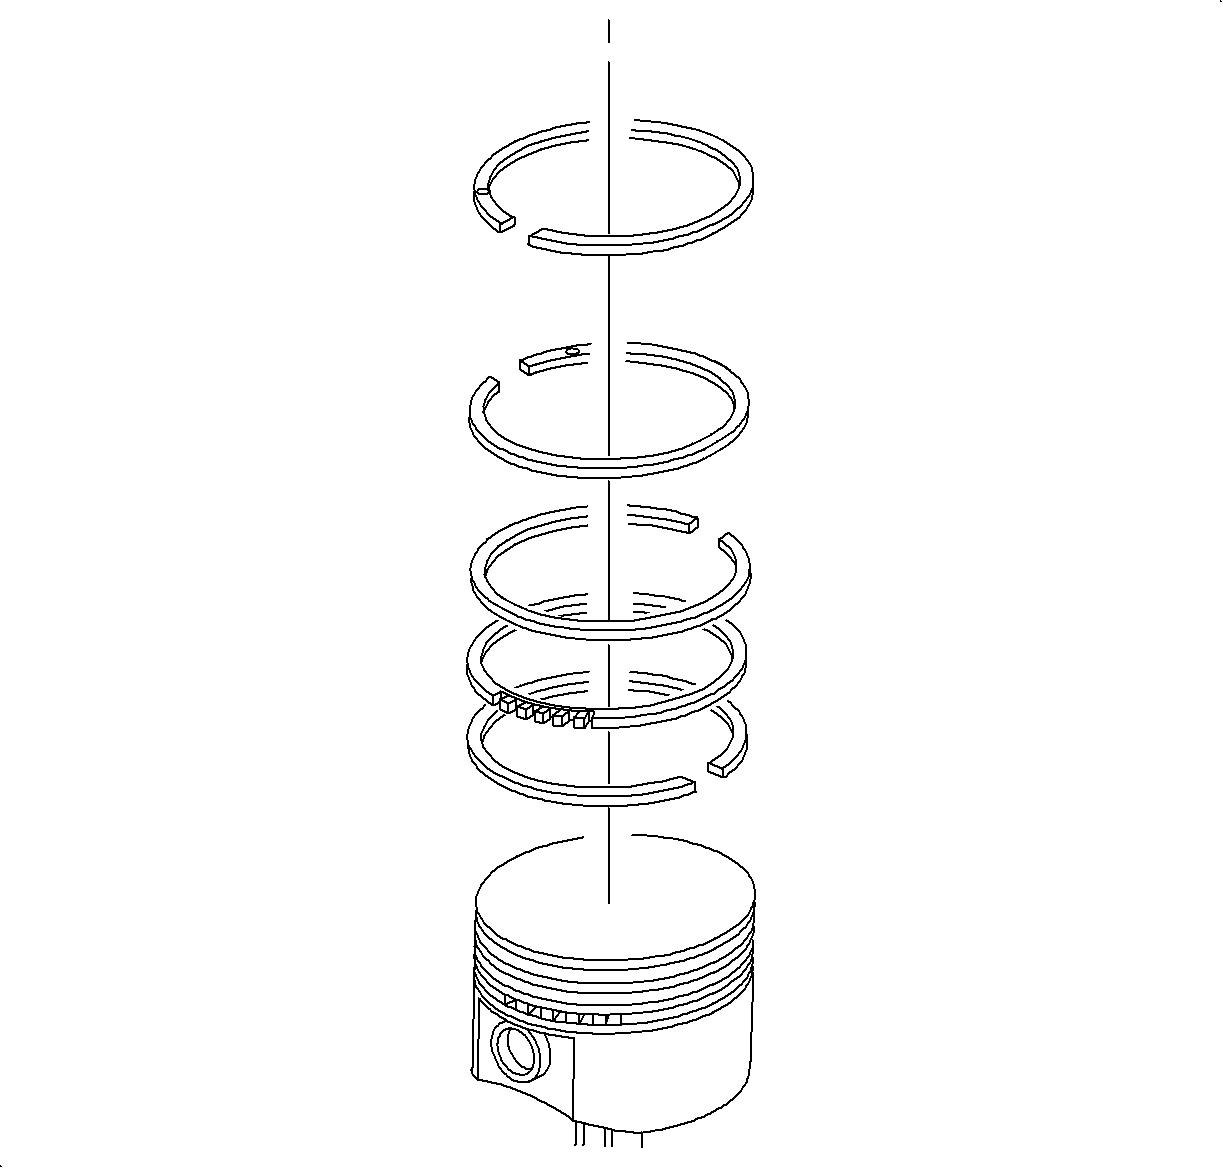
Important
Do not align the ring gaps. Each ring should be rotated 90-120 degrees
from each other around the piston.
- Each ring should be rotated 90-120 degrees from each other around
the piston.
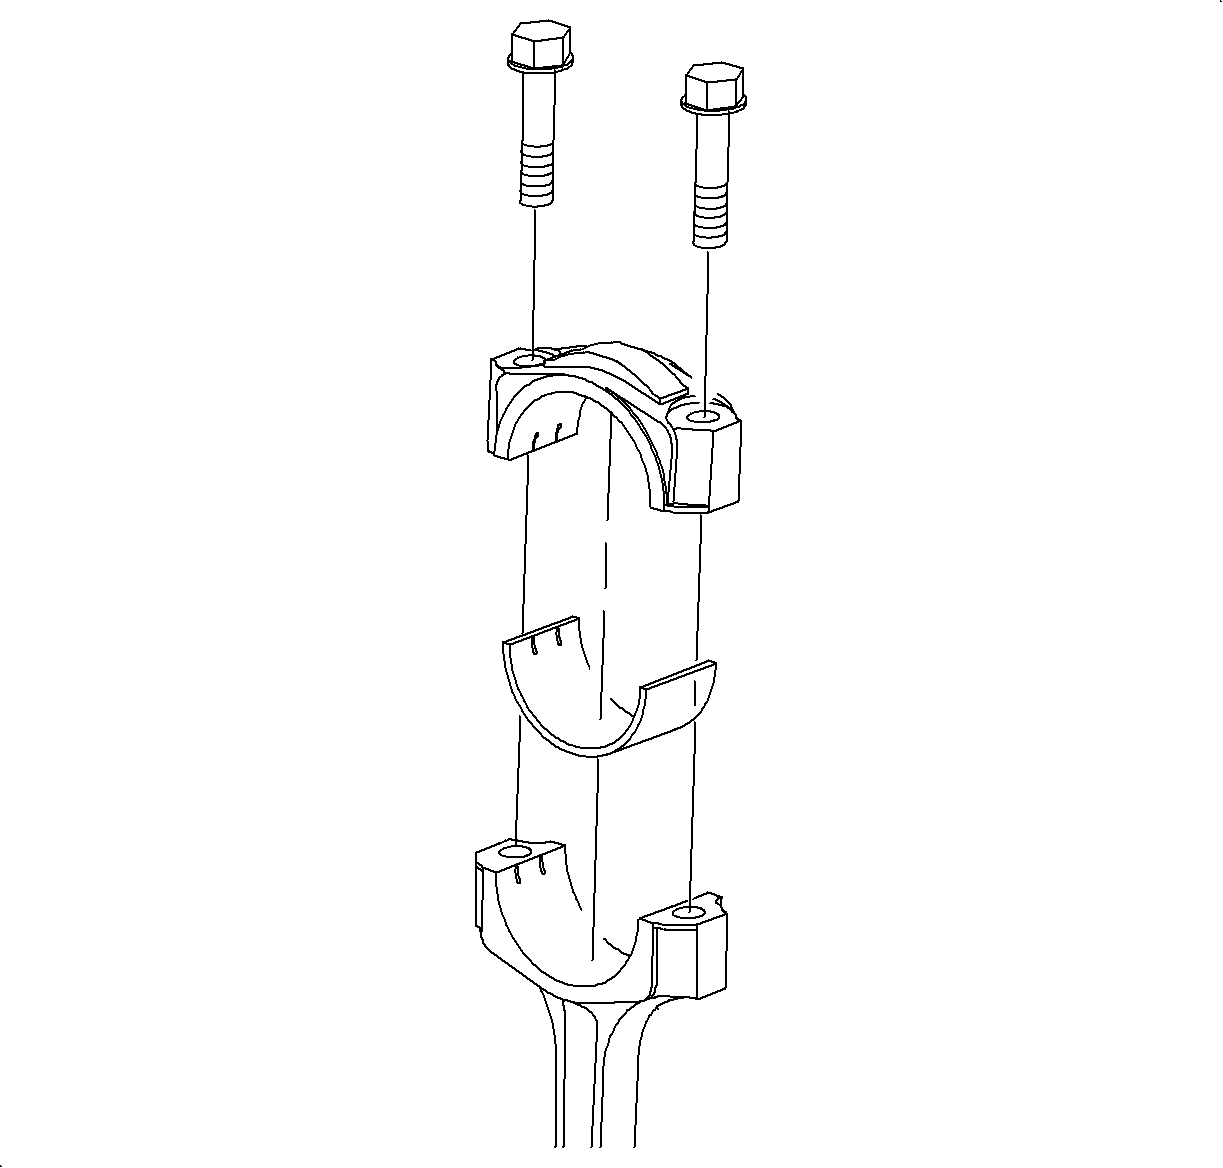
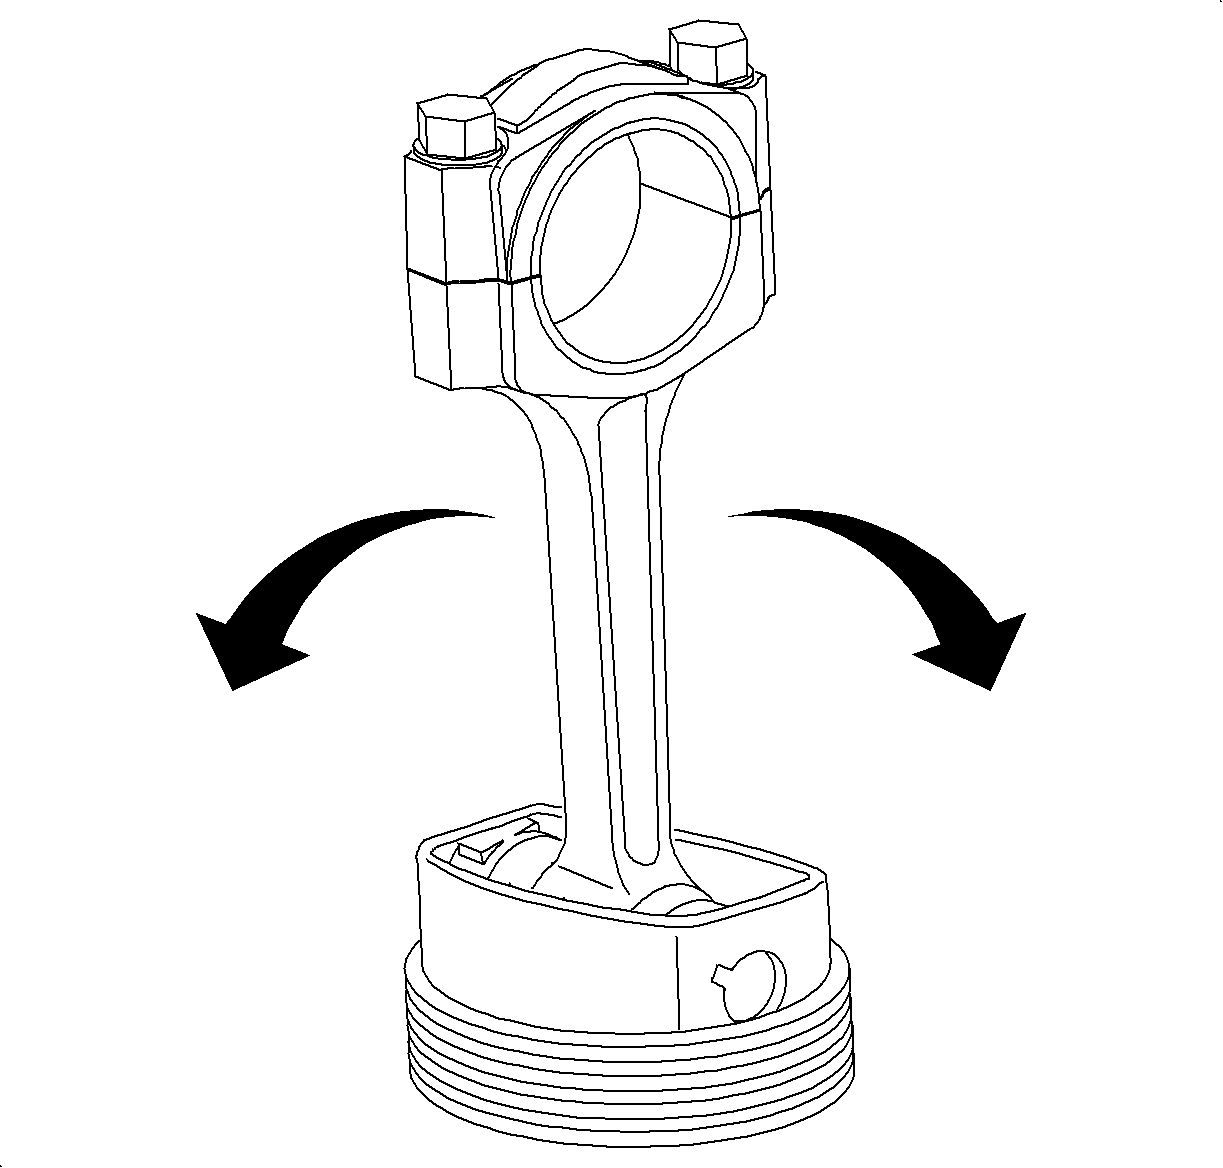
- Install bearings:
Install the upper bearing in the connecting rod. Apply a small amount of oil
to the bearing surfaces and piston rings.