Document ID# 886028
1998 Saturn SL2/SC2/SW2
 

Rear Cover Replacement

Removal Procedure

    Caution

    Refer to Vehicle Lifting Caution in Cautions and Notices.


    Object Number: 859142  Size: SH
    Click here for detailed picture of above image.
  1. Position the vehicle on the hoist.
  2. Remove the left front wheel.
  3. Raise the vehicle.
  4. Drain the transaxle fluid.
  5. Remove the left inner splash shield.
  6. Remove the end cover bolts and remove the end cover. Discard the gasket.
Installation Procedure

    Object Number: 890121  Size: SH
    Click here for detailed picture of above image.
  1. Clean the gasket surfaces. Mating surfaces must be clean and dry.
  2. Install the end cover gasket.
  3. Turn the reverse cone so that the slots align the cone to the end cover.
  4. Important

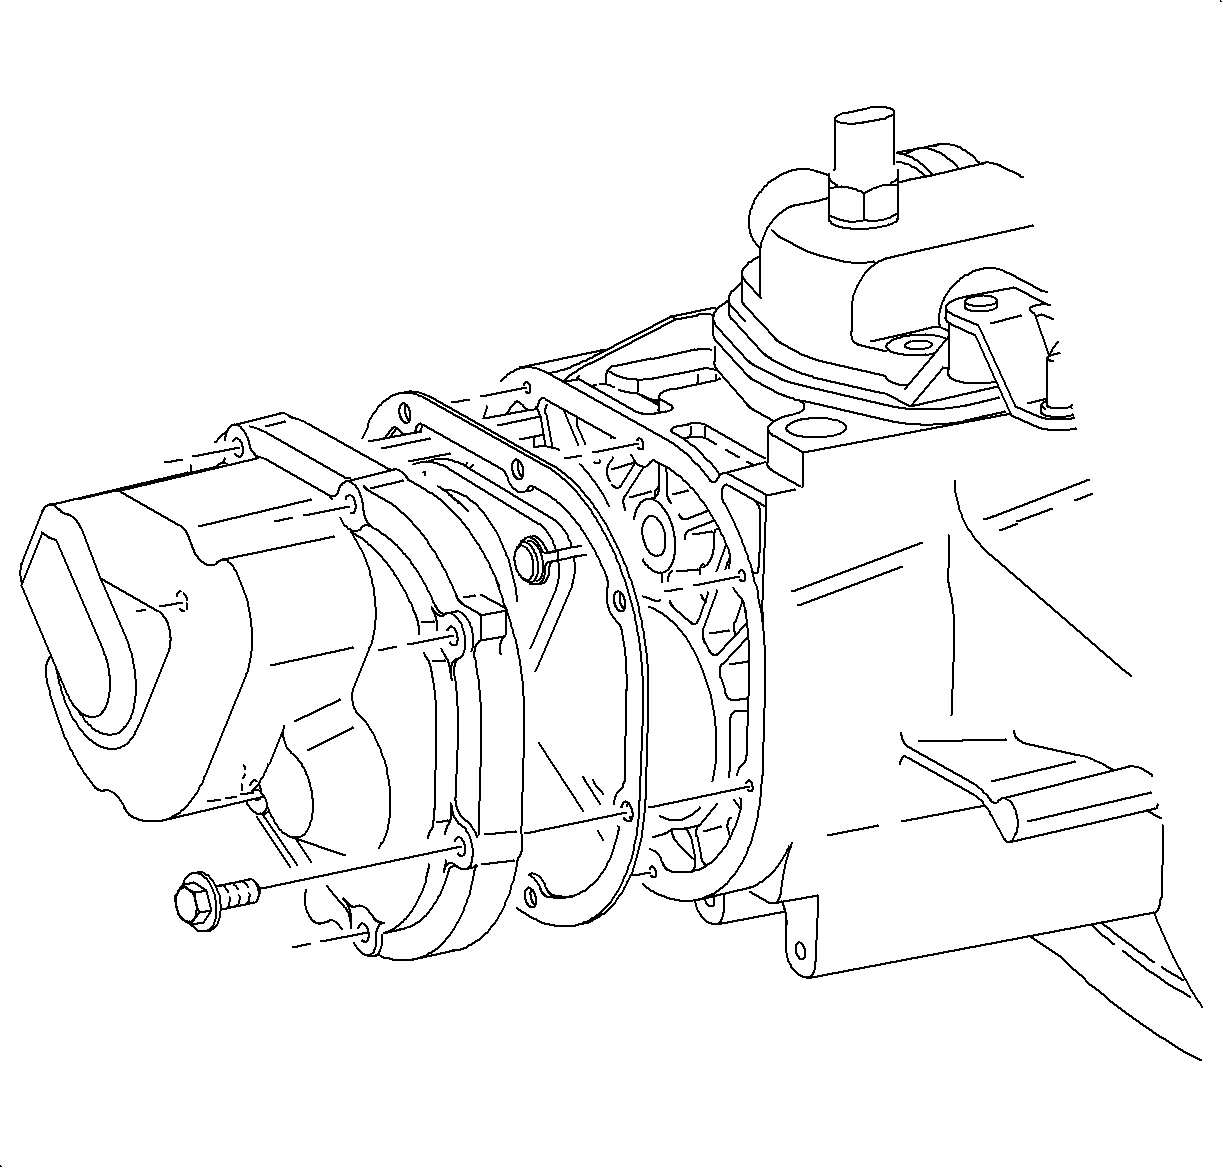
    Clean and lubricate the fasteners with Saturn Transaxle Fluid. Wipe off the excess fluid and install.

  5. Install the end cover and install the bolts and tighten using a crisscross pattern.
  6. Tighten

    Tighten the end cover-to-case bolts in a crisscross pattern to 12 N·m (9 lb ft).


    Object Number: 859142  Size: SH
    Click here for detailed picture of above image.
  7. Install the inner splash shield.
  8. Notice

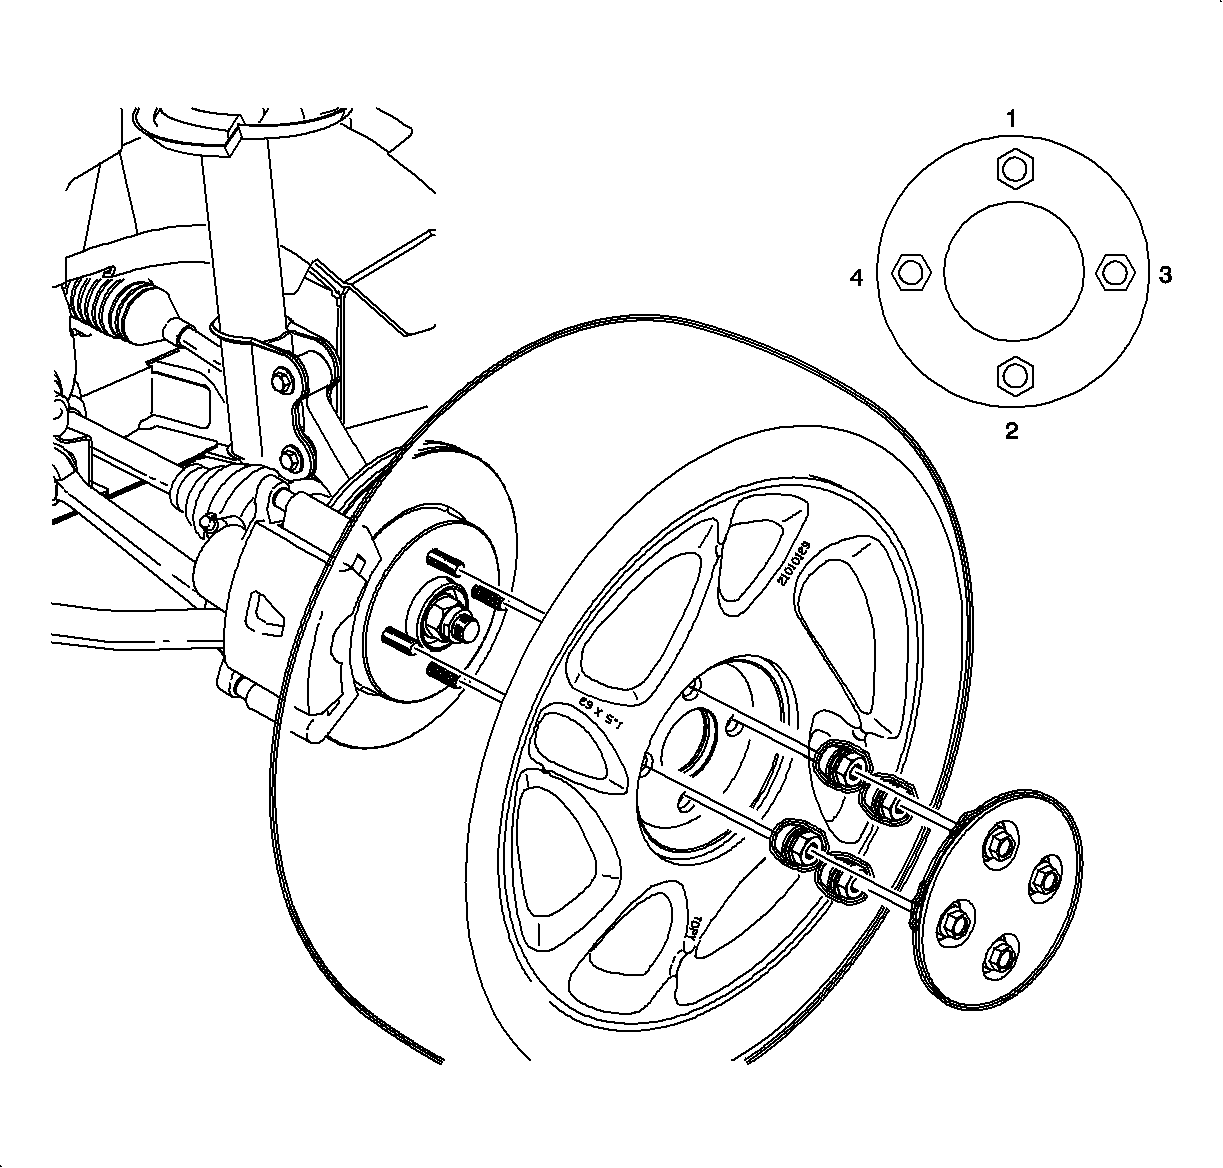
    Before installing wheels, remove rust or corrosion from wheel mounting surfaces and brake rotors/drums. Failure to do so can cause wheel nuts to loosen in service.

  9. Position wheel onto hub.
  10. Install the wheel nuts and tighten in a crisscross pattern. Repeat tightening procedure to be sure tighten is correct.
  11. Tighten

    Tighten the wheel lug nuts in a crisscross pattern to 140 N·m (103 lb ft).


    Object Number: 890040  Size: SH
    Click here for detailed picture of above image.
  12. Install the drain plug.
  13. Tighten

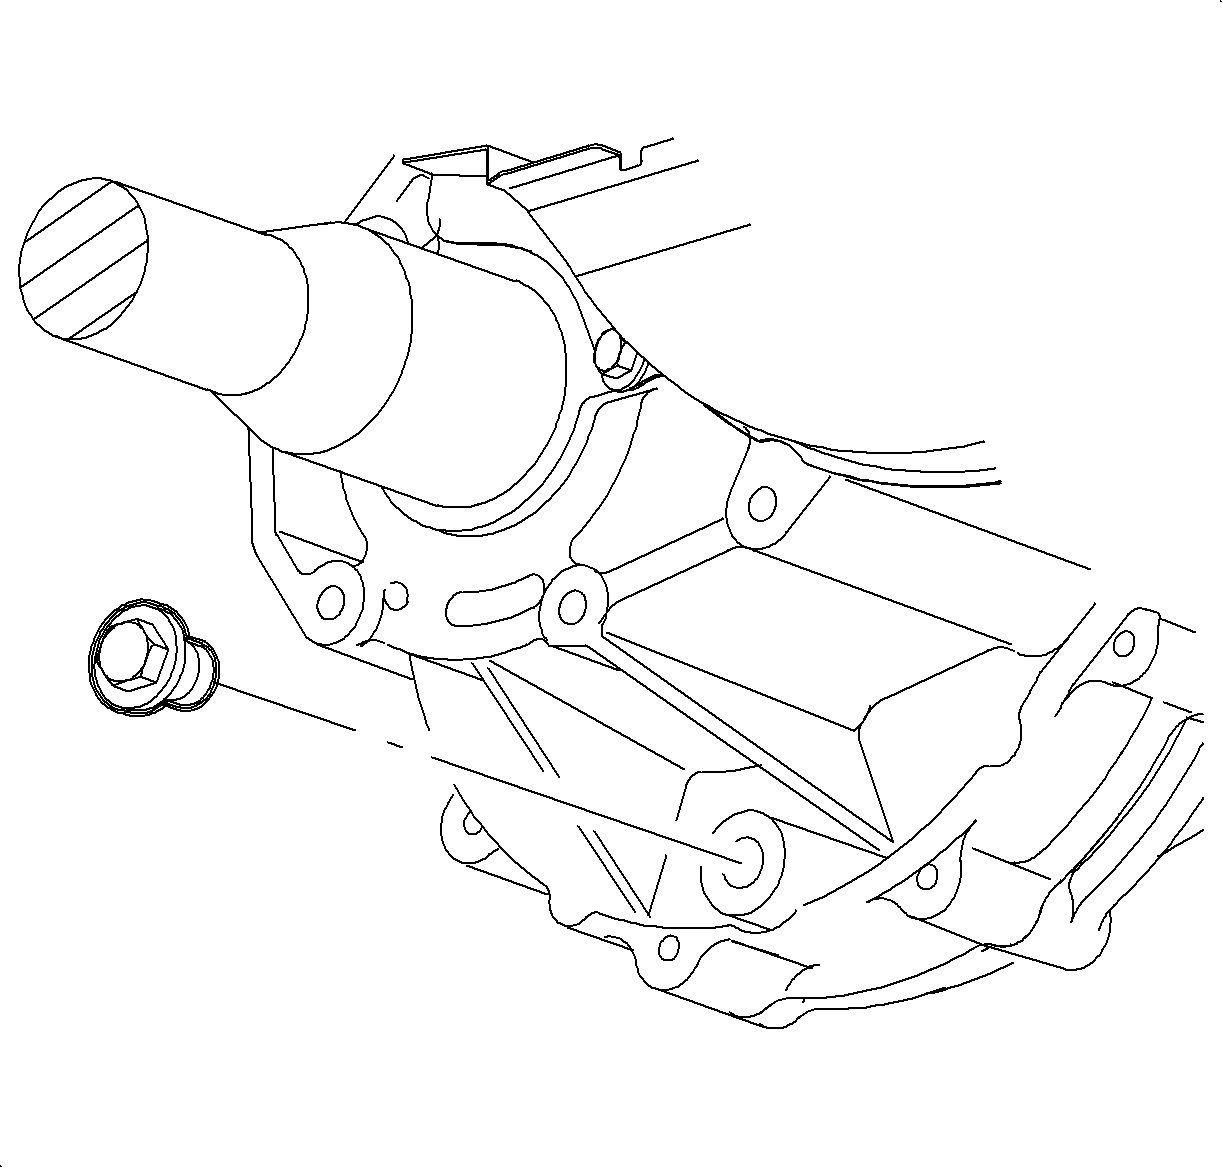
    Tighten the transaxle drain plug to 30 N·m (22 lb ft).

  14. Fill the transaxle to the proper level using Saturn Transaxle Fluid.
  15. Fill

    Saturn Transaxle Fluid 2.5 L (2.6 qt)


  Document ID# 886028
1998 Saturn SL2/SC2/SW2