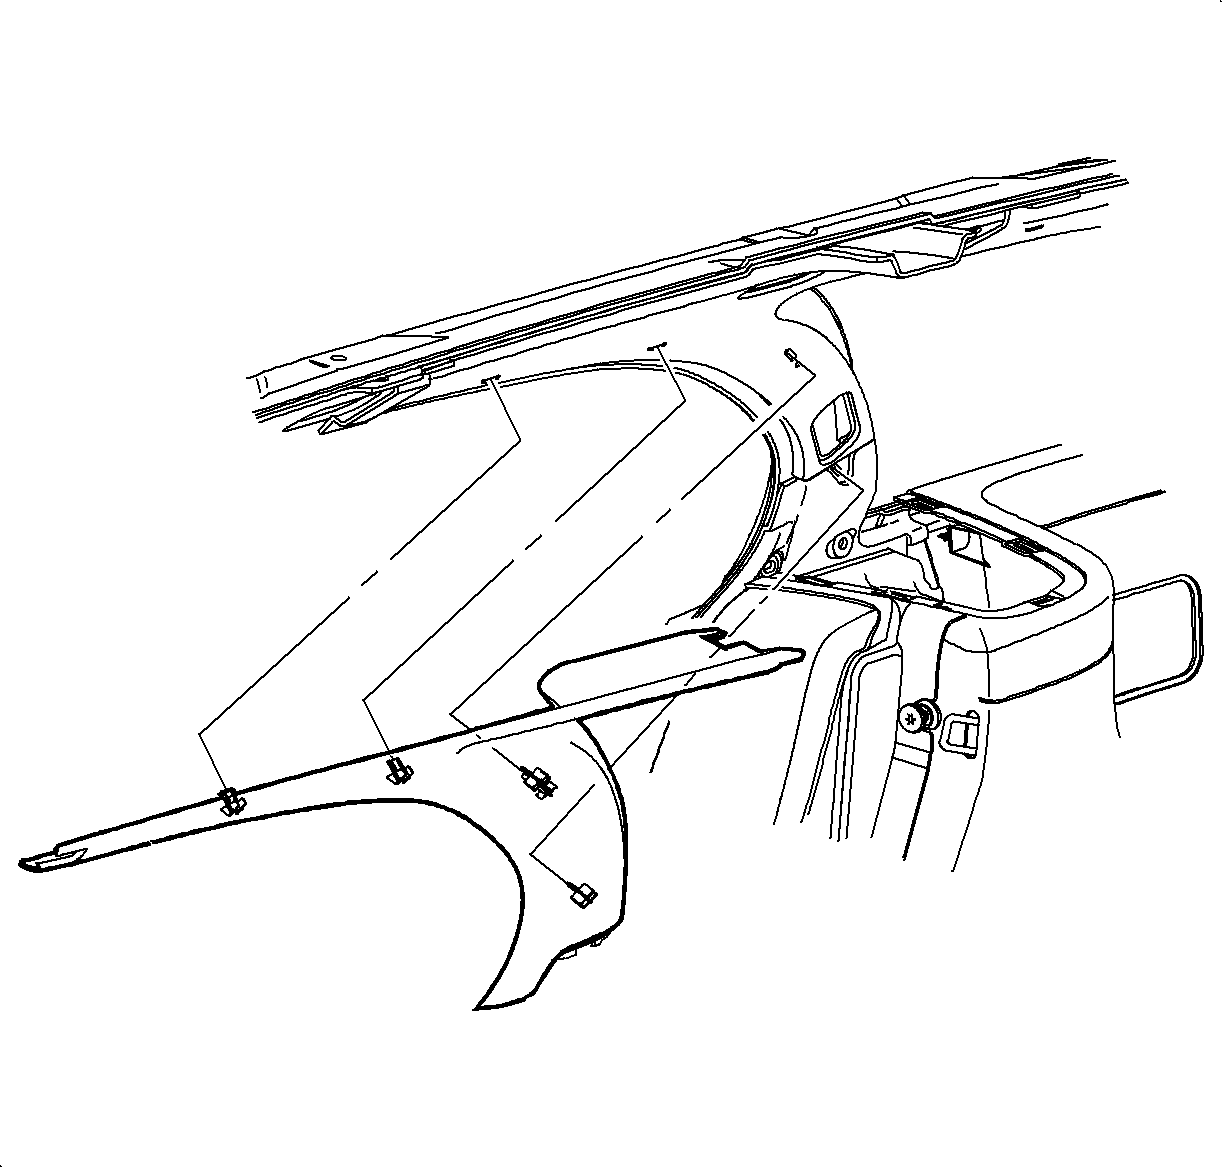
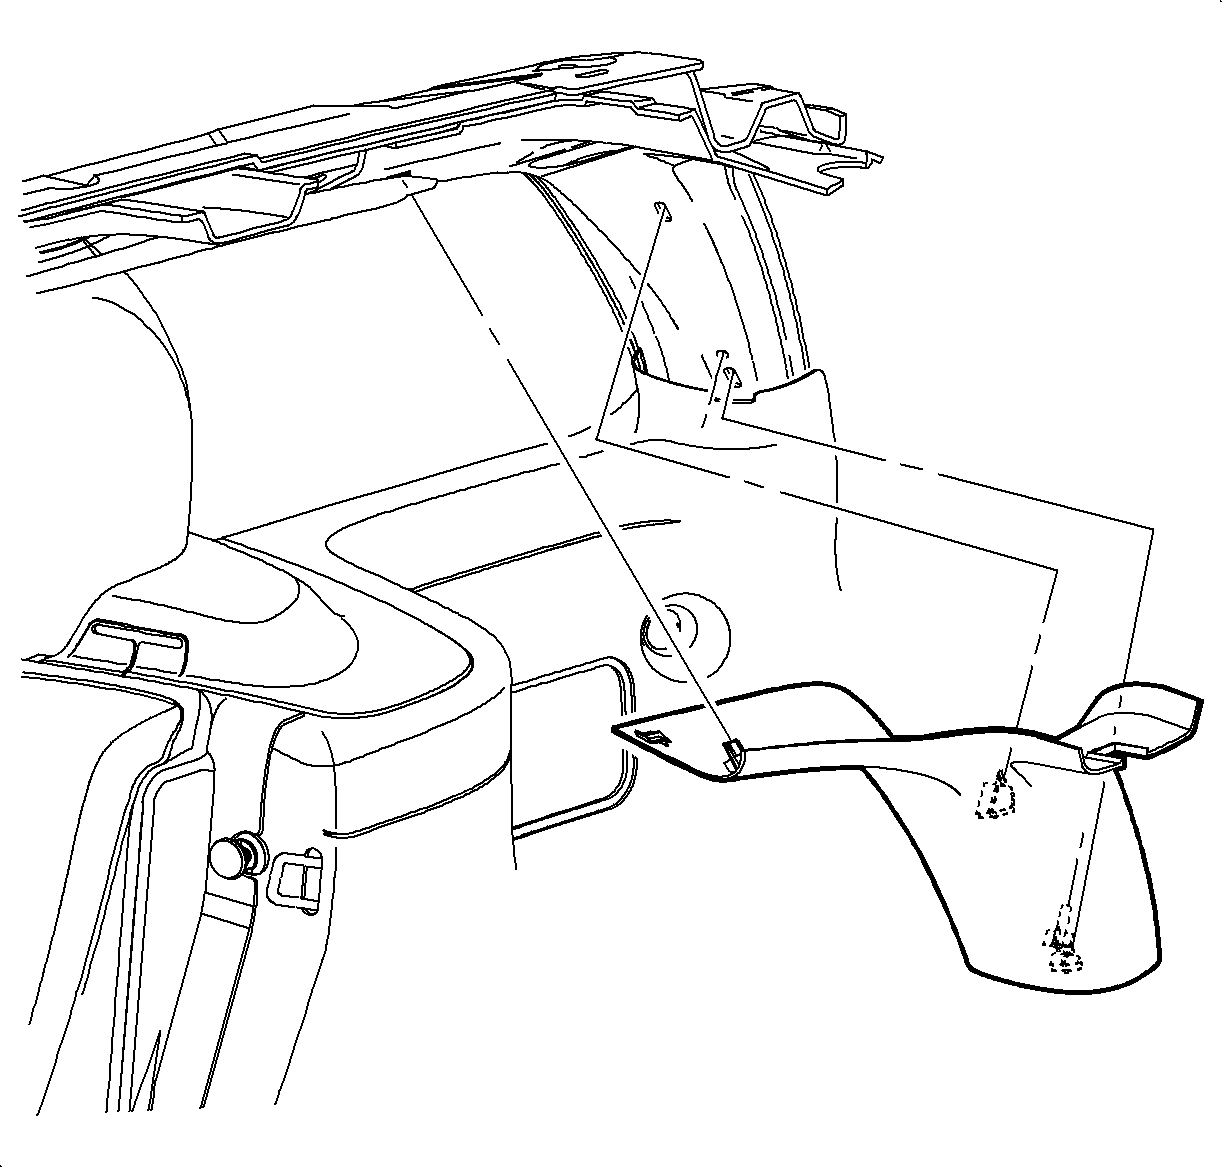
Ensure that curtain inflator module tether is not caught behind upper fill tube
bolt. Improper routing can cause personal injury or improper curtain airbag deployment.Caution
Improper routing of the curtain inflator module tether can cause personal injury
or improper curtain airbag deploymentCaution
If fill tube is damaged or kinked in any way the head curtain inflator module
must be replace. Failure to replace can cause personal injury or improper curtain
airbag deployment.Caution
Ensure that the curtain inflator module tether is not hanging below the edge
of headliner. Improper routing can cause personal injury or improper curtain airbag
deployment.Caution
If a vehicle is equipped with a head curtain inflator module ensure
that the inflator module and tether are undamaged. If tether or curtain airbag are
damaged in any way, they must be replaced.Notice
Use care when working around the head curtain inflator module. Sharp tools may
puncture the curtain airbag. If the head curtain inflator module is damaged in any
way, it must be replaced.Notice
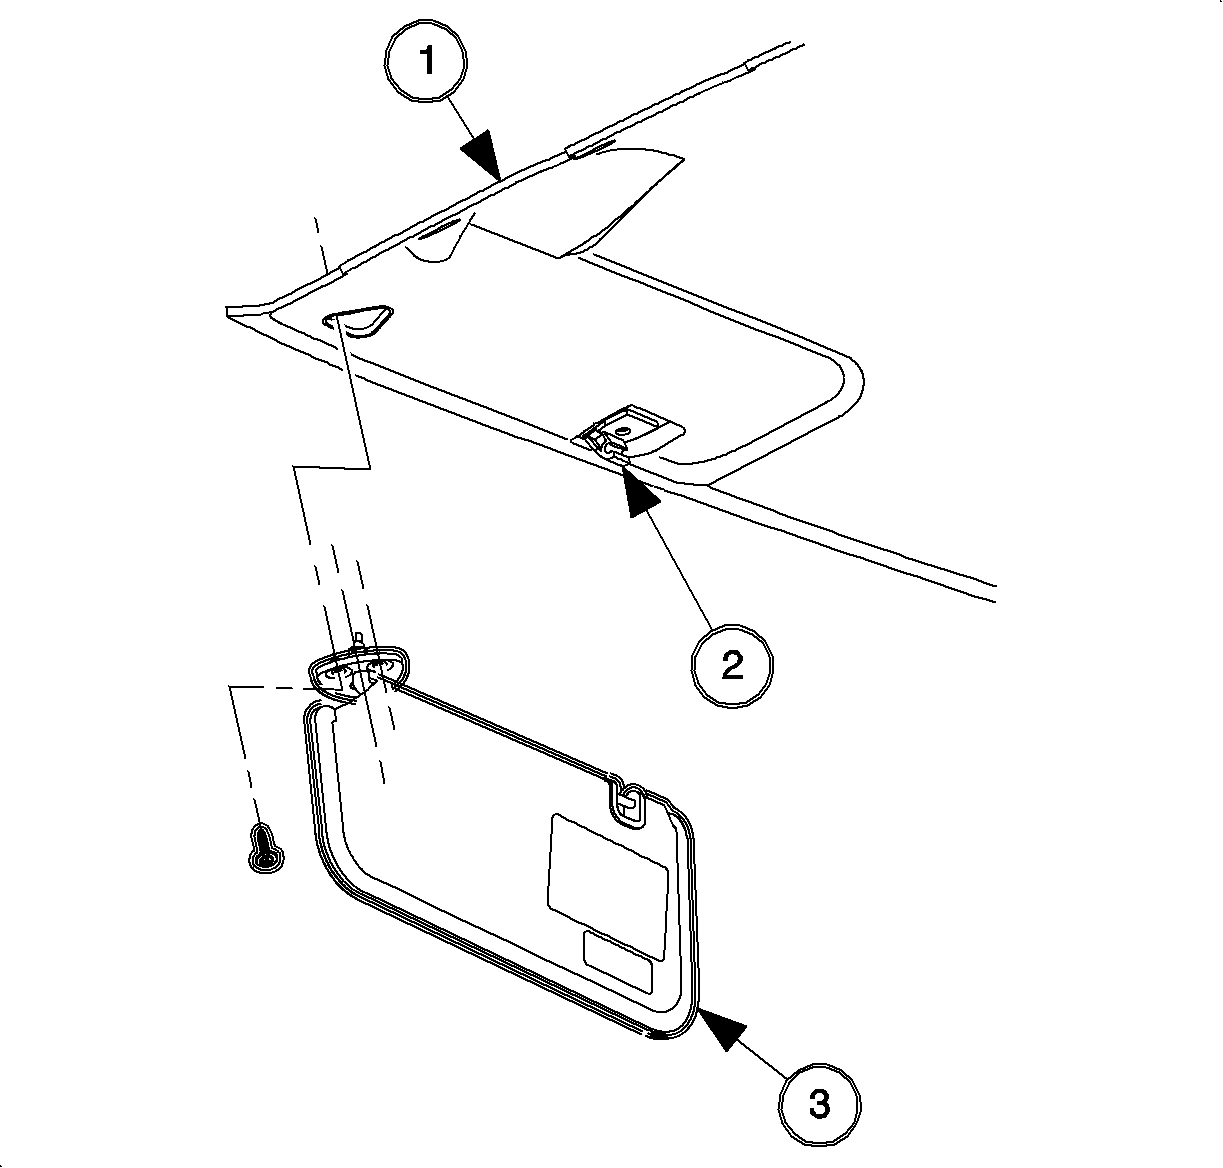

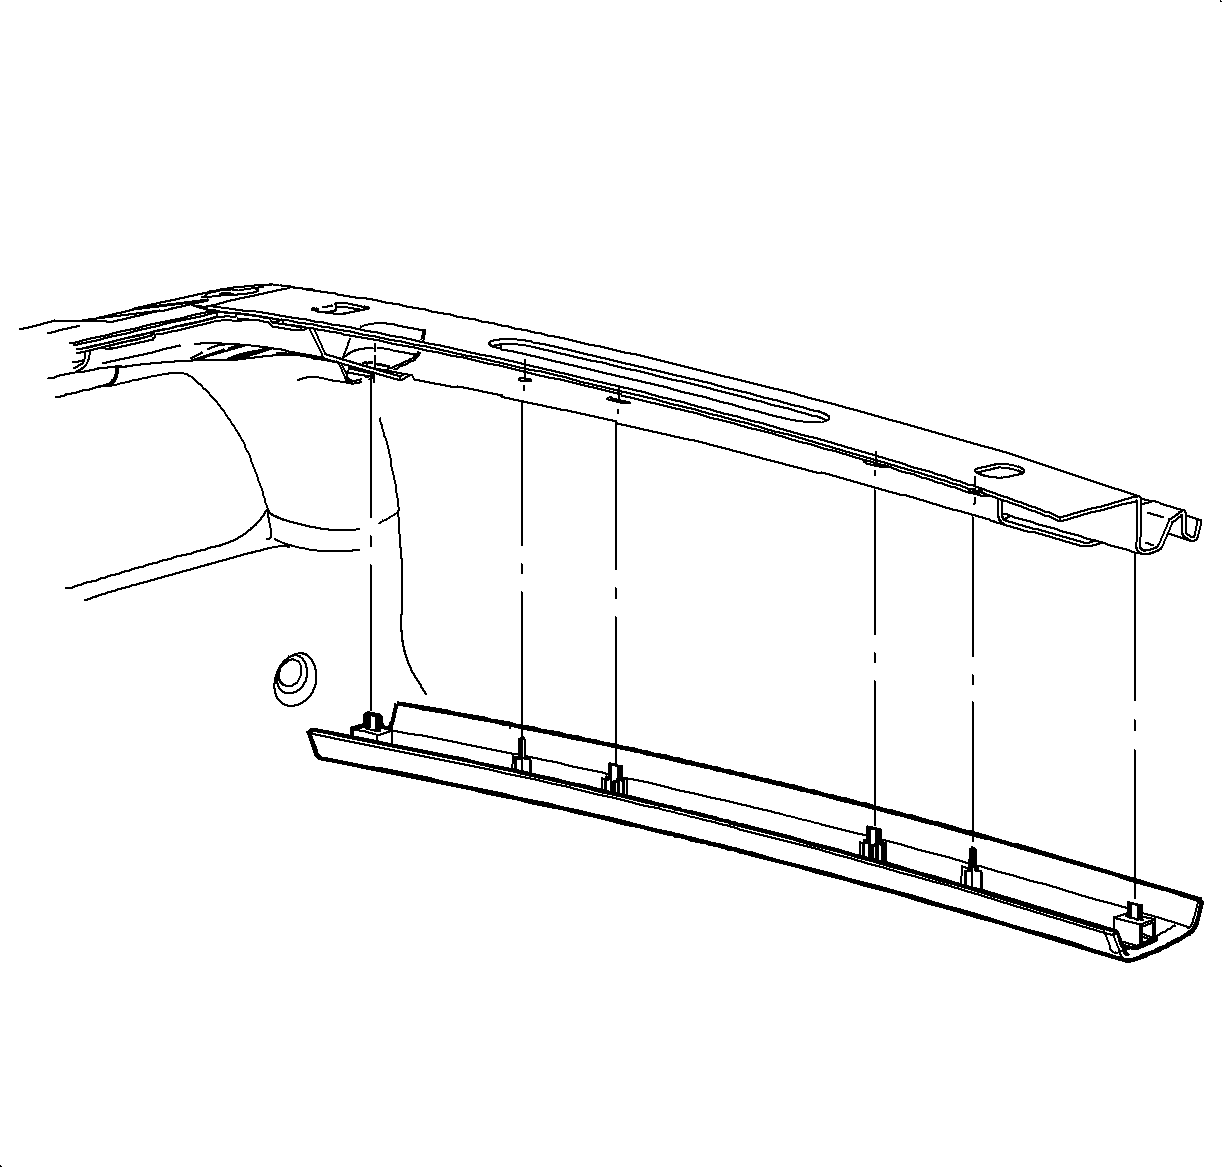
- Headliner (1)
- Sunshade Support (2)
- Sunshade (3)
- Clips (1)
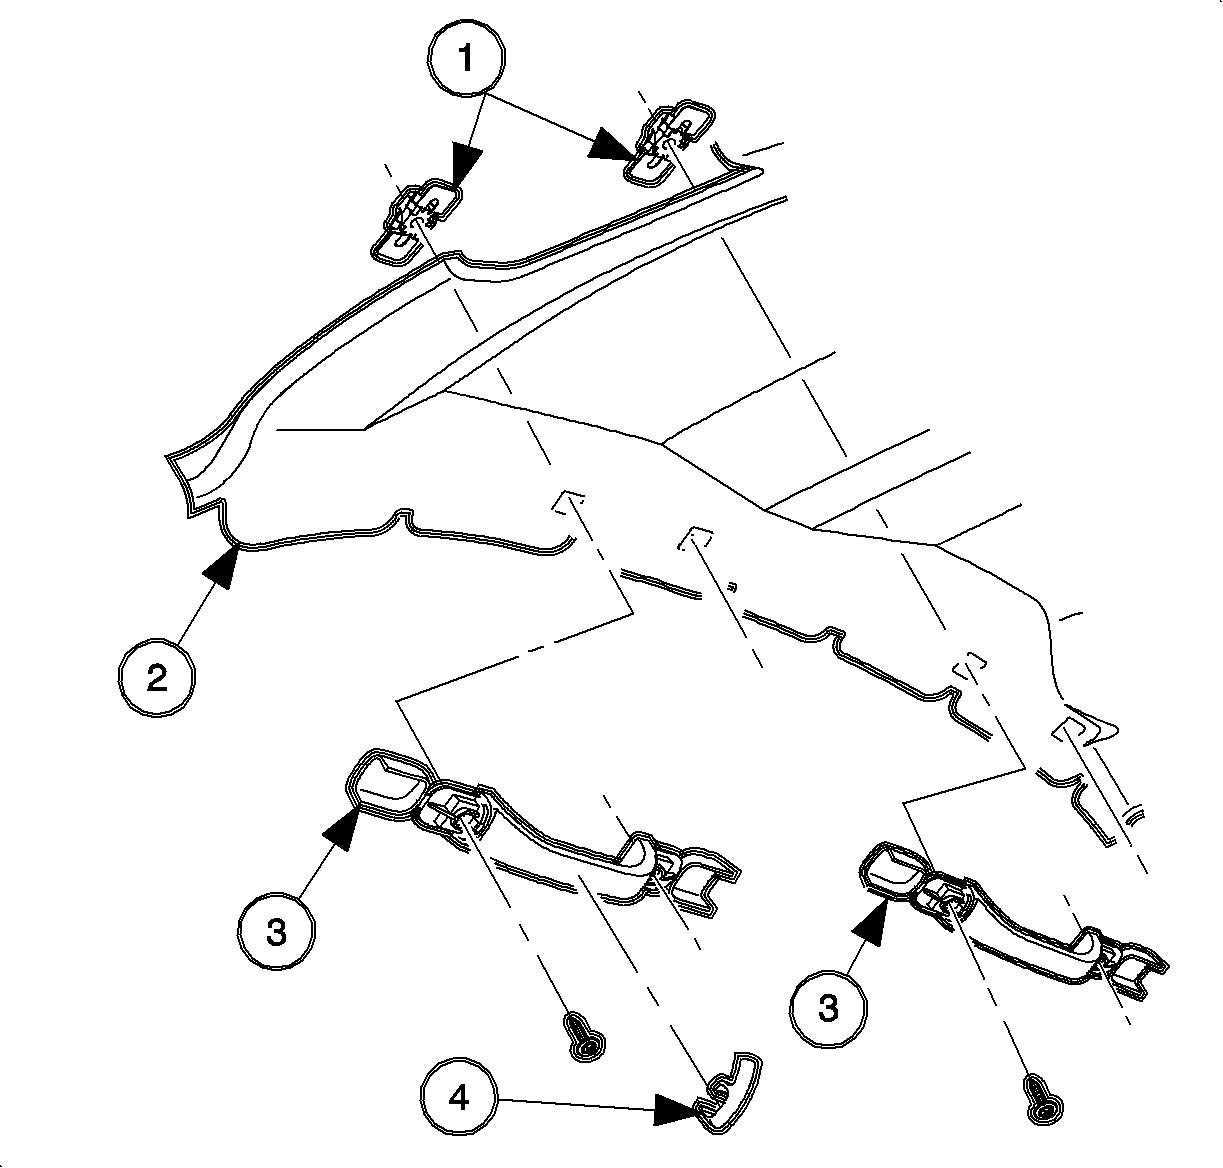
- Headliner (2)
- Assist Straps (3)
- Coathook (4)
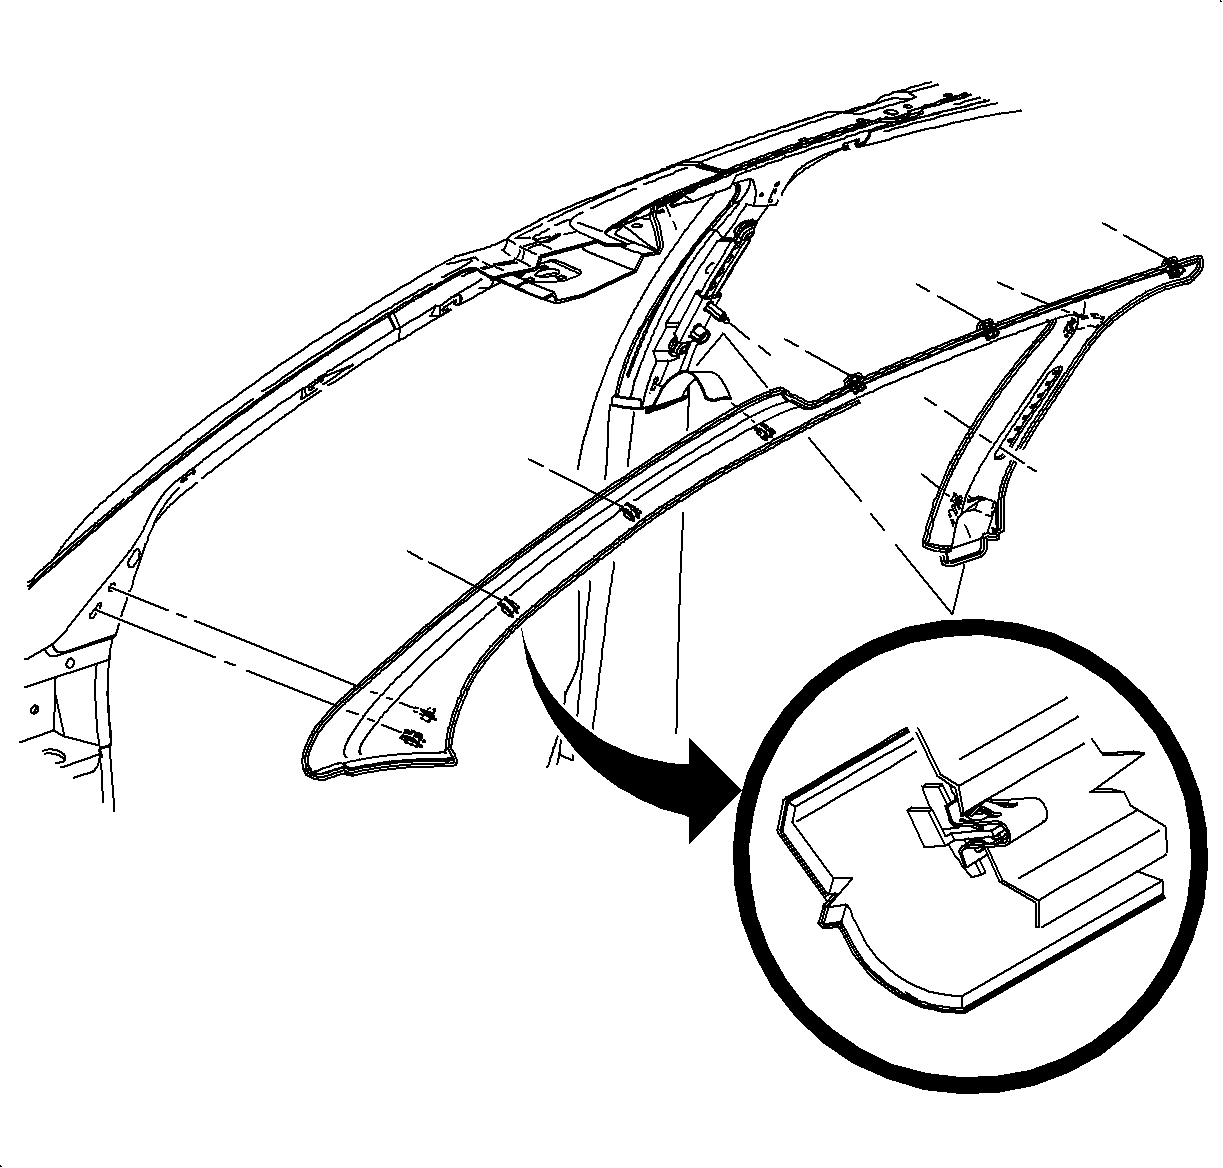
When removing a headliner it is possible for the Velcro®
fasteners
to tear from the headliner substrate. The Velcro®
to hook and loop
bond is much stronger than the Velcro®
to substrate. Once damaged,
the Velcro®
cannot be replacedNotice

When removing the headliner, be careful not to bend the headliner.
If the headliner is bent, it will break and leave a wrinkle that cannot be repaired.Notice
- Rear Assist Strap (1)
- Front Dome Lamp Retainer (2)
- Coathook (3)
- Front Dome Lamp (4)
- Clip (5)
- Rear Dome Lamp Retainer (6)
- Headliner (7)
- Rear Dome Lamp (8)
- Sunshade Supports (9)
- Front Assist Straps (10)
- Sunshades (11)
- Coathook (12)